If you’ve ever admired a beautiful fruit tree, ornamental shrub, or lush indoor plant and wished you could duplicate it effortlessly, air layering may be the magical method you’ve been looking for. Unlike traditional propagation techniques that rely on seeds or cuttings, air layering allows you to grow a brand-new plant while it’s still attached to its parent, ensuring faster rooting, stronger growth, and a much higher success rate. Gardeners around the world—beginners and experts alike—love this technique for its simplicity and reliability.
In this comprehensive guide, you’ll uncover what air layering is, why it works so effectively, and how you can use it to propagate a wide variety of plants right at home.
What Is Air Layering?
Air layering is an ancient plant propagation method used to develop roots on a branch while it is still connected to the mother plant. Once the new roots are established, the branch is cut off and planted as an independent plant.
Think of it as nature’s way of cloning—producing a new plant with the exact same characteristics (fruit quality, flower color, growth habit) as the original. This is especially useful for plants that do not root easily from ordinary cuttings.
Why Choose Air Layering? Key Benefits
Air layering is incredibly popular because it offers multiple advantages over other propagation techniques:
1. High Success Rate
Plants remain attached to their natural nutrient and water source until they root successfully, dramatically reducing the chance of failure.
2. Faster Growth
Unlike growing from seeds, air-layered plants skip the vulnerable early stages and grow much faster.
3. Clone Your Favorite Plants
Want another mango plant that tastes exactly like your original tree? Air layering guarantees identical traits.
4. Works for Hard-to-Root Plants
Some species, such as lychee, longan, citrus, guava, rubber plants, and ficus trees, root poorly from simple cuttings. Air layering solves that problem.
5. No Special Tools or Expertise Needed
The method is beginner-friendly and can be done with simple household materials like plastic wrap and peat moss or coco peat.
What Plants Can Be Air-Layered?
Many plants respond beautifully to air layering. Here are some popular choices:
- Fruit Trees: Mango, guava, citrus, pomegranate, litchi, fig, mulberry, avocado
- Ornamentals: Rubber plant, croton, hibiscus, bougainvillea
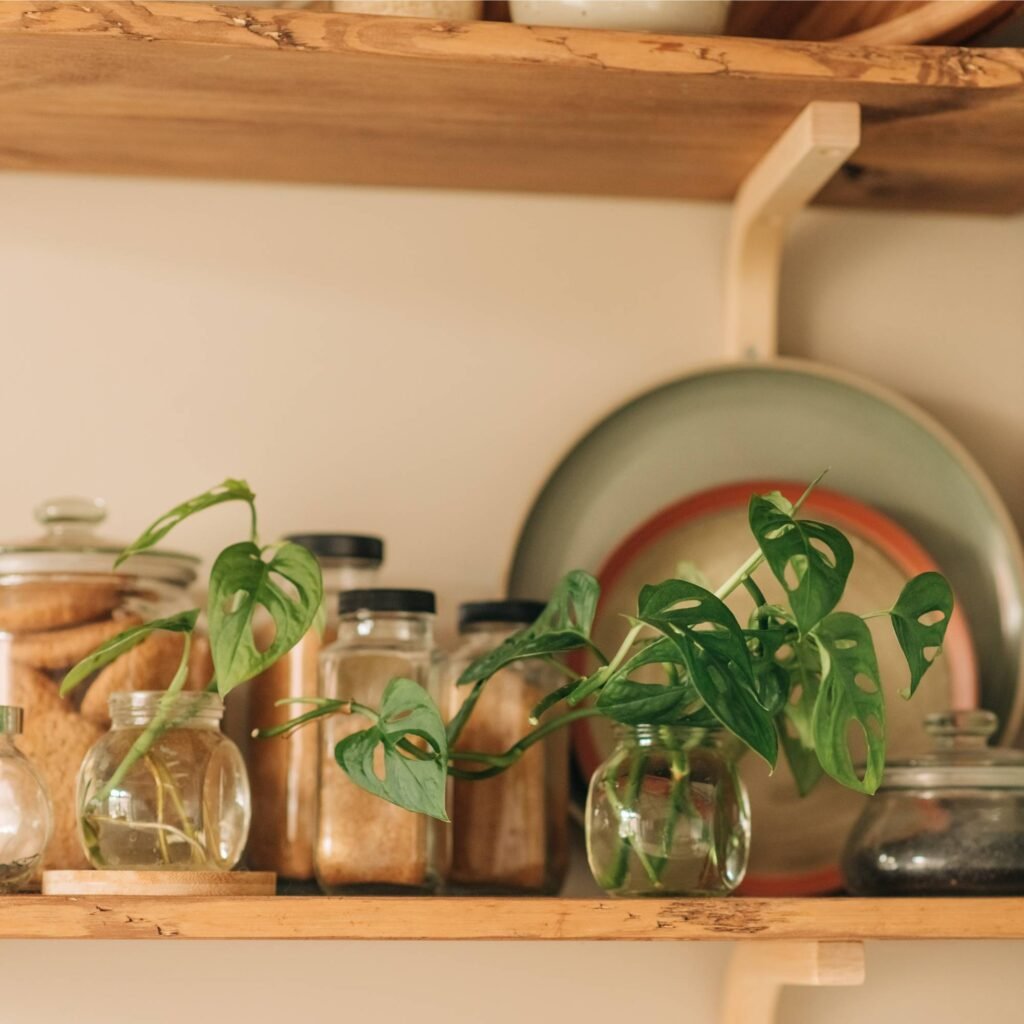
- Indoor Plants: Monstera, dracaena, fiddle-leaf fig, philodendron
If you have a woody-stemmed plant, chances are high that air layering can work on it.
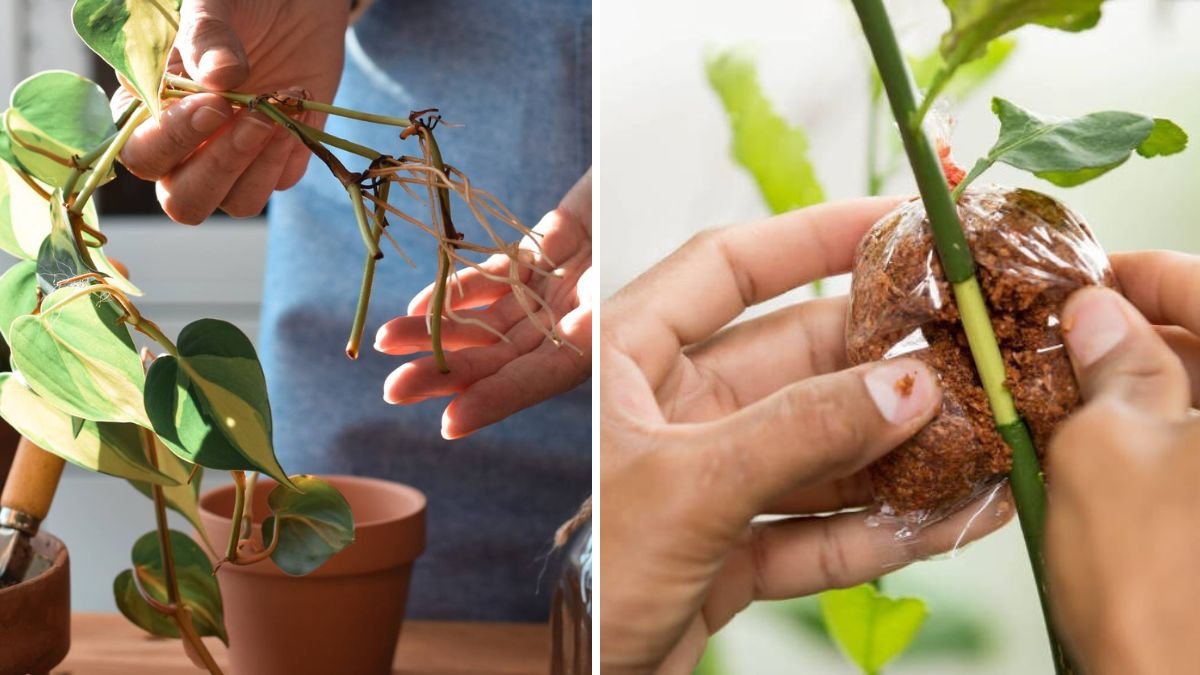
How Does Air Layering Work? A Simple Explanation
Air layering works on the principle of encouraging a branch to grow roots while still attached to the mother plant. This is done by:
- Stimulating root growth by removing bark (girdling) or making a slight cut.
- Applying moist rooting medium like sphagnum moss.
- Covering it in plastic to retain humidity.
- Allowing roots to develop over several weeks.
Once roots form, the branch is cut off and planted—instant new tree!
Step-by-Step Guide: How to Perform Air Layering
Here’s a clear, detailed method anyone can follow at home.
Step 1: Choose the Right Branch
Select a healthy, pencil-thick or thicker branch that is:
- Mature but not old
- Disease-free
- Exposed to sunlight
- Flexible but firm
Ideal length: 30–45 cm.
Step 2: Make the Incision (Girdling Method)
This is the traditional and most reliable method.
- Identify a spot about 30 cm from the tip of the branch.
- Use a clean knife to remove a 1–2 cm wide ring of bark, exposing the inner wood.
- Scrape away the green cambium layer to prevent the bark from healing back.
This interruption stops nutrient flow, forcing the branch to grow roots at the wound.
Step 3: Apply Rooting Hormone (Optional but Highly Effective)
Dust the exposed area with rooting powder.
This speeds up and improves root production.
Step 4: Wrap with Moist Medium
Use:
- Sphagnum moss
- Coco peat
- Soil mixed with compost
- PEAT moss
Moisten the medium—not too wet, just lightly damp.
Pack it around the cut to form a ball of about fist-size.
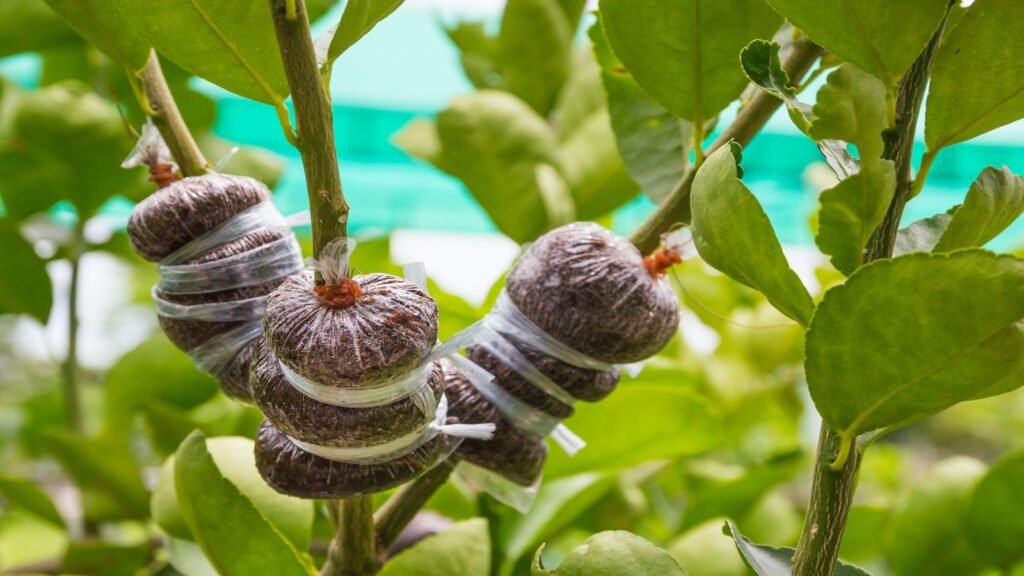
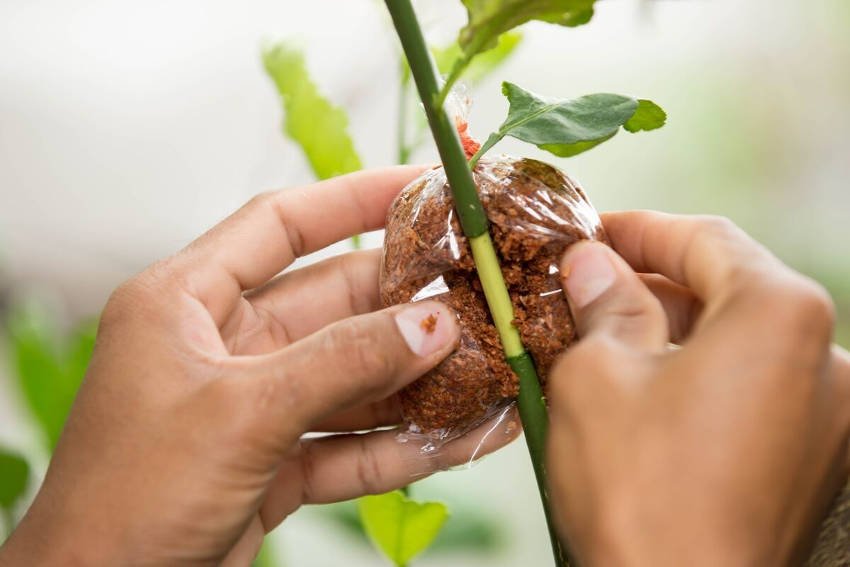
Step 5: Secure with Plastic
Wrap the moss completely with plastic or cling film to retain moisture.
Seal both ends with:
- Twine
- Rubber bands
- Electrical tape
This creates a mini greenhouse around the wound.
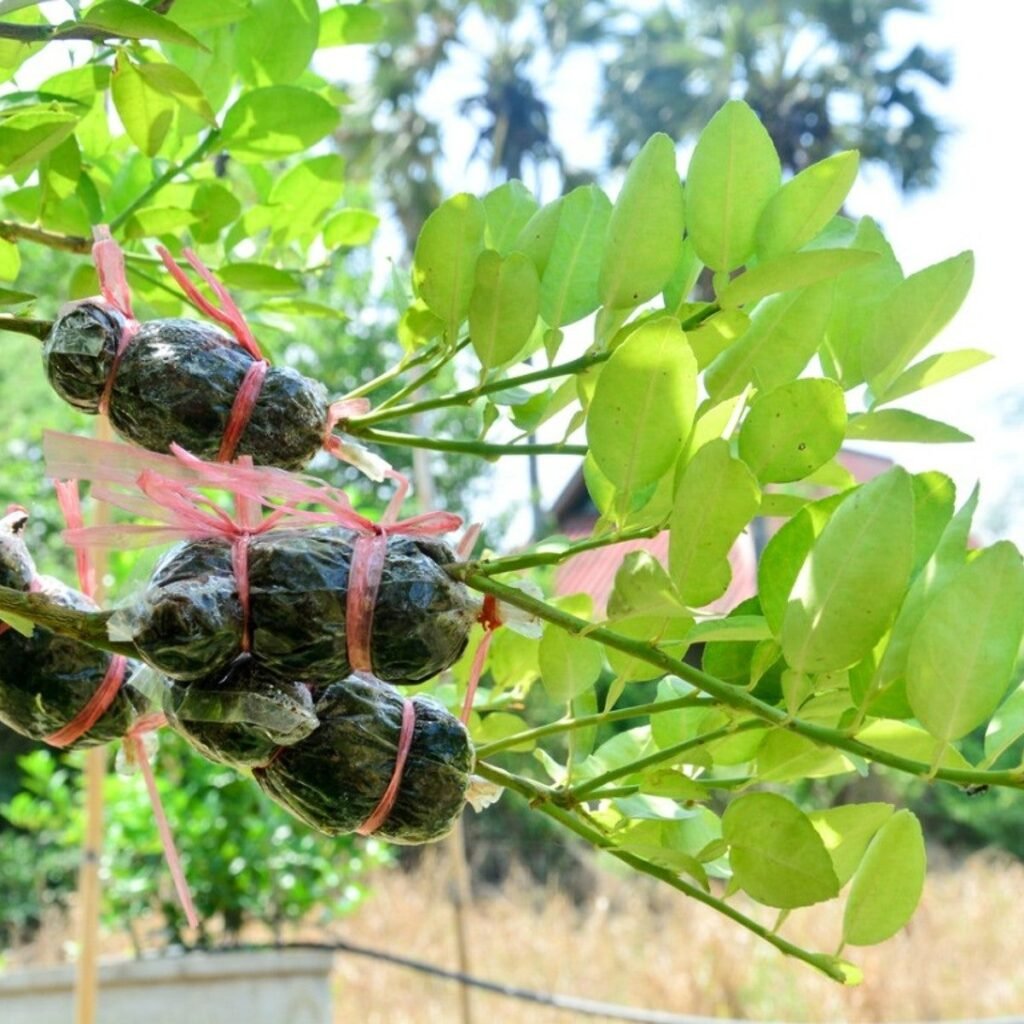
Step 6: Wait for Root Development
Depending on the plant, it may take 3–12 weeks.
During this time:
- Ensure the wrapping stays moist
- Avoid direct heavy rain on the layered area
- Do not disturb the wrap unnecessarily
You’ll see roots through the plastic when it’s ready.
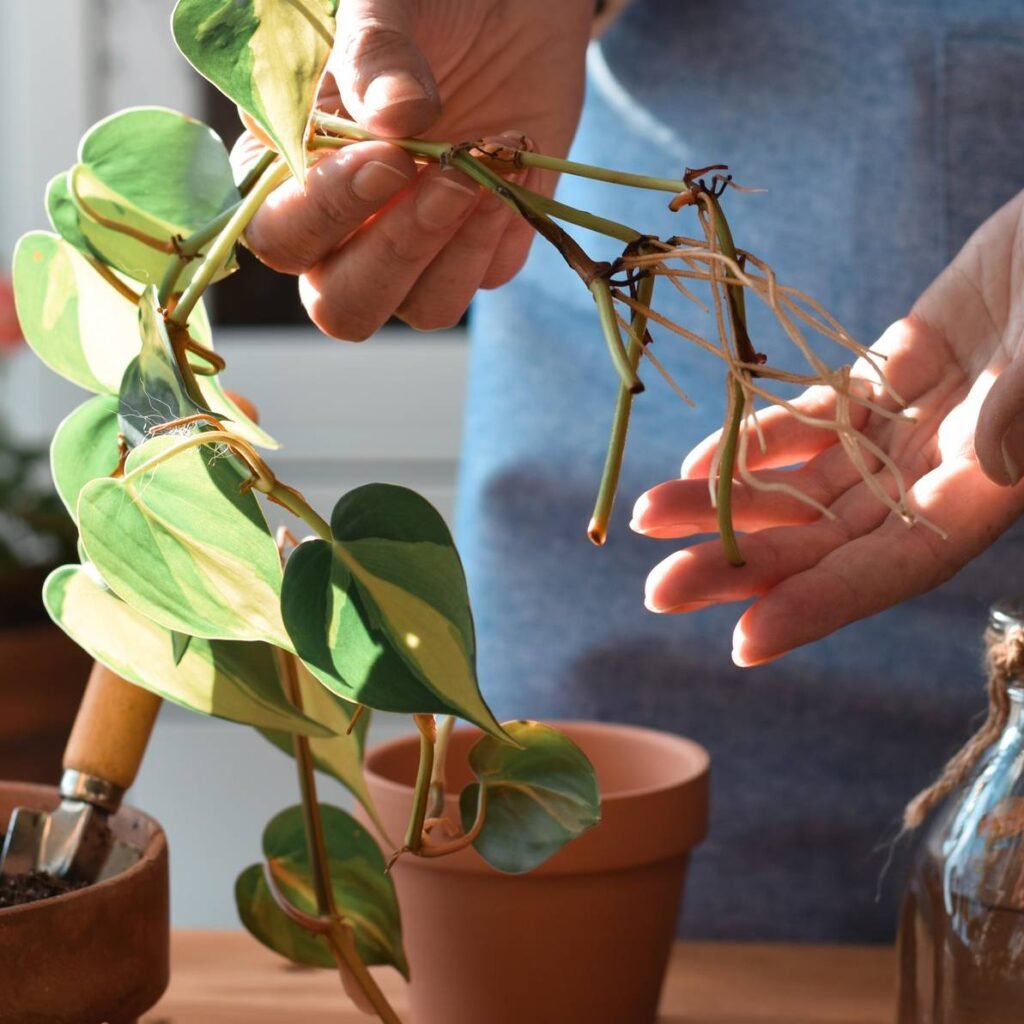
Step 7: Detach and Plant
Once you see dense, white and healthy roots:
- Cut the branch just below the rooted area.
- Remove the plastic gently.
- Plant the new sapling in a pot or the ground.
- Water well and keep in shade for a week before moving to sunlight.
Congratulations—your new plant is officially born!
Tips to Improve Success Rate
- Choose layering season: Spring to early monsoon is best.
- Use clean tools to avoid infections.
- Do not let the moss dry out.
- Protect from strong winds.
- Shade the layered area in very hot climates.
Common Mistakes to Avoid
- Using completely dry moss
- Making a shallow girdle cut
- Wrapping too loosely
- Attempting layering on weak branches
- Removing the layer before roots fully develop
A bit of patience ensures excellent results.
Why Every Gardener Should Try Air Layering
Air layering is more than just a propagation method—it’s an empowering technique that lets you expand your garden effortlessly and affordably. It’s ideal if you have:
- A beloved fruit tree you want more of
- Ornamental plants you want to reproduce
- Friends or neighbors who want plant cuttings
- A dream to grow a garden full of identical healthy plants
Even if you’ve never propagated a plant before, air layering almost guarantees success and joy.
Final Thoughts
Air layering is a simple, efficient, and highly reliable technique that any gardener can master. Whether you’re trying to grow a collection of fruit trees, beautify your garden, or simply explore new gardening skills, this method opens the door to endless possibilities.
So if you’re curious about air layering, don’t just read—try it today. You may be surprised at how easy and rewarding it is to create a brand-new plant from one you already love!