Moringa, often called the “Miracle Tree” or “Drumstick Tree,” is one of the easiest and most rewarding plants you can grow at home. Packed with vitamins, minerals, and medicinal benefits, Moringa is a fast-growing, drought-tolerant tree that thrives even with minimal care. Whether you have a spacious garden or a small balcony, you can grow a healthy Moringa tree from seed and enjoy its nutritious leaves year-round.
In this guide, you’ll discover how to grow Moringa successfully from seed, how to care for it at every stage, and how to harvest it the right way for continuous production.
🌱 Why Grow Moringa at Home?
Before diving into the steps, here’s why Moringa is worth growing:
- Fast growth — seeds can sprout within 7–14 days, and the plant grows several feet in just a few months.
- Highly nutritious — leaves contain vitamins A, B, C, E, calcium, potassium, and antioxidants.
- Medicinal uses — supports immunity, reduces inflammation, improves digestion, and more.
- Low maintenance — thrives in poor soil, heat, and dry climates.
- Continuous harvest — leaves can be picked again and again.
If you’re looking for a superfood plant that grows quickly and easily, Moringa is perfect.
🌿 1. Choosing the Right Moringa Seeds
Growing Moringa starts with selecting fresh, viable seeds. Choose seeds that are:
- Firm and not shriveled
- Beige or light brown
- Not cracked or moldy
Fresh seeds sprout faster, grow stronger, and have better disease resistance.
👉 Tip: Avoid old seeds stored for more than 1–2 years, as their germination rate drops significantly.
🌍 2. Best Growing Conditions for Moringa
Moringa thrives in warm climates but can grow almost anywhere with proper care.
Ideal Conditions
- Temperature: 25°C–35°C (77°F–95°F)
- Sunlight: At least 6–8 hours of direct sunlight
- Soil: Loose, sandy, or loamy soil
- Drainage: Excellent drainage is crucial
Moringa hates soggy soil — too much water can rot the roots.
🌱 3. How to Germinate Moringa Seeds Successfully
There are two easy methods: direct sowing and container germination.
🌾 A. Direct Sowing in the Ground
If you have space, this is the easiest and fastest.
Steps:
- Loosen the soil about 12 inches deep.
- Add compost to enrich it.
- Plant seeds 1 inch deep.
- Water lightly.
- Mark the spot and wait for sprouts in 1–2 weeks.
This method gives the tree room to develop strong roots.
🌿 B. Germinating Moringa in Pots
Perfect for balcony gardeners or for starting seedlings before transplanting.
Pot Requirements
- Minimum 10–12 inch pot for starting
- Drainage holes
- Light soil mix (sand + compost + garden soil)
Steps:
- Fill pot with soil mix.
- Plant 1–2 seeds about 1 inch deep.
- Water slightly — do NOT overwater.
- Keep in a warm, sunny place.
Once the seedling reaches 1–1.5 feet, transplant it into the ground or a larger container.
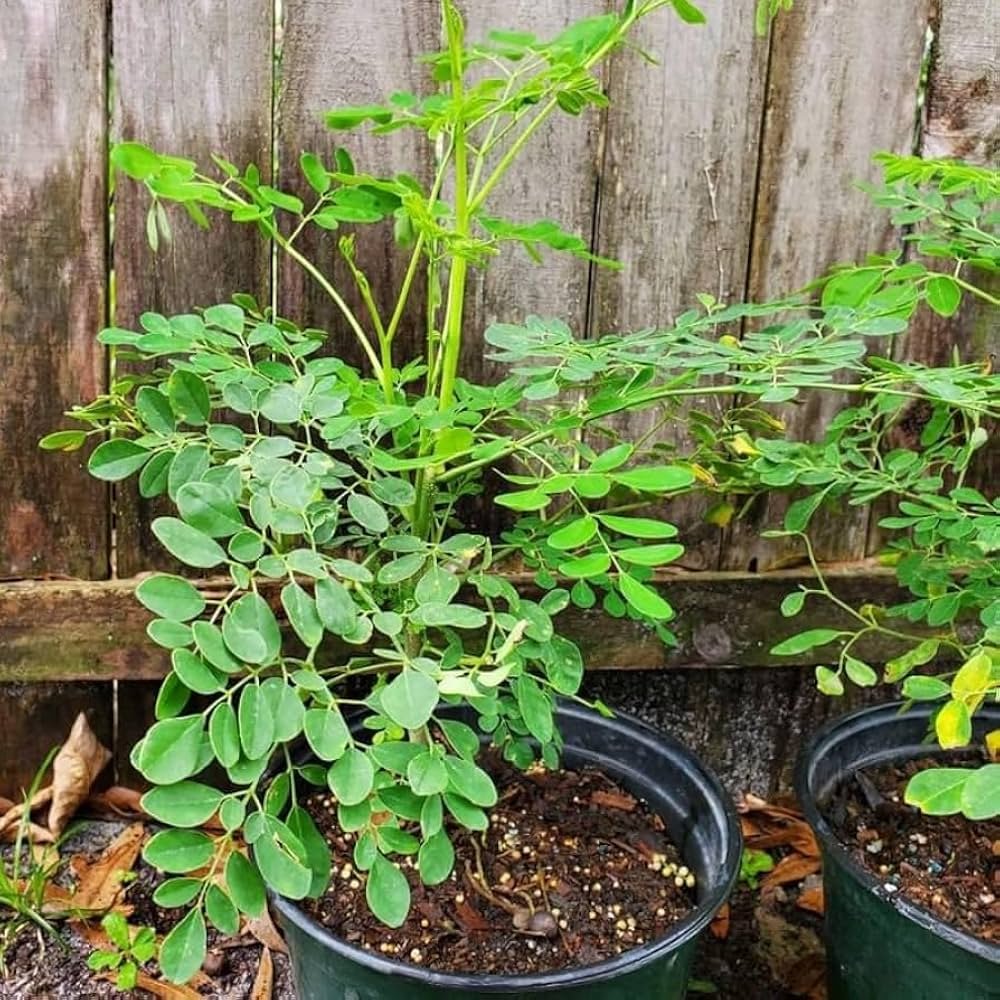
🌳 4. Caring for Young Moringa Plants
This stage is crucial for rapid and healthy growth.
A. Watering
- Water lightly but regularly for the first 2–3 months.
- Once established, Moringa becomes drought resistant.
- Avoid waterlogging at all costs.
👉 Golden Rule: Let the soil dry between waterings.
B. Fertilizing
Moringa grows well even in poor soil, but feeding it boosts leaf production.
Best fertilizers:
- Compost
- Cow dung
- Vermicompost
- Seaweed liquid fertilizer
Feed every 25–30 days for optimum growth.
C. Sunlight
Moringa LOVES sun.
More sun = more growth + more leaves.
Place it in the sunniest spot you have.
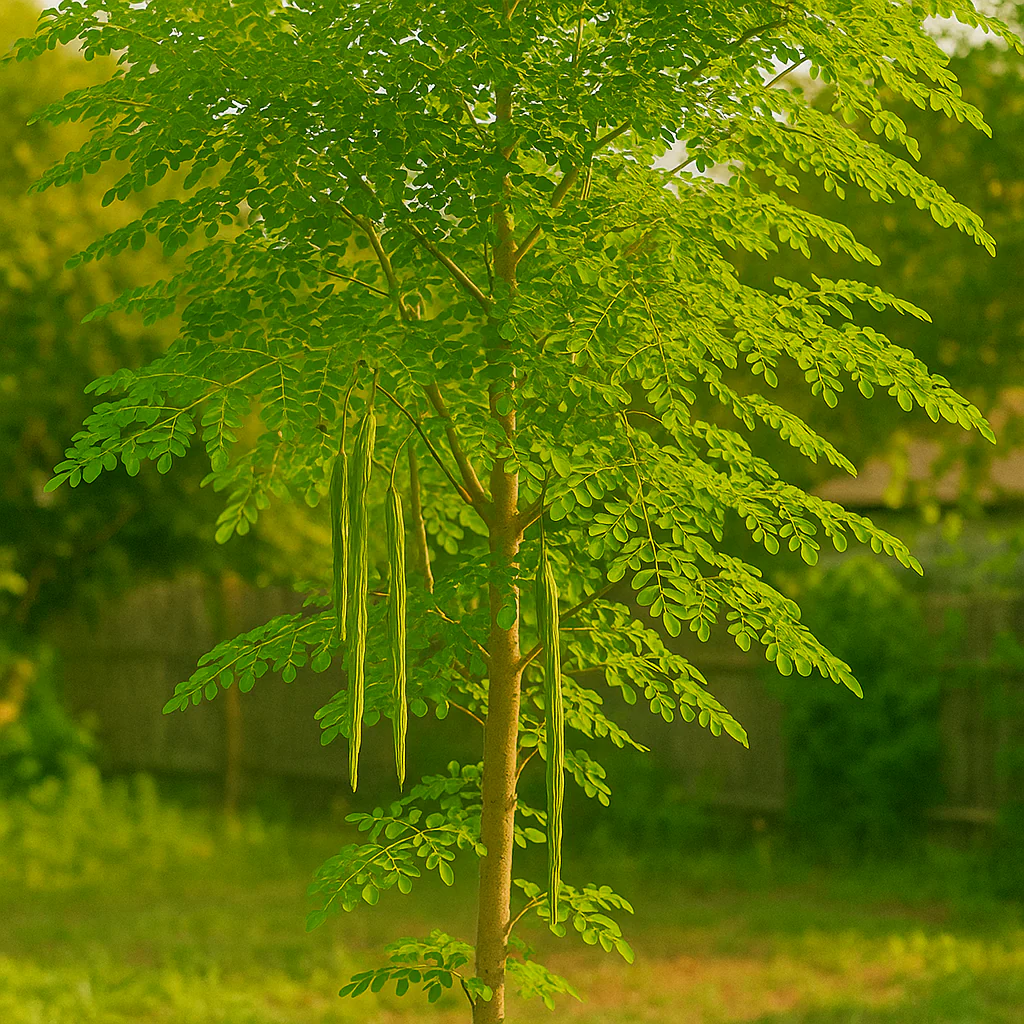
✂️ 5. Pruning: The Secret to a Bushy Moringa Tree
Without pruning, Moringa grows tall and thin. To make it leafy and productive:
How to Prune
- When the plant reaches 2 feet, cut the top 2–3 inches.
- New branches will emerge from the sides.
- Repeat pruning every 2–3 months.
This encourages:
- More leaves
- Faster harvesting
- A shorter, manageable plant
Pruning is the most important step for home growers.
🌱 6. Transplanting Moringa (If Started in Pots)
After 6–8 weeks:
- Choose a sunny location.
- Dig a hole twice the pot’s size.
- Add compost.
- Carefully remove the plant without damaging roots.
- Plant it and water lightly.
Moringa adapts quickly and grows fast after transplanting.
🛡 7. Common Problems & How to Fix Them
1. Yellow leaves
- Overwatering
- Poor drainage
- Nutrient deficiency
Fix: Reduce watering and add compost.
2. Slow growth
- Lack of sunlight
- Heavy soil
- Old seeds
Fix: Relocate to a sunnier place or loosen soil.
3. Pests
Moringa is naturally pest-resistant, but young seedlings may face:
- Aphids
- Caterpillars
Solution:
Use neem oil spray once a week.
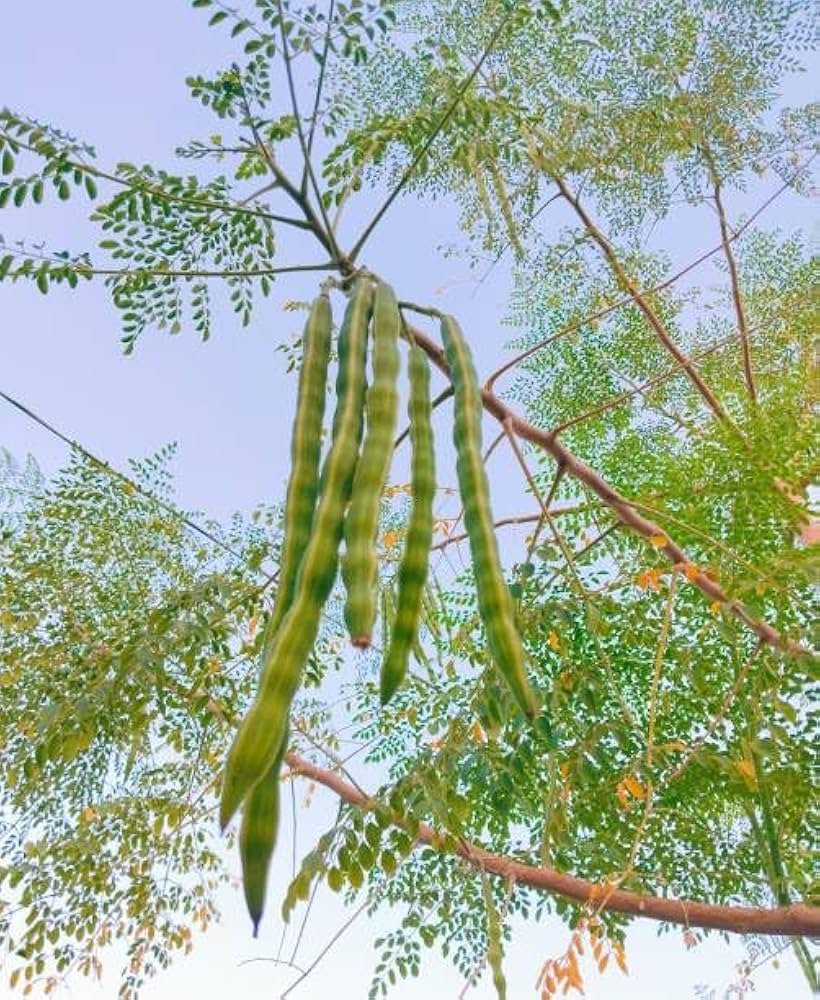
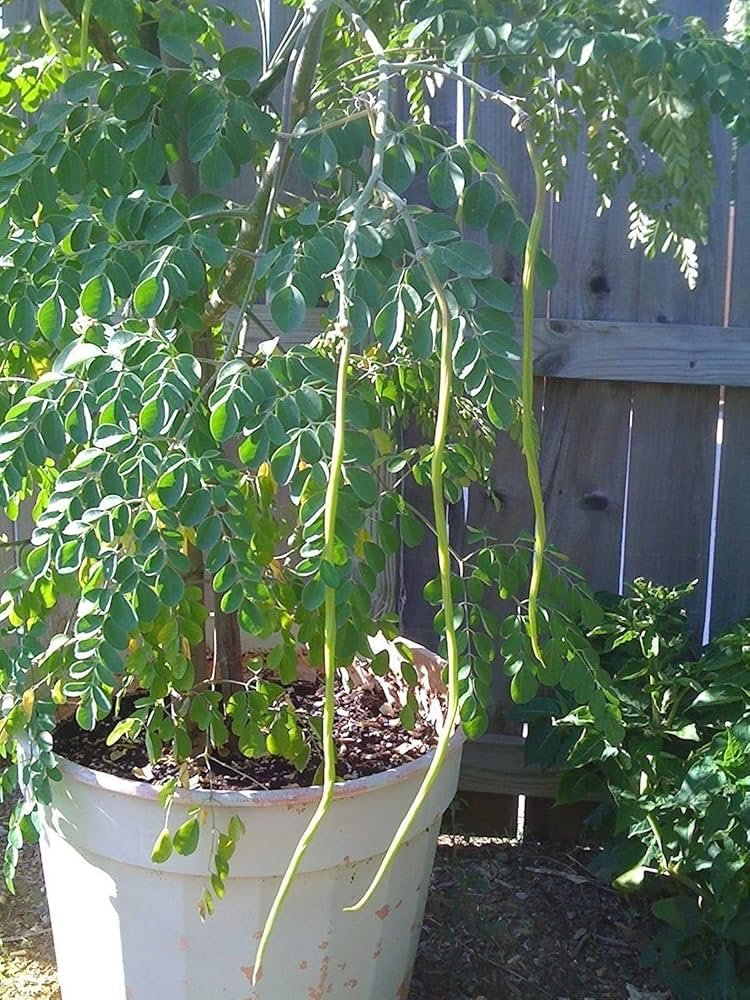
🍃 8. Harvesting Moringa the Right Way
Moringa leaves can be harvested once the plant is 2–3 months old.
How to Harvest
- Cut branches (not individual leaves).
- New shoots will grow in 1–2 weeks.
- Continuous harvesting = more bushy growth.
You can use the leaves:
- Fresh in salads
- Added to dals or curries
- As tea
- Dried into powder for long-term storage
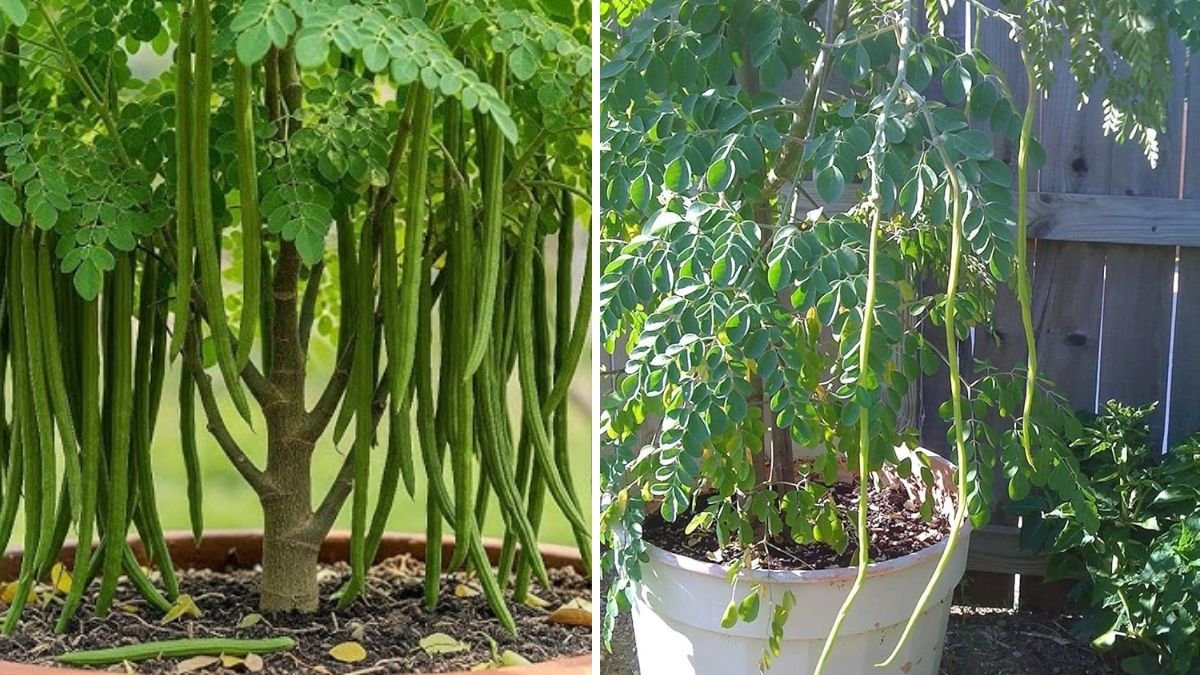
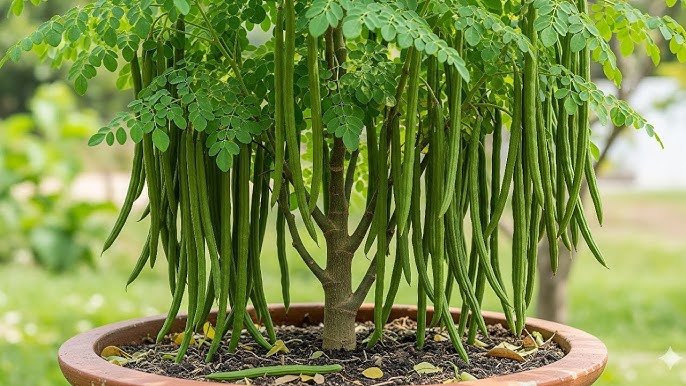
🌿 9. Growing Moringa in Pots Long-Term
If you don’t have space for a big tree, don’t worry — Moringa grows very well in containers with proper care.
Pot Size
- Minimum 20–25 liters
- Bigger = better growth
Maintenance
- Regular pruning
- Light, well-draining soil
- Monthly fertilizing
- Full sunlight
Container-grown Moringa stays smaller but remains highly productive.
🌼 10. Benefits of Having a Moringa Tree at Home
A single Moringa plant provides:
- Fresh, organic leaves daily
- A constant supply of natural multivitamins
- Medicinal benefits for the whole family
- Shade and greenery
- A pollinator-friendly garden environment
It’s truly a plant that gives more than it takes.
🌟 Conclusion: Your Miracle Tree Awaits
Growing Moringa from seed is one of the simplest and most worthwhile gardening projects you can start. With just a little care in the beginning—good soil, sunlight, and proper watering—you’ll have a fast-growing, nutrient-packed tree that produces abundantly all year long.
Whether you want to improve your health, upgrade your garden, or enjoy growing useful plants, Moringa is the perfect choice.
Start with a seed today, and soon you’ll be harvesting your own homegrown superfood right from your backyard or balcony!