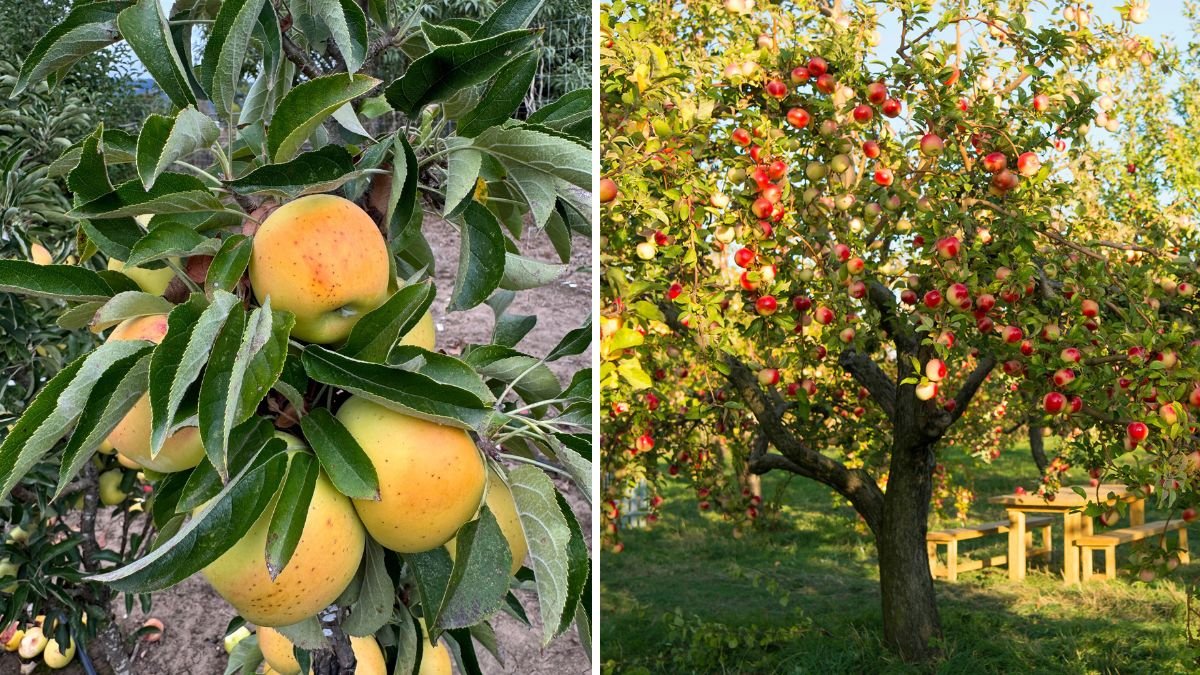
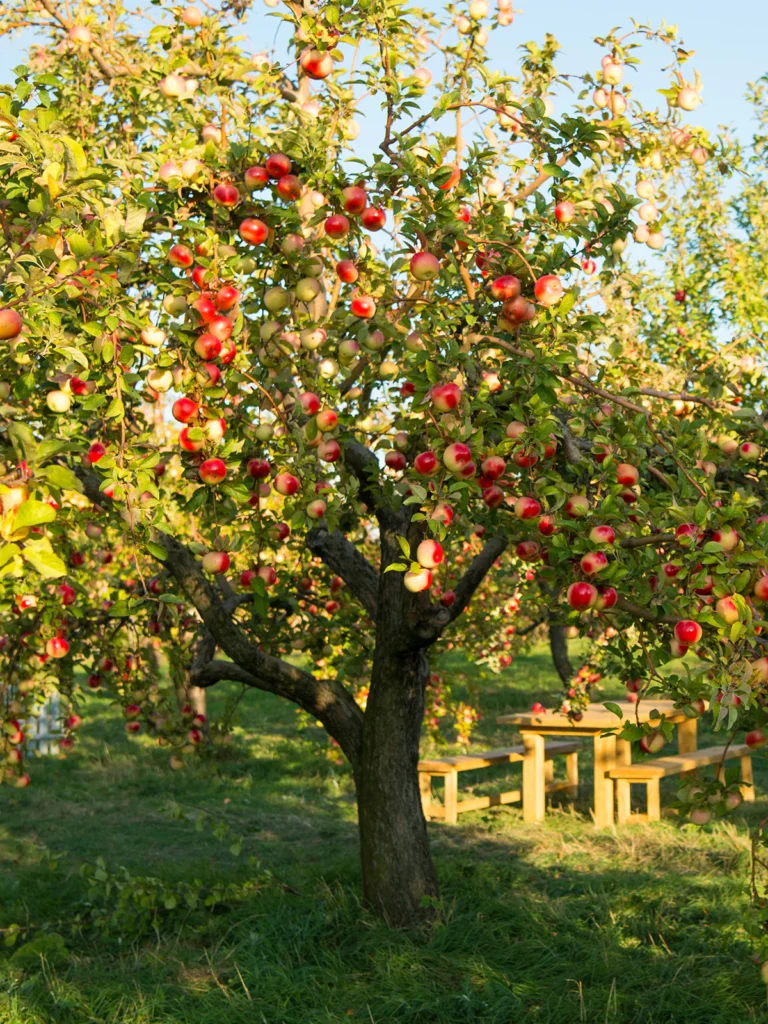
Apple trees are loved around the world for their delicious fruit, beautiful blossoms, and ability to grow in a wide range of climates. But did you know you can grow your own apple tree faster and more efficiently through grafting? This age-old technique allows you to combine the strength of one tree (the rootstock) with the productivity of another (the scion), resulting in a healthier, quicker-growing apple tree.
If you’ve always wanted to grow your own apple trees but felt intimidated by the idea of grafting, this guide will show you just how easy it can be. With the right steps and a bit of practice, anyone—even beginners—can graft apple trees successfully.
🍎 Why Graft an Apple Tree?
Grafting is not just a professional orchard technique—it’s a gardener’s secret weapon. Here’s why people graft apple trees:
1. Faster Fruit Production
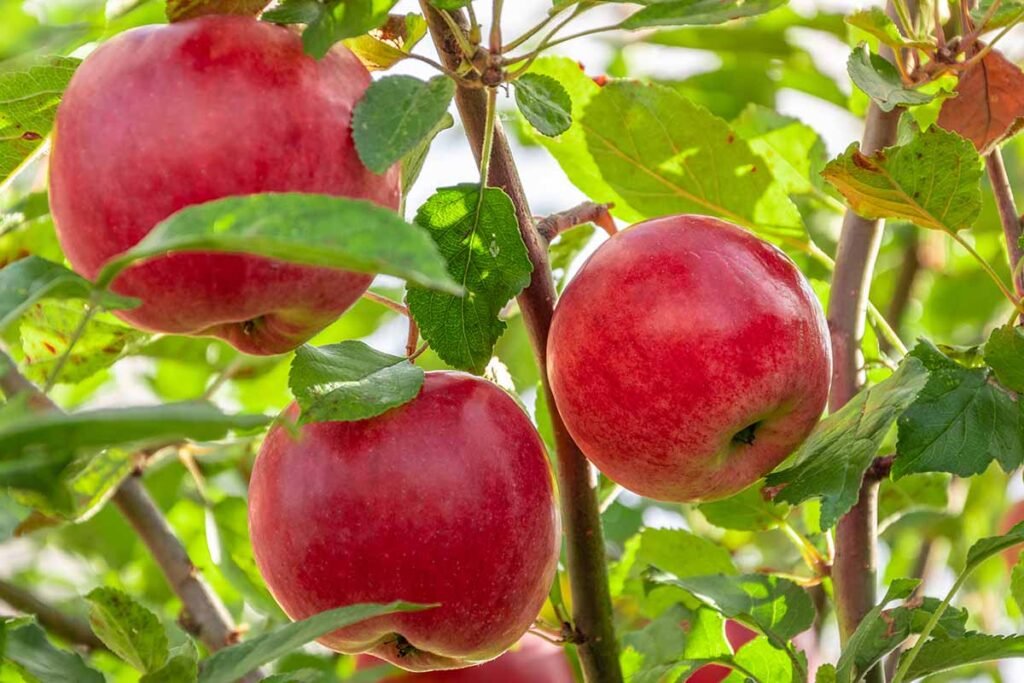
Seed-grown apple trees can take 6–10 years to bear fruit, while grafted trees fruit in 2–3 years.
2. Guaranteed Fruit Quality
Seedlings produce unpredictable fruit.
Grafting ensures your new tree produces the exact same apples as the parent variety.
3. Better Disease Resistance
Using a hardy rootstock protects your tree from soil diseases.
4. Grow Multiple Apple Varieties on One Tree
Imagine a tree with red apples on one side and green apples on the other—grafting makes it possible!
5. Save Money
Instead of buying expensive nursery trees, one parent tree can produce dozens of grafts.
🌱 Understanding the Basics: Rootstock & Scion

Before grafting, you must understand these two important terms:
✔ Rootstock
This is the bottom part of the plant—the roots.
Choose a rootstock that is:
- Healthy
- Disease-resistant
- Suitable for your climate
- About the thickness of a pencil
Common rootstocks include M9, M26, and MM111, depending on desired tree size.
✔ Scion
This is the upper part—the shoot you want to grow fruit from.
Choose a scion that is:
- A healthy young branch
- About 7–10 mm in diameter
- From a variety you want to propagate
✂ Step 1: Selecting the Right Grafting Method
There are many grafting techniques, but the cleft graft is the easiest and most reliable for beginners. It works well when your scion and rootstock have different thicknesses.
✔ Cleft Grafting Advantages:
- Simple and quick
- High success rate
- Works on young and older rootstocks
- Ideal for apple trees
🍏 Step 2: Preparing the Rootstock
Choose a strong young rootstock or an existing apple tree branch.
How to Prepare the Rootstock:
- Select a straight, healthy branch or trunk section.
- Cut the top of the rootstock using clean, sharp pruning shears.
- With a knife, split the rootstock down the middle about 1–2 inches deep.
- Keep the split open with your knife or wedge.
This split is where the scion will be inserted.
🍃 Step 3: Preparing the Scion

Cut 2–3 healthy buds on a young scion branch. Your scion cutting should be:
- About 6–8 inches long
- Smooth and disease-free
- Collected during winter or early spring
Make Two Bevel Cuts:
At the bottom of the scion, make a wedge by cutting both sides into a sharp “V” shape. This will fit perfectly into the rootstock split.
🌿 Step 4: Joining Rootstock and Scion
Now comes the exciting part—creating your graft!
How to Insert the Scion:
- Slowly open the split rootstock.
- Insert the scion wedge into the split, making sure the cambium layers (green lining under the bark) touch on at least one side.
- The scion should fit snugly without wobbling.
- If the rootstock is thick, you can insert two scions—one on each side.
Correct cambium contact is the secret to grafting success.
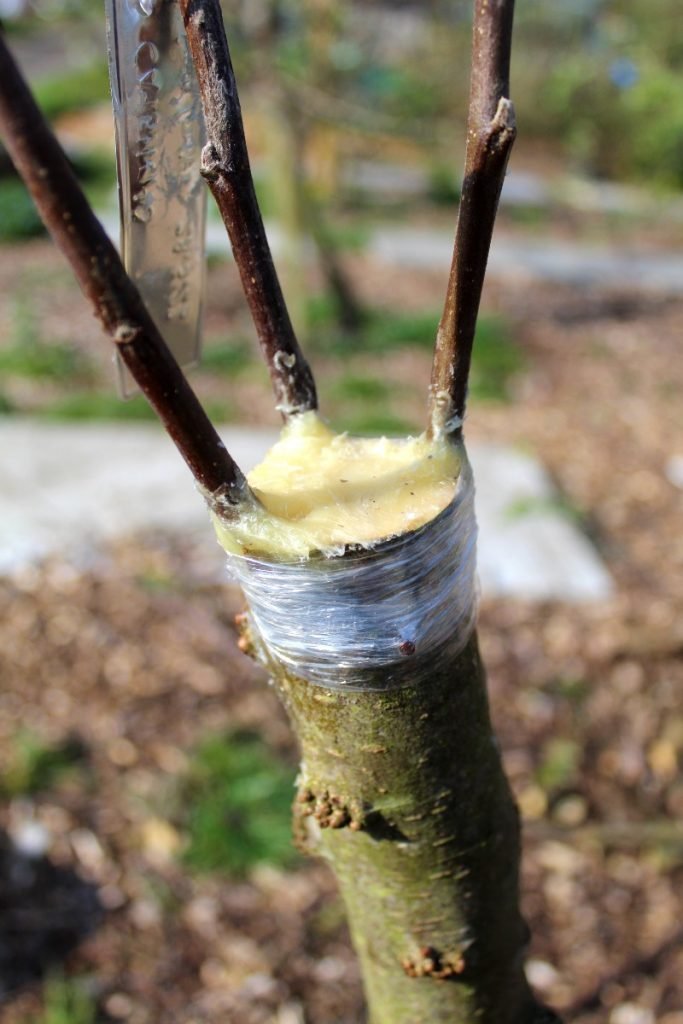
🛡 Step 5: Secure the Graft
Once the scion is placed:
✔ Wrap tightly with grafting tape or cling film
This keeps the scion firmly attached and prevents moisture loss.
✔ Seal with grafting wax or beeswax
This protects the exposed area from:
- Water
- Air
- Pests
- Fungal infections
A well-sealed graft heals faster and more effectively.
☀ Step 6: Aftercare for a Successful Graft
Your graft is not complete until it heals properly. Follow these steps:
✔ Keep the plant in partial shade
Avoid harsh sun for the first 2–3 weeks.
✔ Water regularly
Moist soil helps the graft unite.
✔ Protect from strong winds
Wind can break the delicate union.
✔ Remove shoots below the graft
These suckers steal nutrients from the scion.
✔ Watch for swelling buds
New growth means your graft is successful!
🌳 When Will the Graft Heal?
Most apple grafts take:
- 2–4 weeks to callus (heal)
- 6–8 weeks to show new growth
If the scion starts producing new leaves, the grafting has worked perfectly.
🍏 Common Problems & How to Avoid Them
Even though grafting is easy, beginners may face a few challenges. Here’s how to solve them:
1. Scion Drying Out
This happens when the graft is not sealed properly.
✔ Always use grafting wax.
2. Poor Cambium Alignment
✔ Make sure at least one side of the cambium matches.
3. Rootstock Suckering
✔ Remove unwanted shoots that grow below the graft.
4. Infection
✔ Sterilize all tools before cutting.
5. Weak Union
✔ Support the grafted branch for the first few months.
🍎 Tips for Beginners to Increase Success Rate
- Use young, flexible branches.
- Perform grafting in early spring for best results.
- Always use clean, sharp tools.
- Keep the grafting area moist but not waterlogged.
- Practice making clean cuts—it improves accuracy.
🌸 Enjoy the Results: A Strong, Fruitful Apple Tree
Once your graft heals and the scion begins to grow, you are officially on your way to growing your very own apple tree! Over the next few months, the grafted branch will strengthen, and soon you’ll see new shoots and leaves. With proper care, your apple tree will grow vigorously and start producing delicious fruits in just a few years.
Grafting may seem like a complex skill, but with the easy cleft graft method, anyone can master it. Whether you’re a home gardener, hobbyist, or orchard enthusiast, grafting lets you create stronger trees, better varieties, and more productive harvests.