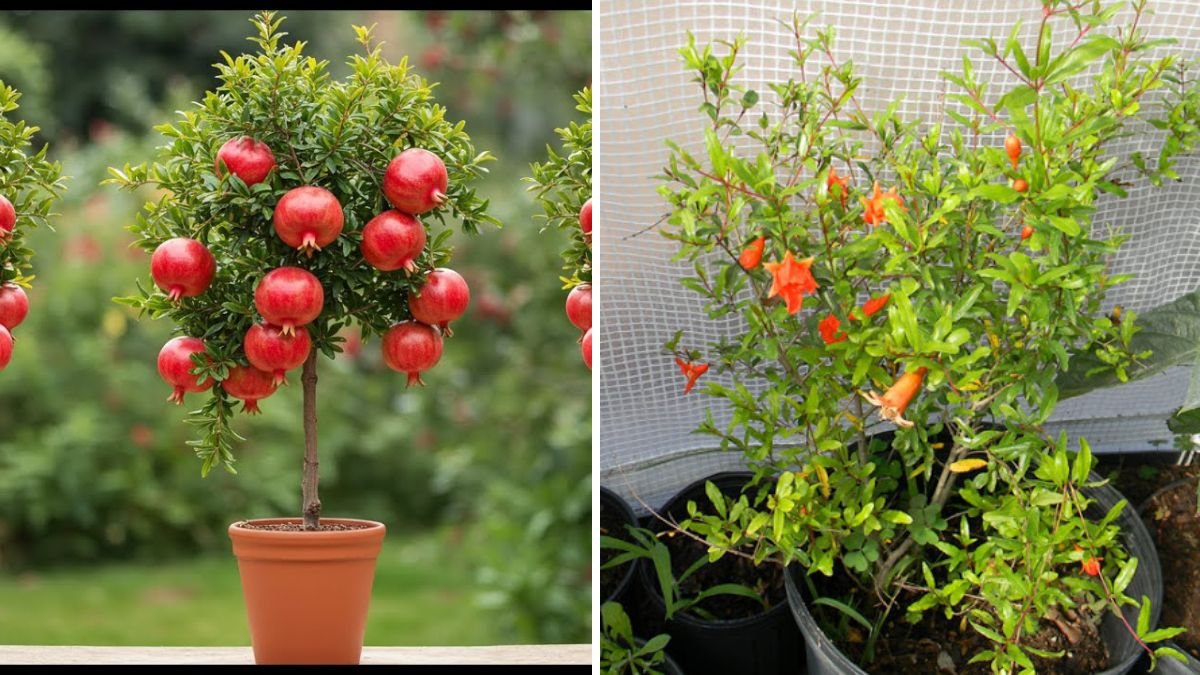
Pomegranates are highly valued for their delicious seeds, medicinal benefits, and beautiful trees. Rich in antioxidants, vitamins, and minerals, they promote heart health, immunity, and overall wellness. While many people think growing pomegranate trees takes years and large gardens, there’s an innovative, simple method to propagate pomegranates using eggshells!
Yes, you read that correctly! With easy grafting in an eggshell, you can start a pomegranate tree at home using minimal materials, space, and effort. This method is not only fun but also highly effective for beginners and urban gardeners.
This guide will walk you through step-by-step instructions, materials needed, and care tips to successfully graft and grow pomegranates in an egg.
🌿 Why Graft Pomegranates in an Egg?
Eggshell grafting is an innovative method with several benefits:
- Eco-friendly: Reuses eggshells instead of traditional pots.
- Space-saving: Perfect for balconies, kitchen counters, or terraces.
- High success rate: Provides a controlled environment for young grafts.
- Nutrient-rich: Eggshells contain calcium, which supports healthy root growth.
- Fun and educational: Great for kids and beginner gardeners.
Grafting in eggshells makes pomegranate propagation simple, practical, and productive.
🥚 Step 1: Preparing the Eggshell
The eggshell acts as a mini nursery for the young pomegranate graft:
- Choose a fresh, clean eggshell.
- Carefully crack the top to create a small opening while keeping the base intact.
- Rinse the shell to remove any leftover egg contents.
- Poke a tiny drainage hole at the bottom to prevent waterlogging.
A well-prepared eggshell ensures healthy seedling growth and strong roots.
🌱 Step 2: Preparing the Grafting Materials

You will need:
- A pomegranate scion (a small healthy branch from a mature pomegranate tree).
- A rootstock seedling (germinated pomegranate seed or small plant).
- Sharp grafting knife or scalpel.
- Grafting tape or cling film to secure the scion.
- Eggshell with soil (prepared in Step 1).
Choosing healthy, disease-free materials increases the chances of successful grafting.
✂️ Step 3: Selecting the Rootstock and Scion
- Rootstock: Usually grown from seeds, 4–6 weeks old, with strong, healthy roots.
- Scion: Take a young branch with 2–3 nodes from a mature, fruiting pomegranate tree.
- Trim the scion to remove extra leaves, leaving only 2–3 at the tip.
The combination of vigorous rootstock and healthy scion ensures strong growth and fruiting potential.
🌱 Step 4: Making the Graft
There are several grafting methods, but for eggshell propagation, the side graft is effective:
- Cut a slanting incision at the base of the scion.
- Make a matching cut on the rootstock.
- Join the scion and rootstock carefully so that cambium layers align.
- Secure with grafting tape or cling film to prevent moisture loss.
Proper alignment of cambium layers is crucial for successful fusion and nutrient transfer.
🪴 Step 5: Planting the Grafted Pomegranate in the Egg
- Fill the eggshell with a well-draining soil mix: garden soil + compost + sand.
- Make a small hole in the soil for the grafted rootstock.
- Gently place the grafted scion-rootstock combination into the soil.
- Cover the soil around the base lightly, ensuring the graft union remains above the soil.
The eggshell provides stability, nutrients, and a controlled environment for the young graft.
💧 Step 6: Watering and Moisture Maintenance
- Water lightly to keep the soil moist but not soggy.
- Mist the scion and leaves occasionally to maintain humidity.
- Avoid overwatering, as eggshells drain slowly and excess water can harm roots.
Proper moisture encourages successful grafting and strong root development.
🌞 Step 7: Providing Light and Temperature
- Place the eggshell graft in a bright, indirect sunlight location.
- Ideal temperature for grafting: 20–25°C (68–77°F).
- Avoid direct sun on the young scion initially to prevent leaf burn or dehydration.
Light and temperature control ensure vigorous growth of the grafted pomegranate.
🌿 Step 8: Graft Care and Monitoring
- Check grafts daily for signs of wilting or discoloration.
- Remove the grafting tape after 2–3 weeks, once the scion has fused with the rootstock.
- Support the scion with a small stick or toothpick if it leans or bends.
- Monitor for pests and diseases, using organic neem oil or mild solutions if necessary.
Consistent care increases survival rate and long-term productivity.
🌱 Step 9: Transplanting the Egg Graft to a Larger Pot
Once the grafted pomegranate shows new growth and roots fill the eggshell:
- Choose a larger pot or container, at least 12–14 inches deep.
- Carefully remove the eggshell without damaging roots (crush gently if needed).
- Plant the grafted pomegranate in fertile, well-draining soil.
- Water moderately and provide support for future vine growth.
Transplanting ensures the plant continues healthy growth and matures into a fruiting tree.
🍎 Step 10: Fertilizing and Nurturing the Plant
- Use organic compost or well-rotted manure every 4–6 weeks.
- A balanced N-P-K fertilizer supports leaf and flower development.
- Once flowers appear, switch to high-phosphorus fertilizer for better fruiting.
- Prune lateral shoots to focus energy on the main vine.
Healthy fertilization results in larger, sweeter pomegranates.
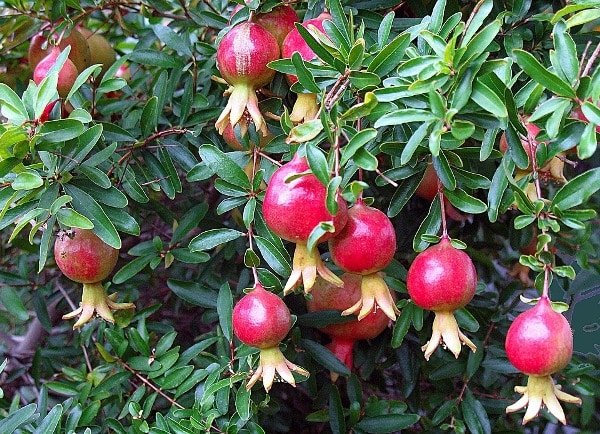
🕒 Step 11: Flowering and Fruiting
- Pomegranates usually flower 6–12 months after grafting, depending on growth conditions.
- Flowers appear as bright red, trumpet-shaped blooms, which develop into fruit.
- Pollination by insects or hand can increase fruit set.
- With proper care, a pomegranate tree can produce fruits for 15–20 years.
Patience is key—the grafting method accelerates growth, but fruiting takes time.
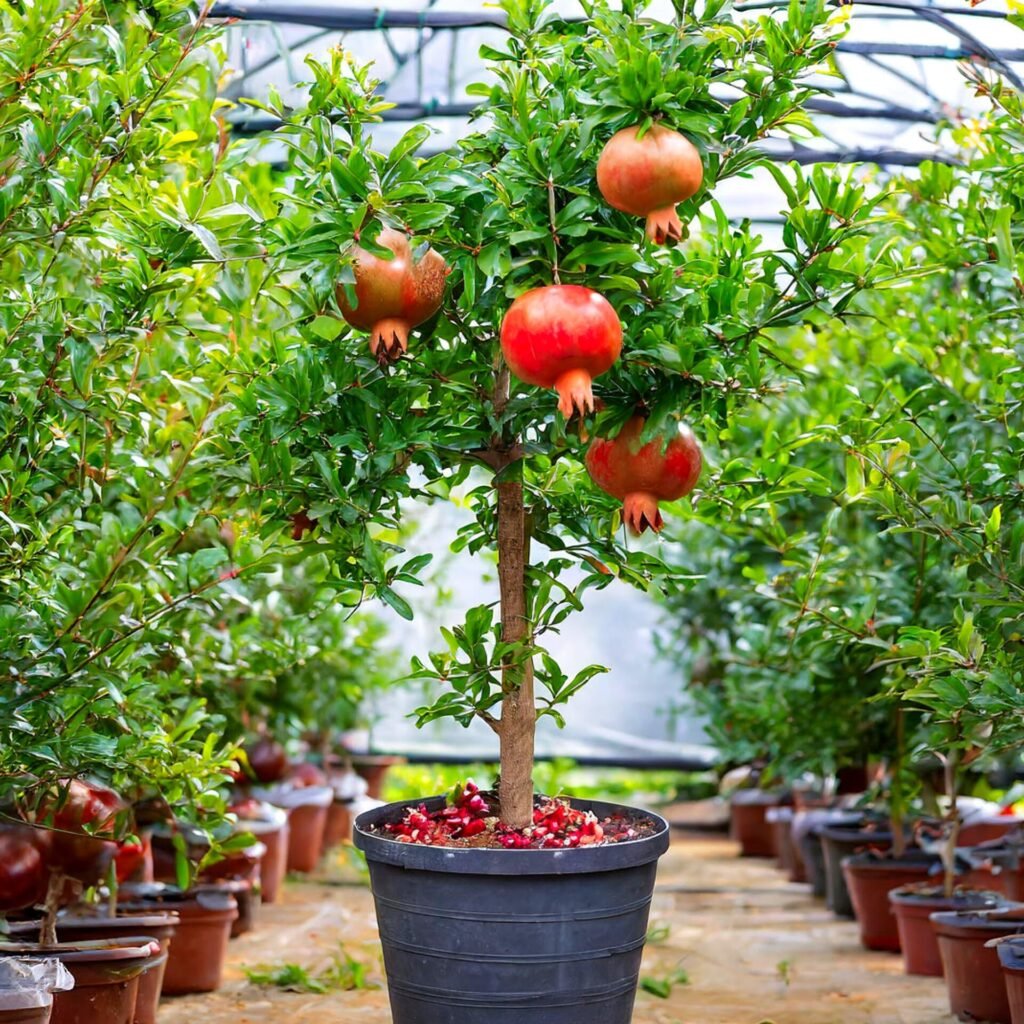
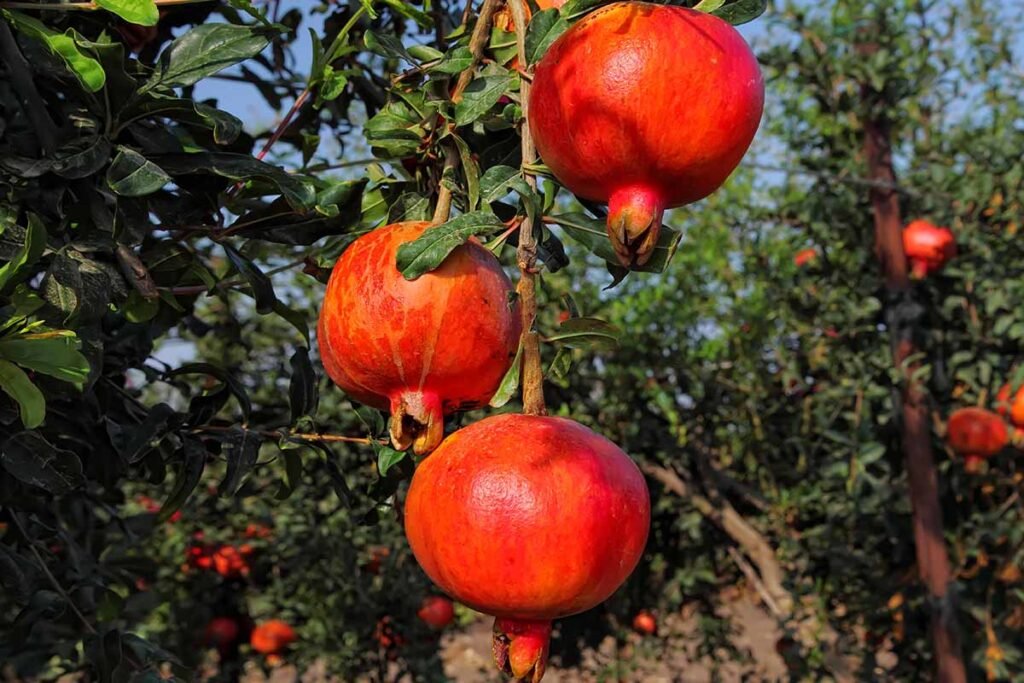
🌟 Step 12: Harvesting Pomegranates
- Fruits are ready when the skin turns deep red and seeds are juicy.
- Pick carefully to avoid damaging branches or flowers.
- Each grafted plant can produce multiple fruits per season.
Homegrown pomegranates are juicy, sweet, and free from chemicals, unlike many store-bought fruits.
💡 Step 13: Tips for Maximum Success
- Use healthy, disease-free scion and rootstock.
- Align cambium layers precisely during grafting.
- Keep the eggshell environment moist, warm, and shaded initially.
- Monitor graft daily for wilting, pests, or fungal infections.
- Be patient—fruiting takes several months, but the result is worth it.
Following these steps ensures a successful graft and a healthy pomegranate tree.
🏡 Benefits of Egg Grafting Pomegranates
- Eco-friendly: Reuses eggshells and reduces waste.
- Space-efficient: Perfect for terraces, kitchens, or small backyards.
- High survival rate: Controlled mini-environment protects grafts.
- Fast-growing: Promotes early fruiting compared to traditional methods.
- Educational and fun: Ideal for kids and beginner gardeners.
Eggshell grafting makes pomegranate propagation fun, practical, and rewarding.
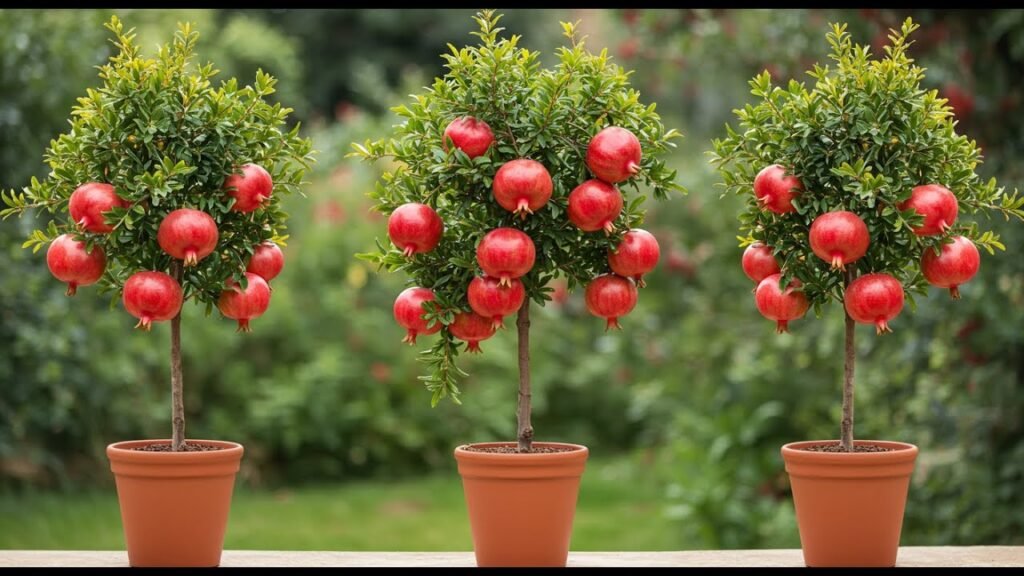
🍀 Step 14: Conclusion – Your Homegrown Pomegranate Tree
Grafting pomegranates in an egg is an innovative, easy, and highly productive method for home gardeners. From preparing eggshells and selecting scion/rootstock to careful grafting, watering, and nurturing, this method allows you to grow a healthy pomegranate tree with minimal space and effort.
Once transplanted and properly cared for, your grafted pomegranate can flower, fruit, and provide fresh, juicy seeds for years to come. Start today, try this amazing egg grafting technique, and enjoy the sweet rewards of homegrown pomegranates right from your terrace or garden.