Calendula, commonly known as pot marigold, is a vibrant and versatile flower that not only brightens up gardens with its sunny yellow and orange hues but also offers numerous medicinal benefits. This hardy annual is relatively easy to grow from seed, making it a favorite among both novice and experienced gardeners. In this article, we will explore effective techniques for cultivating calendula from seed, covering everything from planting to harvesting, along with a frequently asked questions (FAQs) section at the end.
Understanding Calendula
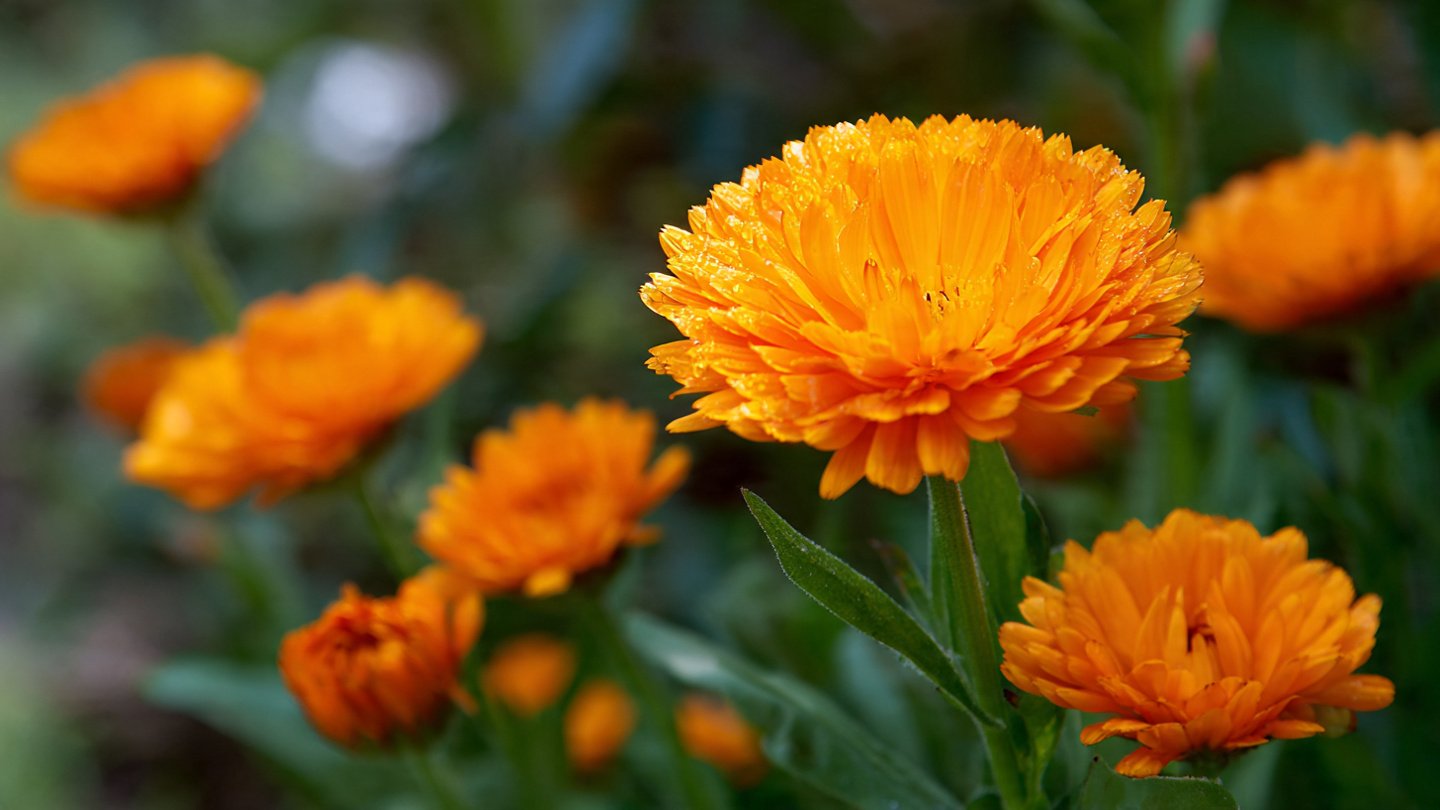
Before diving into the growing techniques, it’s crucial to understand the plant itself. Calendula is part of the Asteraceae family and is native to Europe and the Mediterranean. The plant typically grows to a height of 12 to 24 inches, featuring round, bright flowers that bloom throughout the summer and into the fall.
Calendula thrives in a variety of soil types, tolerates drought once established, and attracts pollinators like bees and butterflies. Apart from their aesthetic appeal, the flowers possess anti-inflammatory and antiseptic properties, making them useful in herbal remedies and skincare products.
Selecting the Right Variety
Calendula comes in several varieties, each with its unique characteristics. Here are some popular types you might consider:
- Calendula officinalis: The most commonly grown variety, known for its medicinal properties.
- Calendula ‘Resina’: Features orange petals that are rich in resin, ideal for making ointments.
- Calendula ‘Art Shades’: A unique variety with multi-colored blooms ranging from golden yellow to deep orange.
Choose the variety that aligns with your garden’s aesthetic and your personal preferences.
When and Where to Plant
Timing
Calendula seeds can be sown directly into the garden after the last frost in spring or started indoors 6 to 8 weeks prior to the last expected frost date. For continuous blooms, you can sow seeds in late summer for a fall harvest.
Location
Select a location with full sun to partial shade. While calendula can tolerate some shade, full sun will promote more vigorous blooming. Ensure the area has well-draining soil to prevent waterlogged roots.
Soil Preparation
Soil Type
Calendula thrives in a variety of soil types, but it prefers loamy, well-drained soils enriched with organic matter. To prepare your soil:
- Testing pH: Aim for a pH between 6.0 and 7.0. You can test your soil using a DIY kit or send a sample to a lab for analysis.
- Amending Soil: If necessary, you can amend your soil with compost, well-rotted manure, or aged mulch to improve fertility and drainage.
Tillage
Loosen the top 12 inches of soil using a garden fork or tiller. This will help aerate the soil and create a favorable environment for seed germination.
Sowing the Seeds
Direct Sowing
-
Spacing: Sow seeds about ¼ inch deep, spaced 6 to 12 inches apart, depending on your garden design. If you’re looking for a more compact planting, you can sow them closer together.
-
Watering: Water the seeds lightly after planting to ensure good seed-to-soil contact. Keep the soil moist but not soggy, as overly wet conditions can lead to rot.
Indoor Sowing
If you prefer to start seeds indoors:
- Cell Trays: Use seedling trays filled with seed-starting mix.
- Sowing Depth: Plant seeds ¼ inch deep. Cover them lightly and mist the soil to moisten.
- Light and Temperature: Ensure they receive ample light either from a sunny window or under grow lights. Maintain a temperature of about 70°F (21°C).
Caring for Your Calendula
Once your seeds have germinated and seedlings are established, caring for them becomes essential to promote healthy growth.
Watering
Calendula prefers consistent moisture but has decent drought resistance. Water the plants deeply once a week, allowing the soil to dry slightly between waterings. Avoid overhead watering to minimize the risk of fungal diseases.
Fertilization
While calendula doesn’t require heavy fertilization, you can apply a balanced, slow-release fertilizer once every 4–6 weeks during the growing season for a nutrient boost. Over-fertilization can lead to more foliage than flowers.
Mulching
Applying a layer of organic mulch around the base of your plants can help retain moisture, suppress weeds, and regulate soil temperature. Use straw, wood chips, or shredded leaves, taking care not to pile the mulch against the plant’s stem to prevent rot.
Pruning and Deadheading
To encourage a continuous bloom and bushier growth:
- Deadheading: Regularly remove spent flowers by cutting them at the base of the stem. This also helps prevent self-seeding, unless you wish for them to return next year.
- Pruning: Trim back any leggy growth to encourage fuller plants.
Pest and Disease Management
Calendula is generally pest-resistant, but occasional issues can arise:
Common Pests
- Aphids: If you notice clusters of tiny green insects, blast them with water or use insecticidal soap.
- Snails and Slugs: Set out traps or use diatomaceous earth around your plants to deter these pests.
Common Diseases
- Powdery Mildew: Ensure good air circulation and avoid overcrowding your plants.
- Root Rot: The main cause of root rot is overwatering. Ensure proper drainage in your soil and pots.
Harvesting Calendula
Calendula flowers can be harvested once they reach full bloom.
Cutting Flowers
Cut the flowers early in the morning for the best flavor and fragrance. Use a sharp knife or garden shears, taking care to avoid damaging the surrounding healthy leaves.
Drying Flowers
To preserve the flowers for culinary or medicinal purposes:
-
Air Drying: Hang the cut flowers upside down in a dry, dark place for 1–2 weeks until completely dried.
-
Storing: Store dried flowers in airtight containers in a cool, dark place.
Incorporating Calendula into Your Garden
Apart from being visually appealing, calendula can be a functional addition to your garden:
- Companion Planting: Calendula attracts beneficial insects and can deter pests like nematodes when planted alongside vegetables.
- Edible Use: The petals can be used in salads, teas, and as natural food coloring.
FAQs
1. How long does it take for calendula seeds to germinate?
Calendula seeds typically take 7 to 14 days to germinate under optimal conditions.
2. Can I grow calendula in containers?
Yes, calendula can thrive in containers as long as they are large enough (minimum 6–12 inches deep) with good drainage.
3. How do I collect seeds from my calendula plants?
After the flowers have dried on the plant, collect the seed heads and break them apart to gather the seeds. Store in a cool, dry place.
4. Is calendula safe for pets?
While calendula is not toxic to pets, it’s always best to monitor your animals around unfamiliar plants.
5. How often should I water calendula plants?
Water your calendula plants deeply once a week, allowing the soil to dry slightly between waterings.
6. Can I grow calendula indoors?
Yes, you can grow calendula indoors. Just make sure they receive enough light and are in well-draining soil.
Conclusion
Growing calendula from seed is a rewarding endeavor that enhances your garden’s beauty while providing a plethora of benefits. By following the techniques outlined in this article, you’ll be well on your way to nurturing a thriving patch of these cheerful flowers. Whether for ornamental use, culinary delight, or medicinal purposes, calendula is a versatile plant that deserves a spot in your garden. Happy gardening!