Microgreens have taken the world by storm—and for good reason. These tiny greens are not only incredibly nutritious, but they’re also easy to grow, take very little space, and require minimal effort. Whether you live in an apartment, have a balcony, or own a garden, you can grow microgreens effortlessly.
If you’re looking for a fast, rewarding, and productive home-growing project, learning how to grow microgreens at home is the perfect place to start. In this complete guide, you will discover everything you need to grow lush, healthy, and flavorful microgreens—right from your kitchen counter!
🌱 What Are Microgreens?
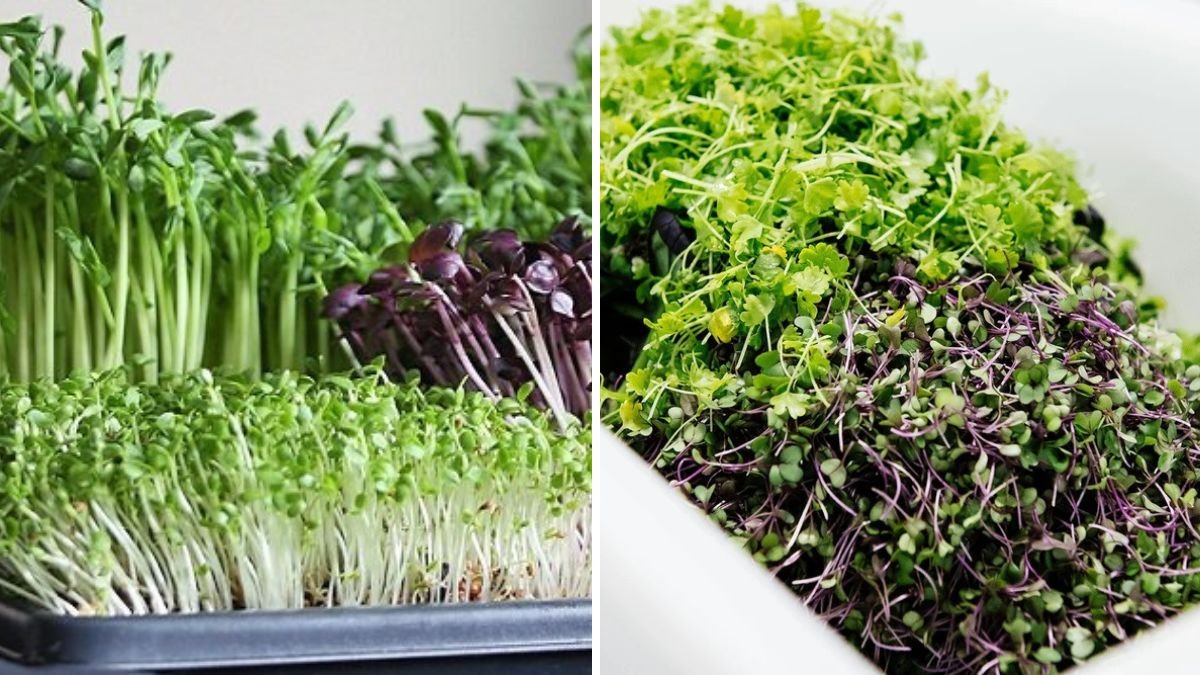
Microgreens are young, edible seedlings of vegetables and herbs. They are harvested just 7–14 days after germination, right when the first true leaves appear. Despite their small size, they pack a powerful punch of flavor and nutrients.
Popular Microgreens Include:
- Mustard
- Fenugreek (Methi)
- Radish
- Wheatgrass
- Coriander
- Beetroot
- Sunflower
- Broccoli
- Basil
Research shows that microgreens can contain up to 40 times more nutrients than mature plants, making them one of the healthiest foods you can grow.
🌿 Why Grow Microgreens at Home?
Microgreens are beginner-friendly and incredibly rewarding. Here’s why people love growing them at home:
✔ Fast Growth
Most microgreens grow in 7–10 days, giving you quick, fresh harvests.
✔ Space-Saving
You can grow them in trays, containers, or even old plastic boxes.
✔ Low Maintenance
No fertilizers, no garden tools—just water, seeds, and light.
✔ Highly Nutritious
Rich in vitamins A, B, C, E, K, iron, protein, and antioxidants.
✔ Fresh and Chemical-Free
Perfect for salads, sandwiches, smoothies, and garnishes.
✔ Ideal for Beginners and Kids
A fun, easy gardening project for the whole family.
🌞 Step 1: Choose the Right Microgreen Seeds
While many seeds can be grown as microgreens, always choose untreated, chemical-free, organic seeds.
Best Beginner-Friendly Seeds:
- Mustard (Sarso)
- Fenugreek (Methi)
- Radish
- Wheatgrass
- Green gram (Moong)
- Broccoli
- Sunflower
These seeds germinate quickly and have high success rates.
🌱 Step 2: Select the Perfect Growing Container
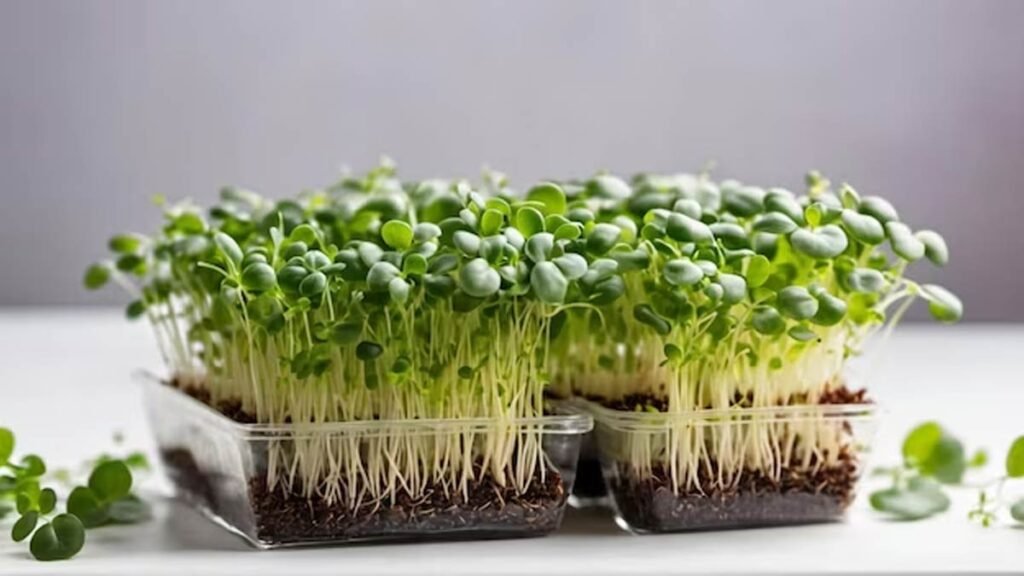
You don’t need fancy trays to grow microgreens. Use what you already have.
Suitable Containers:
- Plastic trays
- Food containers
- Takeaway boxes
- Old baking trays
- Shallow pots
- Seedling trays
Important:
Ensure your container has drainage holes.
If not, make a few holes at the bottom to prevent waterlogging.
🌿 Step 3: Prepare the Ideal Soil Mix
Microgreens grow best in a light, airy, and nutrient-rich medium.
Recommended Soil Mix:
- 50% Coco peat or peat moss
- 30% Compost or vermicompost
- 20% Garden soil or sand
Alternatively, you can grow microgreens using:
- Tissue paper
- Coconut coir mats
- Hydroponic grow pads
However, soil-based microgreens have better flavor and higher yield.
🌱 Step 4: Sowing the Seeds
Proper sowing ensures uniform growth and thick, healthy microgreens.
✔ Step-by-Step Sowing Guide:
- Fill your container with 1–2 inches of soil mix.
- Level the surface using your hand or a small board.
- Evenly sprinkle the seeds across the soil surface.
- Do not overcrowd—give seeds room to grow.
- Gently press the seeds into the soil using a board or your fingers.
- Spray water lightly to moisten the surface.
- Cover the tray with a lid, plate, or another tray for 2 days.
Covering helps create a moist, dark environment ideal for germination.
🌞 Step 5: Provide the Right Environment
Microgreens need three things to thrive:
✔ Moisture
Keep the soil consistently moist, not soggy.
Use a spray bottle to water gently.
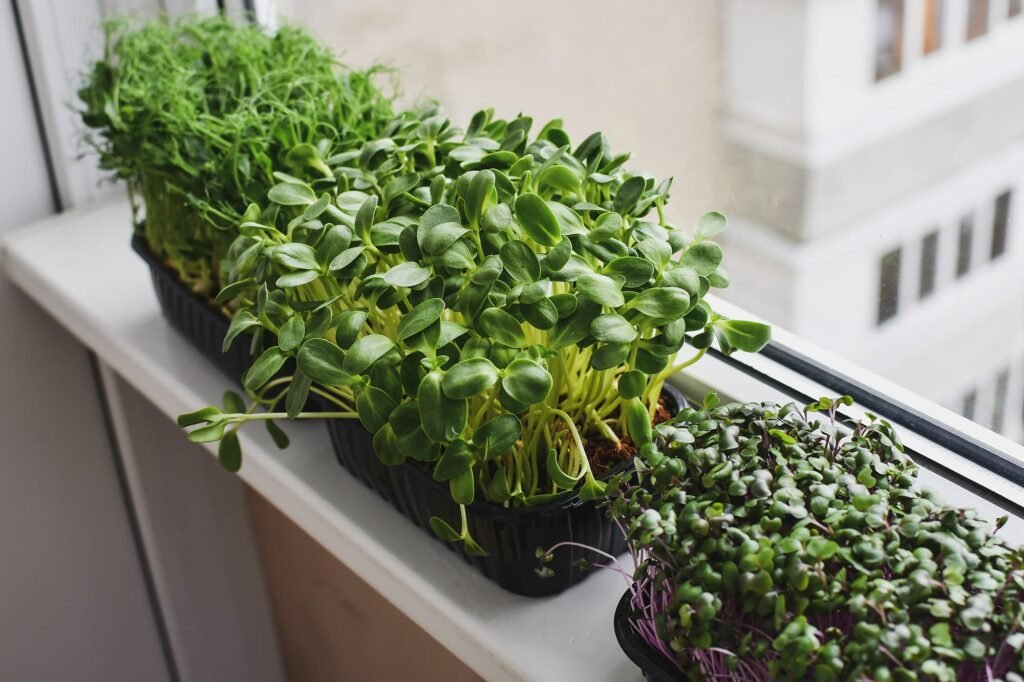
✔ Light
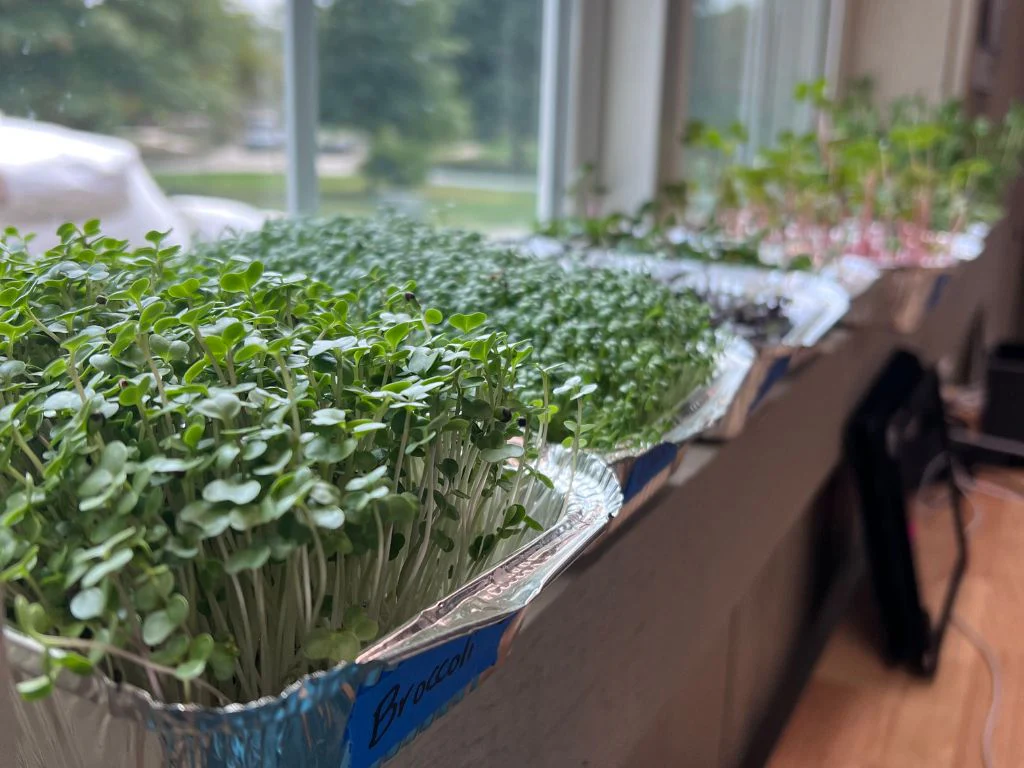
Once seeds sprout (after 2–3 days), remove the cover and move the tray into:
- Bright indirect sunlight
- A sunny windowsill
- Under grow lights
Avoid harsh afternoon sun to prevent drying.
✔ Air Circulation
Good airflow prevents mold and fungal issues.
🌿 Step 6: Taking Care of Your Microgreens
Caring for microgreens is straightforward, but a few simple steps can improve quality and flavor.
✔ Water from the Bottom (Optional but Effective)
Place the tray in a shallow dish of water.
Let the soil absorb moisture from below.
This prevents fungus and keeps leaves dry.
✔ Rotate the Tray Daily
Ensures even light exposure and prevents leaning.
✔ Avoid Overwatering
Soggy soil encourages mold.
Water only when the top layer feels dry.
✔ Ventilate the Room
Open a window or use a small fan to reduce humidity.
🌱 Step 7: Harvesting Your Microgreens
The best part of growing microgreens is how quickly you can harvest them!
Harvest Time:
- Most microgreens are ready in 7–14 days.
- Harvest when the first true leaves appear.
How to Harvest:
- Use clean scissors or a knife.
- Hold the greens gently.
- Cut above the soil surface—do not pull.
- Wash them gently and use fresh.
Storage:
Microgreens stay fresh for 4–6 days in an airtight container in the fridge.
Line the container with a dry tissue to absorb excess moisture.
🌿 Step 8: Using Microgreens in Daily Meals
Microgreens are incredibly versatile.
Add Them To:
- Salads
- Smoothies
- Sandwiches
- Wraps
- Soups
- Omelets
- Stir-fries
- Buddha bowls
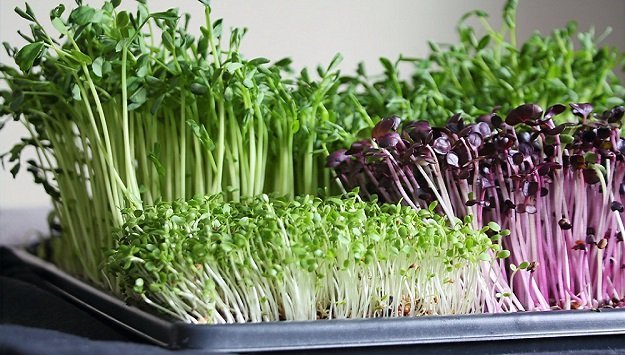
Each variety adds unique texture and flavor—from spicy radish to cooling fenugreek.
🌱 Troubleshooting: Common Problems & Solutions
1. Mold Growth
Solution: Improve ventilation, reduce watering, give more airflow.
2. Yellow or Weak Stems
Cause: Lack of light.
Solution: Move to a brighter spot.
3. Uneven Growth
Cause: Uneven seed distribution.
Solution: Spread seeds more evenly next time.
4. Drying Out Quickly
Cause: Hot or windy environment.
Solution: Mist more often and use mulch or shade.
🌞 Advanced Tips for Maximum Yield
- Pre-soak larger seeds like sunflower or peas overnight.
- Use grow lights if indoor lighting is insufficient.
- Add a very thin layer of coco peat over small seeds to keep them moist.
- Grow multiple trays at once for regular weekly harvests.
- Reuse the soil after removing root debris and adding fresh compost.
🌿 Final Thoughts
Growing microgreens at home is one of the simplest and most fulfilling gardening activities you can try. Within just a week or two, you can enjoy a fresh, crunchy, and nutrient-packed harvest straight from your windowsill—no garden needed!
Whether you’re a beginner or an experienced gardener, microgreens bring joy, health, and beauty into any home. With minimal effort and maximum results, they’re a perfect way to start your journey into home gardening.
If you’d like, I can also create: