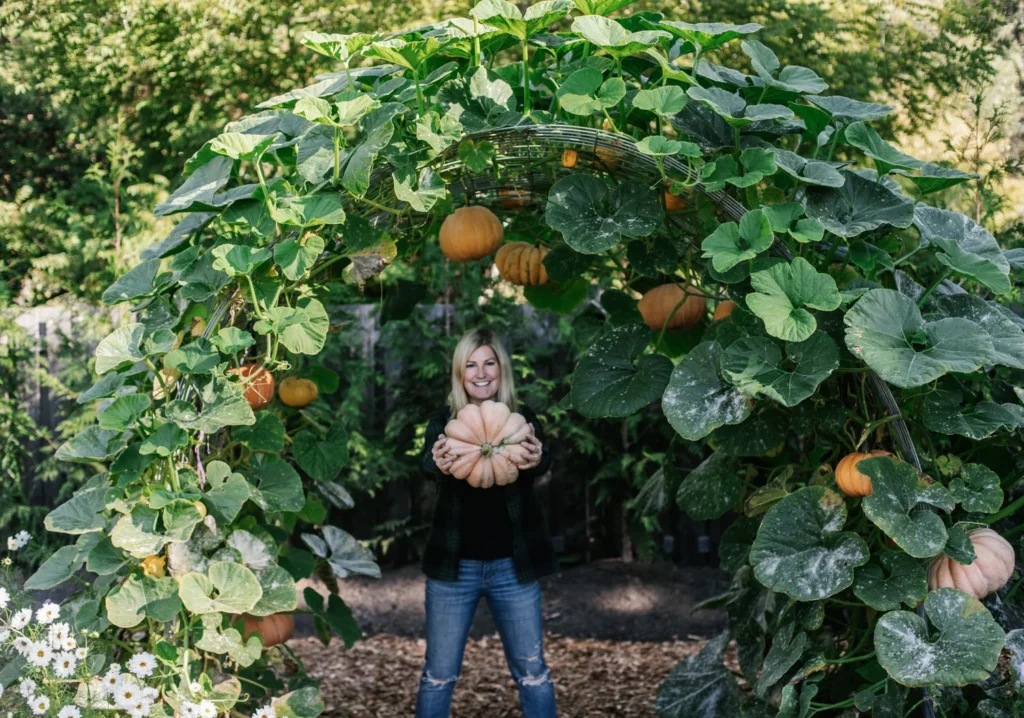
Mini pumpkins are charming, nutritious, and versatile—perfect for cooking, decoration, or gifting. Traditionally, pumpkins require ample garden space, rich soil, and careful watering. But what if you could grow mini pumpkins at home using hydroponics—without soil, in a small area, and with faster results?
Hydroponics is a modern gardening method where plants grow in nutrient-rich water rather than soil. Using this method, even beginners or urban dwellers can produce healthy, flavorful mini pumpkins in a compact setup. This guide will take you through everything you need to know—from setup to harvesting.
Why Grow Mini Pumpkins Hydroponically?
Hydroponics offers several advantages over traditional soil gardening:
- Space Efficiency: Perfect for balconies, terraces, or indoor setups
- Faster Growth: Plants receive nutrients directly, accelerating development
- Controlled Environment: Reduce risks of pests, soil diseases, and nutrient imbalance
- Water-Saving: Uses significantly less water than soil gardening
- Year-Round Gardening: Grow pumpkins regardless of soil quality or climate
Hydroponics allows you to maximize yield while minimizing space and effort.
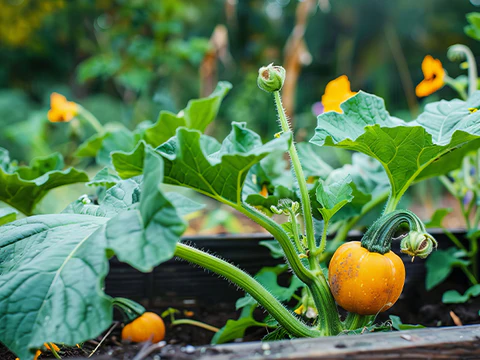
Step 1: Selecting Mini Pumpkin Varieties
Not all pumpkin varieties are suited for hydroponic growth. For home setups, choose compact, dwarf, or mini varieties:
- Jack Be Little: Popular mini pumpkin, ideal for hydroponics
- Baby Boo: White mini pumpkin, decorative and edible
- Pumpkin Pie Varieties: Dwarf types suited for small spaces
Selecting the right variety ensures manageable growth and higher yields.
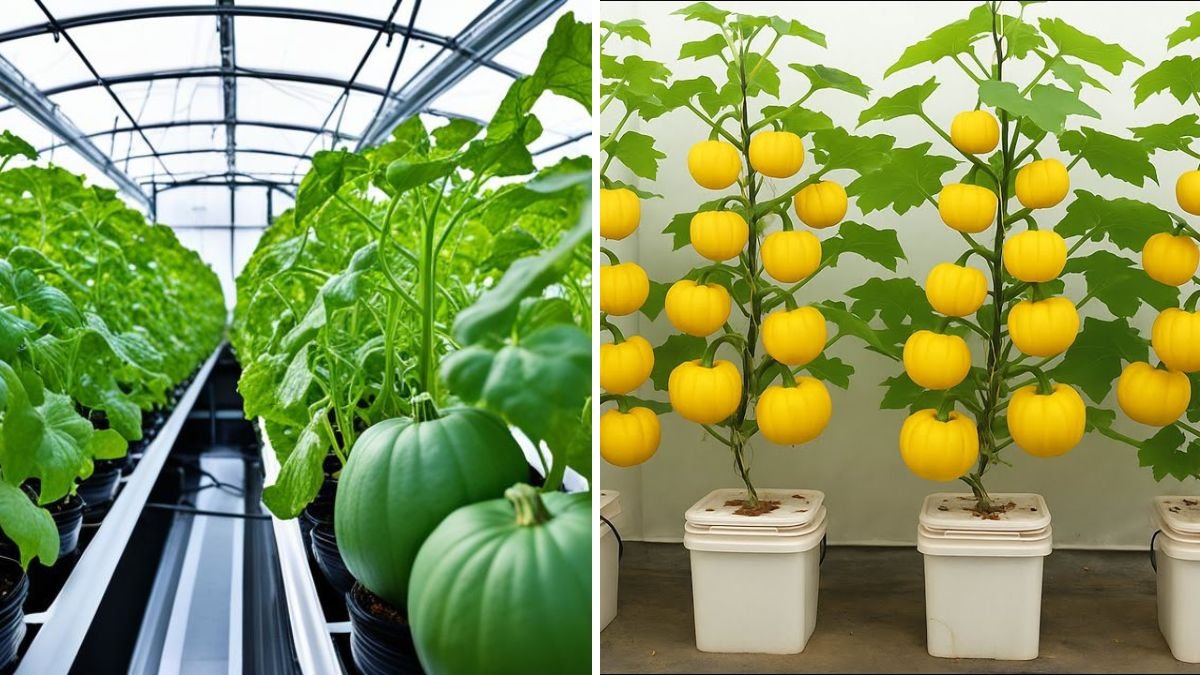
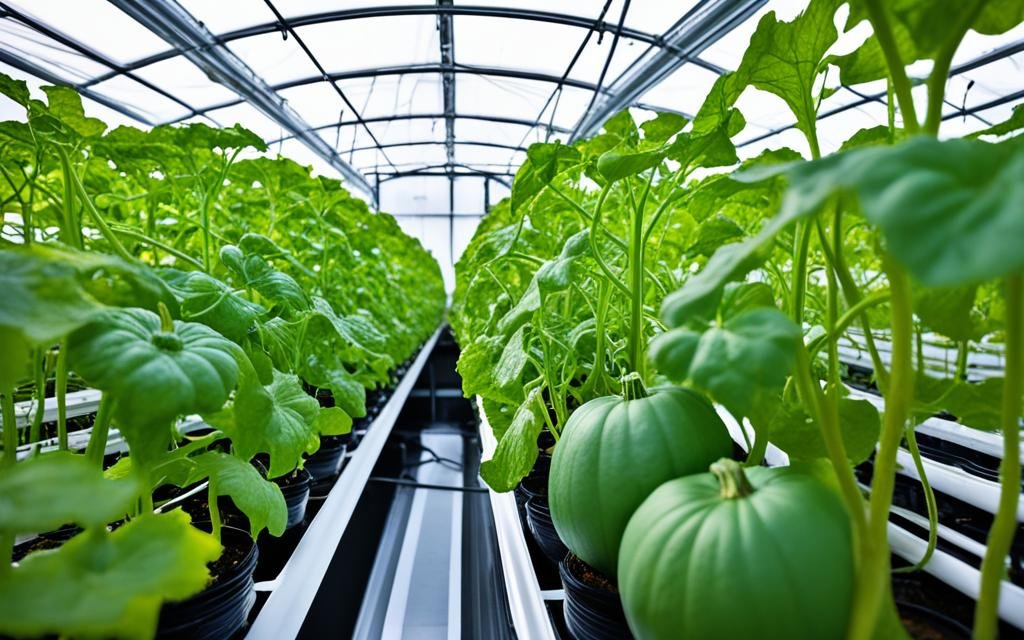
Step 2: Preparing Hydroponic Setup at Home
Hydroponic systems range from simple DIY setups to more advanced commercial models. For mini pumpkins, a simple container or bucket system works well.
Materials Needed
- Plastic container or bucket (10–20 liters) for the nutrient solution
- Small pots or net cups for seedlings
- Hydroponic nutrient solution (commercial or homemade)
- pH testing kit (optional, but recommended)
- Water pump or air stone for aeration (optional for DIY systems)
Setup Steps
- Fill the container with water and hydroponic nutrients
- Place net cups or small pots into holes in the container lid
- Position seedlings in the net cups
- Ensure roots reach the nutrient solution
Even a simple DIY hydroponic setup allows your mini pumpkins to thrive.
Step 3: Germinating Mini Pumpkin Seeds
Seed germination is the first critical step:
- Soak seeds in water for 12–24 hours to boost germination
- Place seeds in a damp paper towel or starter cubes until roots sprout
- Once seedlings develop 2–3 leaves, transfer to net cups in the hydroponic system
Healthy seedlings set the foundation for strong, productive plants.
Step 4: Nutrient Solution Preparation
Pumpkins require balanced nutrients for root, leaf, and fruit development.
Key Nutrients
- Nitrogen (N): Promotes leafy growth
- Phosphorus (P): Encourages root and flower development
- Potassium (K): Essential for fruiting
- Calcium and magnesium: Support fruit quality and prevent blossom-end rot
Tips
- Follow manufacturer guidelines if using commercial hydroponic nutrients
- Maintain pH between 5.5–6.5 for optimal absorption
- Replace or refresh nutrient solution every 2–3 weeks
Correct nutrient management ensures rapid, healthy growth and better yields.
Step 5: Lighting and Location
Mini pumpkins need sufficient light for photosynthesis:
- Place the hydroponic setup in a sunny spot with at least 6–8 hours of sunlight
- For indoor growth, use LED grow lights for 12–16 hours a day
- Rotate plants periodically for even light exposure
Adequate light ensures strong stems, vibrant leaves, and abundant flowers.
Step 6: Supporting Vines and Flowers
Mini pumpkin vines are climbing plants and require support for healthy growth:
- Use trellises, stakes, or horizontal nets to guide vines
- Prune side shoots to focus energy on main growth
- Hand-pollinate flowers if indoors (pumpkins rely on insects for pollination)
Supporting vines prevents plant stress, improves airflow, and enhances fruit development.
Step 7: Pollination for Fruit Production
Pumpkins produce male and female flowers separately. For hydroponic home gardening:
- Identify female flowers (with tiny fruit at the base)
- Gently transfer pollen from male flowers to female flowers using a soft brush
- Repeat for several flowers to increase fruit set
Pollination is key to producing multiple mini pumpkins.
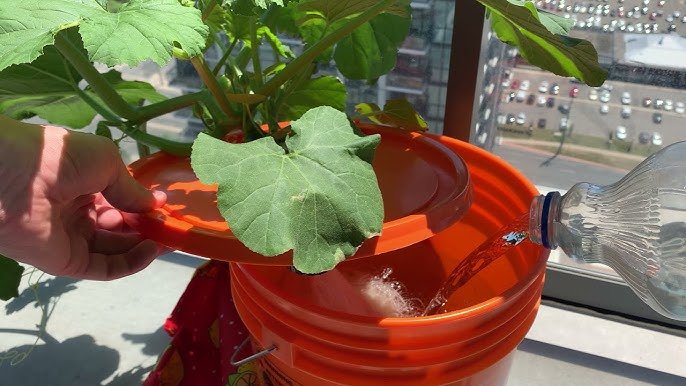
Step 8: Watering and Humidity Control
Even in hydroponics, maintaining the right water and humidity levels is essential:
- Keep roots constantly submerged in nutrient solution
- Maintain air humidity around 50–70%
- Avoid stagnant water by using an air pump or occasional water movement
Consistent moisture and oxygenation promote healthy roots and prevent diseases.
Step 9: Pest and Disease Management
Hydroponic systems are less prone to pests, but vigilance is still needed:
- Watch for aphids, spider mites, or fungal growth
- Remove affected leaves promptly
- Use organic pest sprays if necessary (neem oil, insecticidal soap)
Healthy, hydroponically grown pumpkins are more resilient and productive.
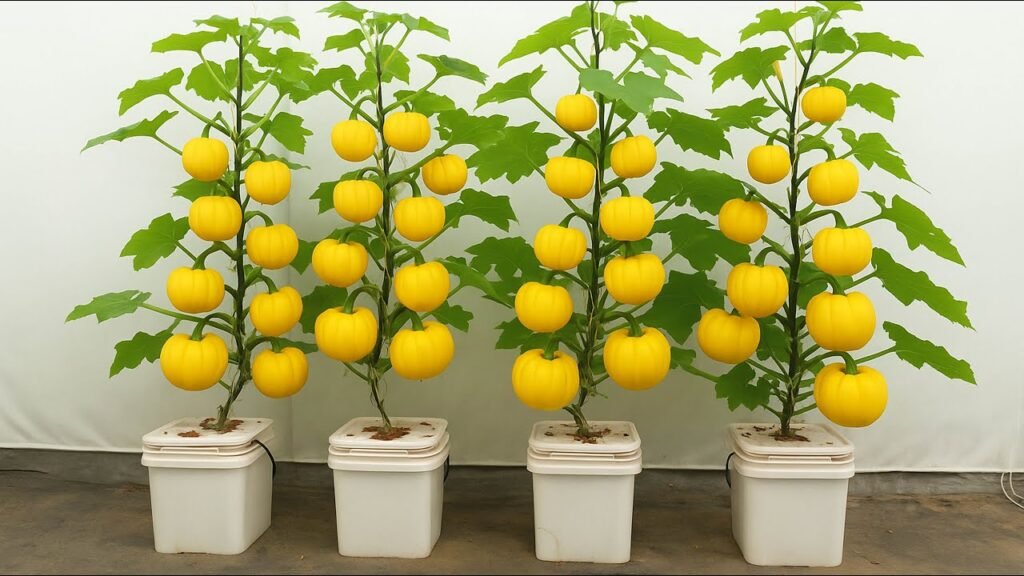
Step 10: Harvesting Mini Pumpkins
Mini pumpkins grown hydroponically are usually ready in 8–12 weeks after transplanting, depending on the variety.
Harvesting Tips
- Pick fruits when they are firm, brightly colored, and fully sized
- Use sharp scissors or a knife to cut pumpkins from the vine
- Avoid pulling, which can damage the plant
With proper care, your home hydroponic setup can produce multiple harvests in a single season.
Benefits of Growing Mini Pumpkins Hydroponically at Home
- Space-Saving: Perfect for apartments or limited outdoor space
- Faster Growth: Nutrients delivered directly to roots
- Year-Round Gardening: Grow pumpkins regardless of season
- Eco-Friendly: Reduces reliance on pesticides and fertilizers
- High Yield: Healthier plants produce more fruits in less space
Hydroponics makes it possible to enjoy homegrown pumpkins without a traditional garden.
Final Thoughts: Mini Pumpkins Made Easy
Growing mini pumpkins hydroponically at home may sound ambitious, but it’s completely achievable, even for beginners. With the right seed selection, hydroponic setup, nutrient management, and care, you can enjoy fresh, nutritious, and visually appealing mini pumpkins without soil or large garden space.
Whether for cooking, decorating, or gifting, hydroponic mini pumpkins provide a fun, rewarding, and productive gardening experience right at home. With this method, you can embrace urban gardening, save space, and enjoy a bountiful harvest year-round.