Paragraph 1: Introduction to Hibiscus Side Grafting
Hibiscus side grafting is a popular vegetative propagation technique used to multiply flowering hibiscus plants efficiently. This method joins a healthy scion to a strong rootstock while the rootstock remains intact. Side grafting is ideal for producing uniform plants with vibrant flowers. It ensures faster flowering compared to seed propagation. This technique is widely used in nurseries. Home gardeners also benefit from this method. Side grafting improves plant vigor and flowering performance. Proper execution ensures high success.
Paragraph 2: Why Choose Side Grafting for Hibiscus
Side grafting preserves the exact flower color and size of the parent plant. Seed-grown hibiscus may show variation. Side grafting ensures early flowering. It also allows use of strong rootstock. Plants become more resilient. This method is reliable and efficient. It is suitable for tropical climates. Gardeners prefer it for consistent results.
Paragraph 3: Best Time for Hibiscus Side Grafting
The best time for hibiscus side grafting is during spring and early summer. Warm temperatures support faster graft union healing. Avoid cold and rainy seasons. Moderate humidity improves success. Early morning is ideal for grafting. Seasonal timing is crucial. Proper timing enhances graft survival. This step should not be ignored.
Paragraph 4: Selection of Rootstock Plant
Rootstock should be healthy and disease-free. It should be well-established in a pot or ground. Stem thickness should match scion size. Strong roots support graft success. Avoid weak plants. Rootstock determines overall growth. Proper selection ensures long-term health.
Paragraph 5: Selection of Scion Branch
Scion should be taken from a healthy, flowering hibiscus plant. Choose a semi-hardwood branch with active buds. Avoid old or weak branches. Scion quality affects flower output. Early morning cutting is best. Proper scion selection ensures success.
Paragraph 6: Tools and Materials Needed
Essential tools include a sharp grafting knife, plastic tape, and disinfectant. Clean tools prevent infection. Plastic tape secures the graft. Labels help identify varieties. Preparation saves time. Organized tools improve accuracy. Cleanliness is critical.
Paragraph 7: Preparing the Rootstock for Side Grafting
Make a slanting cut on the side of the rootstock stem. The cut should be deep enough to insert the scion. Avoid cutting through the stem completely. This creates a pocket. Proper cut ensures good contact. Precision improves success. This step is crucial.
Paragraph 8: Preparing the Scion for Grafting
Trim the scion into a wedge shape. The cut should match the rootstock cut. Remove extra leaves to reduce moisture loss. Proper shaping ensures cambium contact. Healthy scion promotes healing. Accuracy matters. Preparation determines union success.
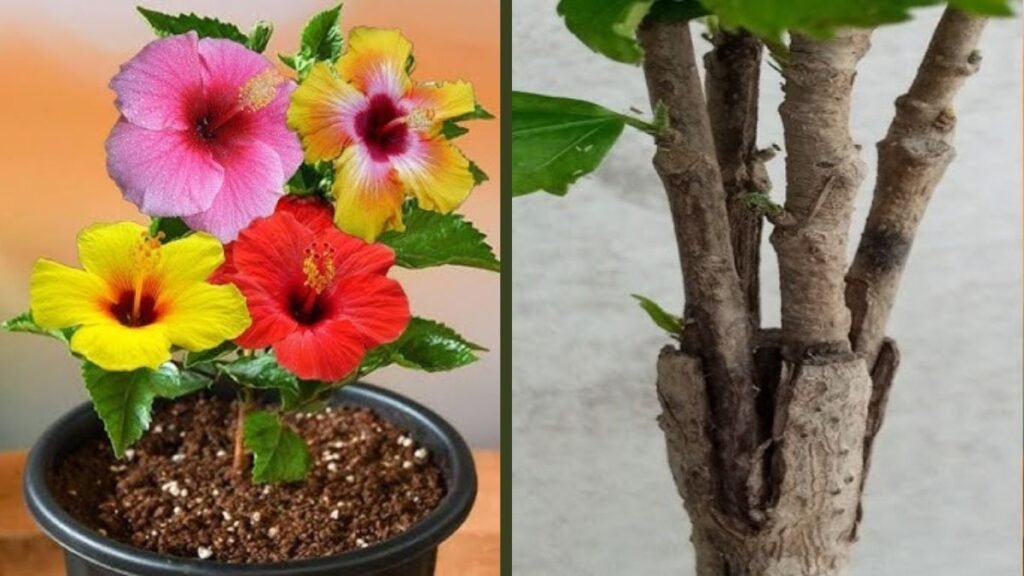
Paragraph 9: Joining Scion and Rootstock
Insert the scion into the rootstock cut carefully. Align cambium layers properly. Secure the joint tightly with plastic tape. Avoid movement. Proper alignment ensures nutrient flow. This step determines graft survival. Stability is essential.
Paragraph 10: Protection of Graft Union
Cover the graft union completely to prevent moisture loss. Protect from direct sunlight. Maintain humidity. Avoid watering directly on graft. Protection supports healing. Proper care ensures success. Graft union needs stability.
Paragraph 11: Post-Grafting Care
Water lightly after grafting. Keep plant in partial shade. Remove shoots below graft union. Monitor regularly. Avoid disturbance. Post-grafting care is critical. Gentle handling ensures success.
Paragraph 12: Healing and Growth Timeline
Graft union heals within two to three weeks. Bud swelling indicates success. New leaves appear gradually. Remove tape after healing. Healing speed depends on temperature. Proper care accelerates growth.
Paragraph 13: Training the Grafted Hibiscus Plant
Prune unwanted shoots. Encourage scion growth. Maintain balanced structure. Training improves flowering. Proper shape enhances appearance. Training supports long-term health. Regular pruning is beneficial.
Paragraph 14: Fertilization After Side Grafting
Start light fertilization after graft healing. Use organic compost. Avoid strong fertilizers. Balanced nutrition supports growth. Fertilization enhances flowering. Moderate feeding is recommended.
Paragraph 15: Common Mistakes in Side Grafting
Misalignment of cambium reduces success. Loose wrapping causes drying. Grafting during cold weather fails. Using weak scions is risky. Awareness prevents mistakes. Correct technique improves results.
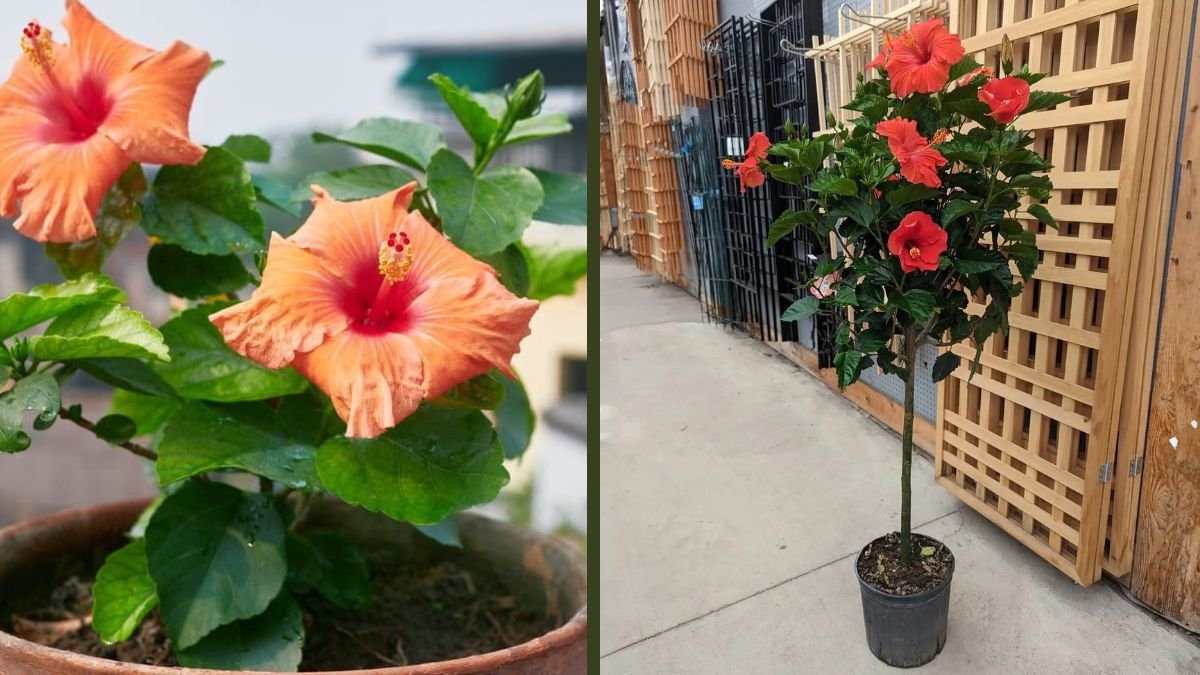
Paragraph 16: Benefits of Hibiscus Side Grafting
Side grafting ensures early flowering. It maintains flower quality. Plants grow vigorously. This method allows variety preservation. It is reliable and efficient. Gardeners benefit greatly.
Paragraph 17: Table – Hibiscus Side Grafting Overview
Table: Key Details of Hibiscus Side Grafting
Aspect | Description
Best season | Spring to early summer
Grafting type | Side grafting
Healing time | Two to three weeks
Flowering time | Three to four months
Success rate | High with proper care
Paragraph 18: Indoor vs Outdoor Side Grafting
Outdoor grafting is common in warm climates. Indoor grafting offers control. Outdoor requires shade protection. Indoor needs sufficient light. Both methods are effective. Choose based on conditions.
Paragraph 19: Commercial Use of Hibiscus Grafting
Nurseries use side grafting for mass production. Uniform plants attract buyers. Flower quality remains consistent. Commercial growers rely on grafting. Market demand is fulfilled easily.
Paragraph 20: Conclusion
Hibiscus side grafting is an excellent propagation technique for flowering plants. It ensures uniform growth and early blooms. With correct timing and care, success is high. This method benefits home gardeners and professionals. Side grafting preserves beauty and quality. Start grafting and enjoy vibrant hibiscus flowers.