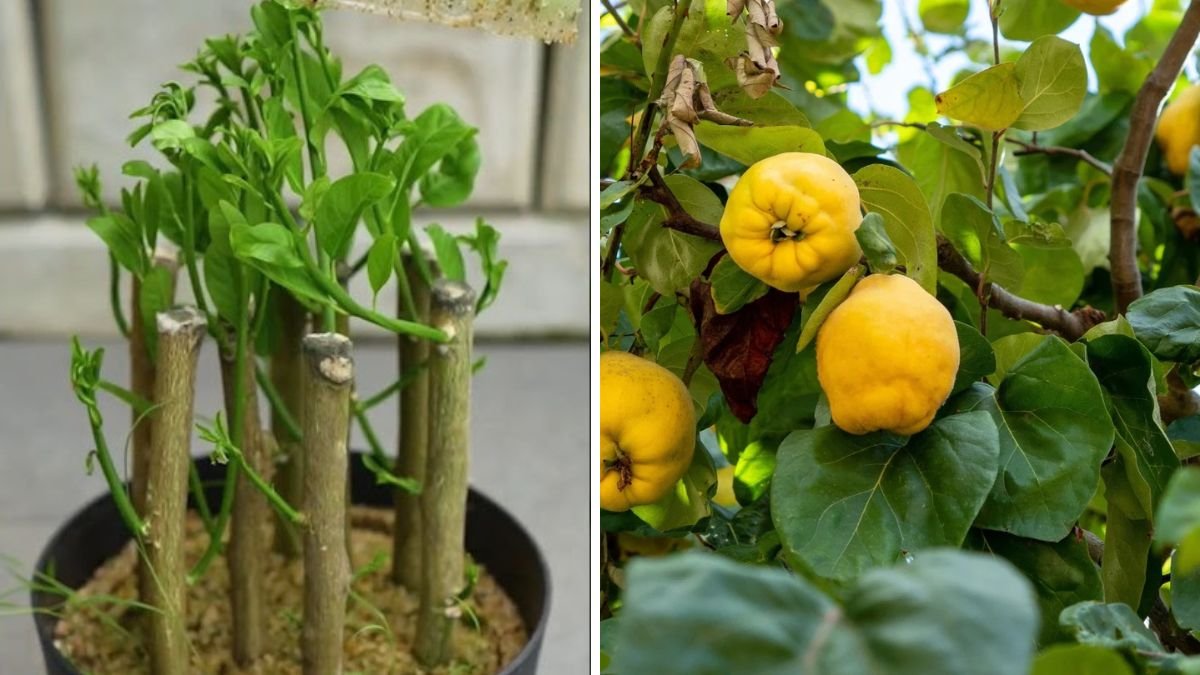
Introduction to Quince Propagation by Cuttings
Propagating quince trees from cuttings is a fast and reliable method. Using turmeric makes the process natural and chemical-free. Turmeric acts as an antifungal and rooting aid. This method is popular among organic gardeners. Cuttings produce identical plants to the parent tree. It ensures fruit quality remains consistent. Propagation saves money and time. This article explains the process step by step.
Understanding Quince Tree Cuttings
Cuttings are sections taken from healthy branches. Semi-hardwood cuttings work best. They contain stored energy for rooting. Proper selection increases success rate. Disease-free branches are essential. Cuttings should be pencil-thick. Timing affects rooting success. Knowledge improves outcomes.
Why Use Turmeric for Propagation
Turmeric has natural antifungal properties. It prevents rot in cuttings. Turmeric also protects from soil pathogens. It is easily available and affordable. Organic gardeners prefer turmeric over chemicals. It supports healthy root development. Natural methods reduce risks. Turmeric enhances success naturally.
Selecting the Right Branches
Choose healthy, mature branches. Avoid flowering or fruiting shoots. Branches should be flexible but firm. Cuttings should be six to eight inches long. Use clean, sharp tools. Clean cuts heal faster. Proper selection ensures rooting. Healthy branches give strong plants.
Preparing the Cuttings
Remove lower leaves from the cutting. Keep two or three leaves at the top. Make a slanted cut at the base. This increases rooting area. Avoid damaging the stem. Proper preparation is essential. Clean cuttings root faster. Attention to detail matters.
Applying Turmeric Paste
Mix turmeric powder with clean water. Make a thick paste. Dip the cut end into turmeric. Coat evenly and gently. Allow it to dry briefly. Turmeric protects from fungal infections. This step replaces chemical hormones. Natural protection is effective.
Preparing Soil for Cuttings
Use light, well-draining soil. Mix garden soil with sand and compost. Avoid heavy clay soils. Soil should retain moisture but drain well. Sterile soil reduces disease. Proper soil improves rooting. Good preparation increases success. Healthy soil supports roots.
Planting the Cuttings
Insert cuttings two to three inches deep. Firm soil gently around the stem. Water lightly after planting. Do not overwater. Place cuttings upright. Space properly for airflow. Correct planting ensures stability. Gentle handling is important.
Creating a Humid Environment
Humidity helps rooting. Cover cuttings with plastic bottles. Small greenhouse effect is created. Ensure ventilation to avoid mold. Keep soil moist. High humidity prevents drying. Controlled environment boosts success. Simple methods work well.
Placement and Light Conditions
Place cuttings in bright indirect light. Avoid direct sunlight initially. Morning light is ideal. Excess heat causes stress. Balanced light supports rooting. Observe plant response. Adjust placement if needed. Proper light improves results.
Watering Schedule for Cuttings
Water lightly and regularly. Soil should not dry completely. Avoid waterlogging. Gentle misting helps humidity. Check moisture daily. Overwatering causes rot. Balanced watering is critical. Consistency ensures rooting.
Root Development Timeline
Roots may develop in four to six weeks. New leaf growth indicates success. Avoid disturbing cuttings early. Patience is important. Different cuttings root at different speeds. Healthy roots anchor plants. Early signs are encouraging. Time varies naturally.
Transplanting Rooted Cuttings
Once roots are established, transplant carefully. Use larger pots or garden soil. Handle roots gently. Water after transplanting. Partial shade helps adjustment. Gradual exposure strengthens plants. Proper transplanting ensures survival. Growth resumes steadily.
Fertilizing Newly Rooted Plants
Apply diluted compost after two weeks. Avoid strong fertilizers initially. Organic feeding is best. Feed lightly at intervals. Healthy nutrition supports growth. Overfeeding is harmful. Balanced feeding strengthens plants. Slow growth is normal.
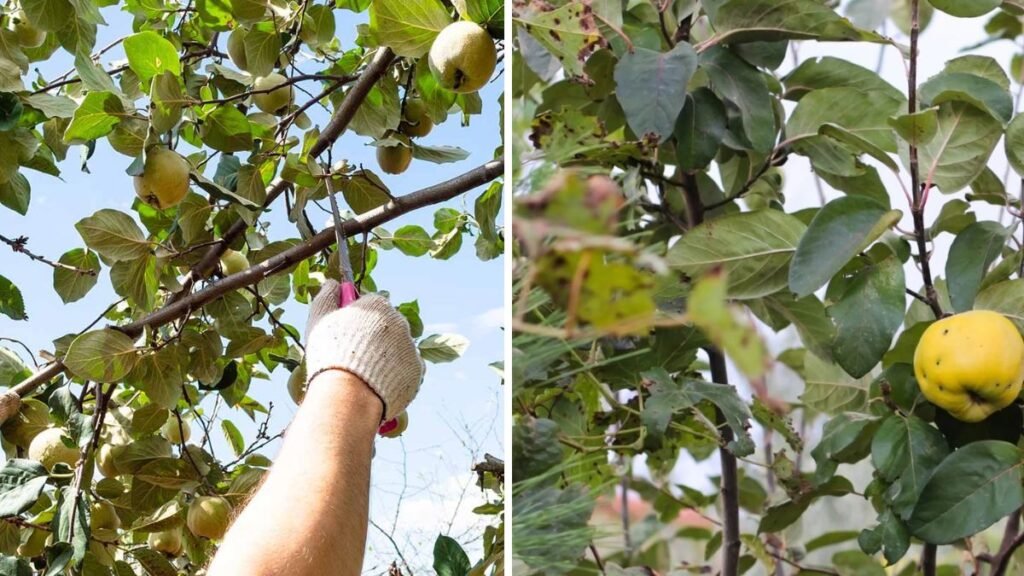
Pruning and Training Young Plants
Light pruning encourages branching. Remove weak shoots. Maintain a strong central stem. Training improves future fruiting. Avoid heavy pruning early. Shape gradually. Good structure supports yield. Early care matters.
Pest and Disease Management
Turmeric reduces fungal issues. Monitor for insects regularly. Neem oil works well organically. Remove affected parts promptly. Healthy plants resist pests. Clean surroundings prevent problems. Prevention saves effort. Organic care is effective.
Advantages of Turmeric Propagation Method
No chemicals are required. Method is affordable and safe. Easily available materials are used. Success rate is high. Plants remain true to parent. Eco-friendly gardening is promoted. Simple steps make it accessible. Natural methods build confidence.
Table: Quince Propagation Using Turmeric
| Step | Requirement |
|---|---|
| Cutting type | Semi-hardwood |
| Rooting aid | Turmeric paste |
| Soil | Light and well-drained |
| Rooting time | Four to six weeks |
| Transplanting | After root development |
Long-Term Care for Propagated Trees
Water regularly during early growth. Fertilize moderately. Prune annually. Monitor health continuously. Protect from extreme weather. Maintain soil quality. Proper care ensures longevity. Healthy trees fruit earlier.
Conclusion
Propagating quince tree cuttings using turmeric is simple and natural. This method avoids chemicals while ensuring high success. With proper selection, soil, and care, cuttings root effectively. It is ideal for home gardeners. Healthy trees grow faster and fruit reliably. Anyone can follow this method. Start propagating quince naturally today.