Clarkia, also known as Godetia, is a charming annual flower that can bring a burst of color to any garden. With its delicate petals and easy-growing nature, it’s an excellent choice for both novice and experienced gardeners alike. This guide will walk you through the steps of growing Clarkia from seed, ensuring you have all the information you need for a beautiful, thriving display.
1. Understanding Clarkia
1.1 What is Clarkia?
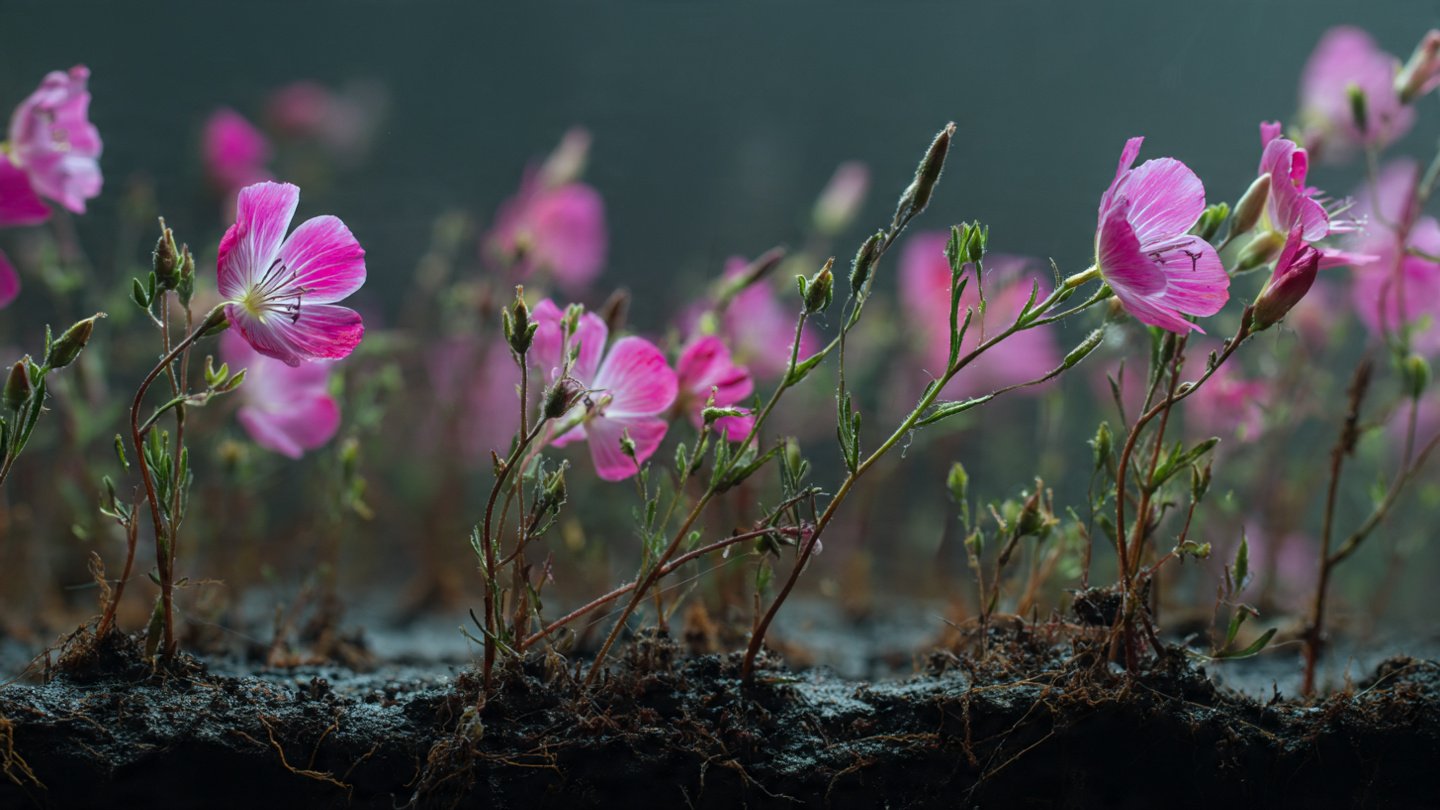
Clarkia is a genus of flowering plants native to North America, particularly the western regions. The flowers come in a variety of colors, including pink, purple, and white, and are often characterized by their cup-shaped blooms. They are particularly loved for their ability to thrive in a range of conditions, making them adaptable to various garden styles.
1.2 Different Varieties of Clarkia
While Clarkia includes numerous species, the most commonly grown varieties are:
- Clarkia unguiculata (Farewell-to-spring): Known for its stunning pink and purple flowers.
- Clarkia amoena (Godetia): Features broad, brightly colored petals often resembling satin.
- Clarkia purpurea: Grows taller and produces linear leaves, making it suitable for the back of flower beds.
Choosing the right variety depends on your garden’s aesthetic and desired height.
2. Preparing to Grow Clarkia from Seed
2.1 Choosing Seeds
When selecting seeds, opt for reputable suppliers to ensure quality. You can find Clarkia seeds at garden centers or online. Be sure to consider the specific variety you want and check for information regarding growth habits and bloom times.
2.2 Timing for Planting
Clarkia seeds can be sown indoors or directly into the garden:
- Indoors: Start seeds 6-8 weeks before the last frost. This is a great option if you’re in a region with a short growing season.
- Outdoors: Sow seeds outdoors after the threat of frost has passed. Clarkia thrives well in cool soil conditions.
3. Preparing the Planting Site
3.1 Choosing the Right Location
Clarkia prefers full sun but can tolerate partial shade. A spot that receives at least 6 hours of sunlight daily will yield the best results. Consider planting them towards the front of mixed flower beds or in containers for visual interest.
3.2 Soil Requirements
Clarkia flourishes in well-draining, moderately rich soil. Here’s how to prepare your soil:
- Testing: Test the pH of your soil; Clarkia prefers slightly acidic to neutral pH (6.0 to 7.0).
- Amending: If your soil is too heavy or clay-like, mix in organic matter like compost or peat moss to improve drainage and nutrient content.
4. Planting Clarkia Seeds
4.1 Indoor Planting Steps
- Containers: Use seed trays or biodegradable pots filled with seed-starting mix.
- Sowing Seeds: Sprinkle seeds evenly over the surface. They are small, so be careful not to overcrowd them.
- Covering Seeds: Lightly cover the seeds with a thin layer of soil, about 1/8 inch deep, as they need light for germination.
- Watering: Mist the soil gently with water until it is evenly moist, but not soggy.
- Temperature: Keep the seeds in a warm location, ideally between 65°F to 70°F (18°C to 21°C).
4.2 Outdoor Planting Steps
- Soil Preparation: Prepare the soil by loosening it with a rake and incorporating organic matter.
- Spacing: Create shallow furrows or scatter seeds directly onto the soil and gently rake over them. Aim for a spacing of about 12 inches apart for optimal growth.
- Watering: Water the area thoroughly but gently to settle the soil and help with germination.
5. Caring for Clarkia Plants
5.1 Watering and Fertilizing
- Watering: Keep the soil consistently moist, especially during dry spells. Avoid waterlogging, as this can lead to rot.
- Fertilizing: Clarkia generally does not require much fertilizer. A balanced, slow-release fertilizer can be applied once or twice during the growing season.
5.2 Thinning Seedlings
Once your seedlings have grown to about 2 inches tall, thin them to prevent overcrowding. This means removing the weaker seedlings, leaving only the strongest ones. Aim for at least 12 inches of space between each plant.
5.3 Pest and Disease Management
Clarkia is relatively pest-resistant but can sometimes fall victim to aphids or fungal diseases. Here’s how to manage them:
- Aphids: Use insecticidal soap or neem oil spray to control aphid populations.
- Fungal Diseases: Ensure good air circulation around your plants and avoid overhead watering to reduce the risk of fungal issues.
6. Harvesting and Using Clarkia
6.1 Techniques for Cutting
Cutting Clarkia flowers can be done once they have fully bloomed. Use sharp scissors or pruning shears for clean cuts. Select flowers with full blooms for the best display in bouquets. Remove any foliage that may sit below the water line to prolong vase life.
6.2 Creating Bouquets
Clarkia makes for beautiful cut flowers due to its wide range of colors and unique shape. Combine them with other blooms like daisies, sunflowers, or snapdragons for stunning arrangements. Always change the water and recut stems every few days to keep your arrangements fresh.
7. Extending the Blooming Season
7.1 Deadheading
Encourage prolonged blooming by deadheading, which involves removing spent flowers. This practice not only keeps the plants looking neat but also stimulates new bloom production.
7.2 Succession Planting
For a continuous display of flowers throughout the growing season, consider planting seeds every few weeks until mid-summer. This method ensures that you have a steady supply of blooms to enjoy.
8. Conclusion
Growing Clarkia from seed is an effortless and rewarding endeavor for gardeners of all skill levels. With its spectacular colors and graceful form, it enhances any garden space, from cottage gardens to contemporary landscapes. By following the steps outlined in this guide—from seed selection and planting to care and harvesting—you’ll be well on your way to enjoying the beauty of Clarkia in your outdoor sanctuary.
Embrace the joy of gardening and expand your floral repertoire by including Clarkia in your planting plans. Happy gardening!