Growing pea plants on a balcony is a fantastic way to enjoy fresh, homegrown vegetables even with limited space. Peas are relatively easy to grow, and using a vertical trellis method allows you to maximize your growing area efficiently while adding a beautiful green element to your balcony. This article will guide you through the step-by-step process of growing balcony pea plants using the vertical trellis method, covering the benefits, materials needed, planting, care, and harvesting tips.
Benefits of Growing Peas on a Balcony Using Vertical Trellises
Before diving into the steps, it’s important to understand why growing peas on a vertical trellis is advantageous, especially in small spaces like balconies:
- Space Efficiency: Vertical gardening uses upward space instead of ground area, allowing you to grow more plants in a limited space.
- Improved Air Circulation: Elevating the plants helps improve air flow, reducing the risk of fungal diseases.
- Ease of Harvesting: Peas grown on a trellis are easier to pick since the pods are visible and accessible.
- Better Sun Exposure: Vertical growth ensures that all plants get ample sunlight, which is crucial for healthy growth.
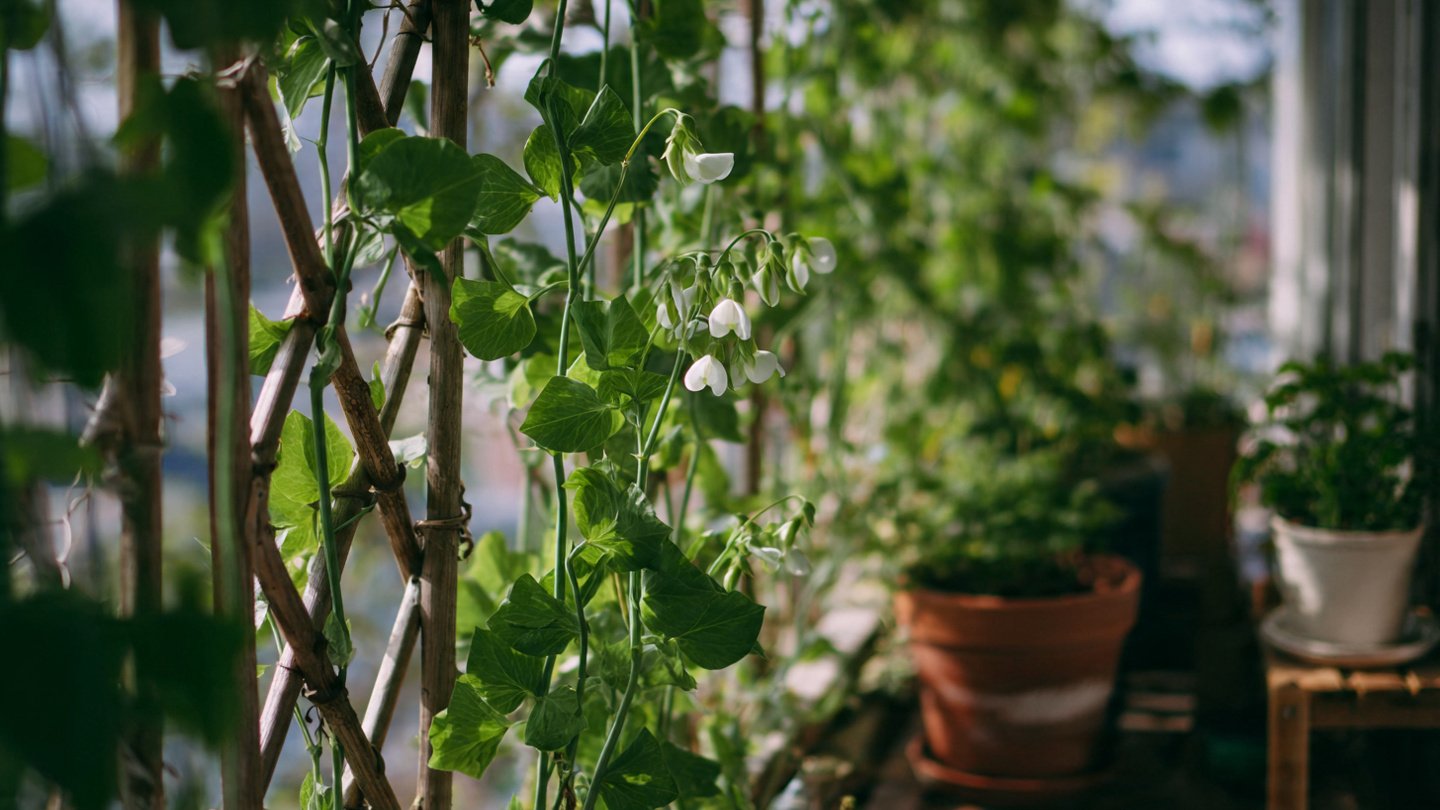
- Aesthetic Appeal: Pea vines climbing a trellis add a decorative and fresh touch to your balcony.
Materials Needed
To grow balcony pea plants using the vertical trellis method, gather the following items:
- Pea Seeds: Choose varieties suited for container growing and climate. Common options include sugar snap peas, snow peas, or shelling peas.
- Containers or Pots: Use containers that are at least 12 inches deep with drainage holes.
- Potting Soil: High-quality potting mix that drains well is essential.
- Vertical Trellis: This could be a ready-made garden trellis, bamboo stakes with netting, or a homemade structure.
- Watering Can or Hose: For regular watering.
- Fertilizer: Balanced, all-purpose fertilizer or compost.
- Labels or Markers: Optional, to keep track of different pea varieties if you grow multiple types.
Step 1: Choosing the Right Pea Variety
Start by selecting a pea variety suitable for container growing and your local climate. If you are a beginner, sugar snap peas are an excellent choice because they’re easy to grow, disease-resistant, and delicious as a snack.
Snow peas are also ideal for container growing and have flat edible pods. Shelling peas might require larger containers since they tend to be bushier. Consider the growing season length and whether the variety is early-maturing, which is beneficial for short growing seasons on balconies.
Step 2: Selecting and Preparing Containers
Choose containers with good drainage and a depth of at least 12 inches, as pea roots need room to grow. Wider containers allow planting multiple pea plants. Clean the containers well before use to avoid disease.
Fill the containers with high-quality potting mix rich in organic matter. Avoid garden soil, which may be too dense for container peas and could harbor pests or diseases.
Step 3: Setting Up the Vertical Trellis
Install the vertical trellis before planting. This provides immediate support for the pea vines as they grow and keeps the balcony organized. Some popular options for balcony trellises include:
- Bamboo Stakes and Netting: Insert bamboo stakes into the container soil and tie garden netting or garden wire horizontally and vertically to form a grid.
- Ready-made Metal or Plastic Trellises: These can be inserted directly into the pots.
- DIY Trellis: Use wooden frames or repurposed materials shaped into a vertical support.
Ensure the trellis is sturdy, as the pea vines will cling to it and grow taller.
Step 4: Sowing Pea Seeds
Soak pea seeds in water overnight before planting. This accelerates germination by softening the seed coat. Plant seeds about 1 to 1.5 inches deep and 2 inches apart in the container soil. If planting multiple rows, space rows approximately 3-4 inches apart.
Cover the seeds lightly with soil, and water gently but thoroughly.
Step 5: Location and Light Requirements
Place your container with the vertical trellis in a spot on your balcony that receives at least 6-8 hours of sunlight daily. Peas thrive in cooler weather but still need plenty of sunlight. Morning sun with some afternoon shade is ideal in warmer climates to prevent overheating.
Step 6: Watering and Feeding
Pea plants require consistent moisture, particularly during flowering and pod development. Keep the soil evenly moist but not waterlogged. Water early in the day to reduce the risk of fungal diseases.
Feed the plants with a balanced, all-purpose fertilizer or compost tea every 3-4 weeks. Avoid excessive nitrogen fertilizer as it promotes leafy growth at the expense of pods.
Step 7: Training the Vines on the Trellis
As pea seedlings emerge and start growing, gently guide the tendrils towards the trellis. Pea plants naturally climb by wrapping tendrils around supports, but sometimes they need a little help initially.
Check the vines every few days and secure them loosely to the trellis with soft ties if necessary. Avoid tying too tightly to prevent damaging the stems.
Step 8: Pest and Disease Management
Monitor your pea plants regularly for pests like aphids, pea weevils, and powdery mildew. Use insecticidal soap or organic pest controls like neem oil if necessary.
Ensure good air circulation by spacing plants adequately and trimming overcrowded leaves. Remove any diseased or yellowing leaves promptly to prevent disease spread.
Step 9: Harvesting Peas
Peas are usually ready to harvest within 60-70 days after planting, depending on the variety. Pick pods regularly during the growing season to encourage continuous production.
For sugar snap and snow peas, harvest when pods are young, tender, and well-filled but before the peas inside become starchy. For shelling peas, pods should be plump and green but not overripe.
Use both hands to gently pinch off the pod to avoid damaging the plant.
Additional Tips for Success
- Crop Rotation: Avoid planting peas in the same containers year after year to reduce disease buildup.
- Companion Planting: Peas grow well near carrots, lettuce, radishes, and spinach but avoid planting them next to onions or garlic.
- Mulching: Apply a thin layer of organic mulch like straw on the soil surface to conserve moisture and suppress weeds.
- Support for Heavy Pods: If pea pods become heavy, add extra ties or supports to prevent the trellis from tipping over.
Conclusion
Growing balcony pea plants using the vertical trellis method is a rewarding way to enjoy fresh peas in small spaces. The vertical trellis maximizes growing area while keeping plants healthy and accessible. By following the above steps—from choosing the right seeds and containers to watering, feeding, and harvesting—you can achieve a bountiful pea harvest on your balcony.
With dedication and care, your vertical pea garden will not only provide delicious pods but also bring a lively green sanctuary to your urban balcony, enhancing your environment and enjoyment of gardening. Happy gardening!