Microgreens have taken the culinary and health worlds by storm, and broccoli microgreens, in particular, stand out for their nutritional value and flavor. These tiny greens, packed with vitamins and minerals, are easy to grow and can be cultivated at home with minimal equipment. In this comprehensive guide, we’ll walk you through the best methods to successfully cultivate broccoli microgreens, ensuring optimal growth and a bountiful harvest.
Understanding Broccoli Microgreens
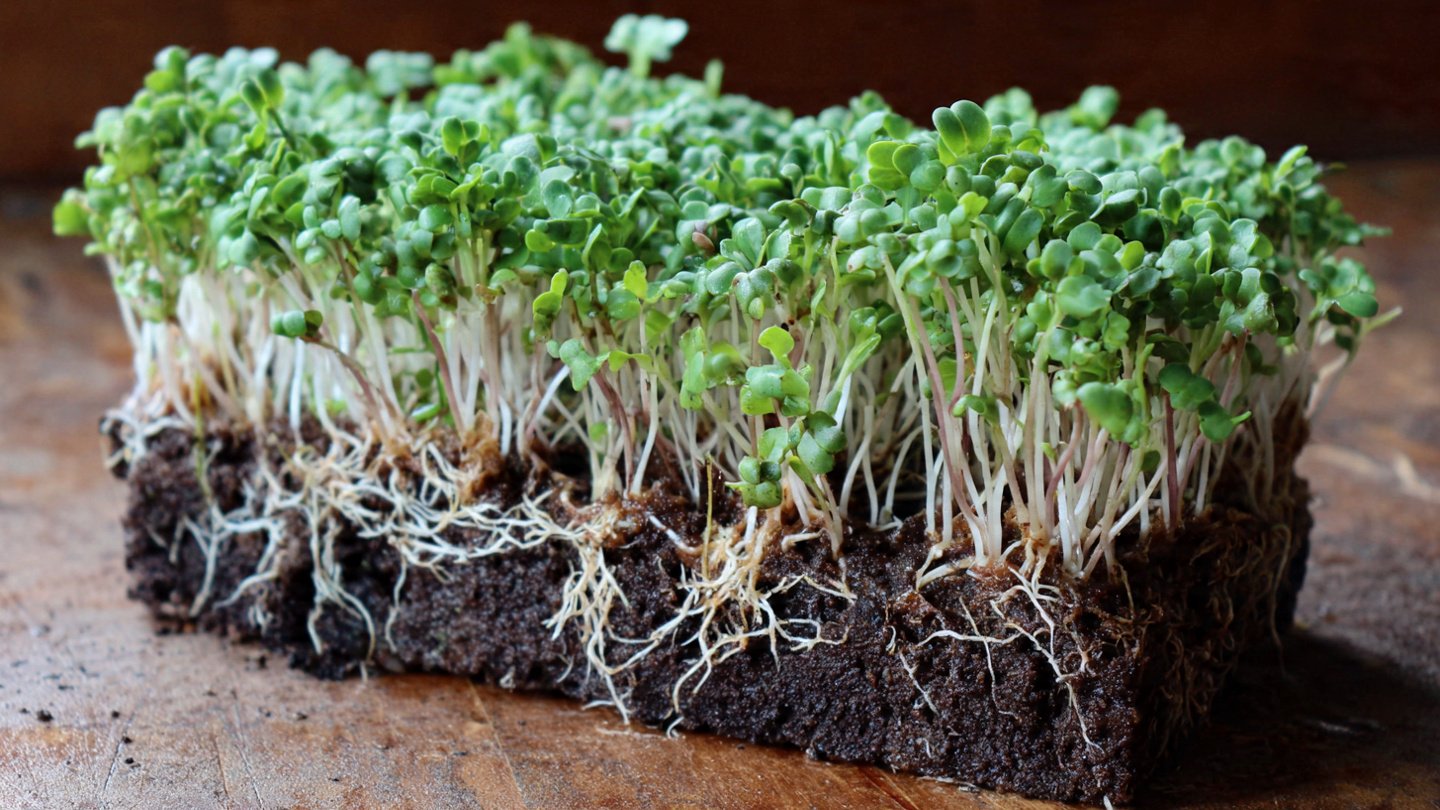
Before diving into the cultivation process, it’s essential to understand what broccoli microgreens are. Microgreens are young seedlings of edible vegetables and herbs, harvested shortly after the first true leaves have developed. Broccoli microgreens, in particular, have a concentrated flavor and are high in antioxidants, vitamins A, C, E, and K, and minerals such as calcium, iron, and magnesium.
Benefits of Broccoli Microgreens
- Nutrient Density: Broccoli microgreens are noted for their high levels of sulforaphane, a compound that has been shown to combat cancer.
- Versatility: They can be added to salads, sandwiches, smoothies, and numerous dishes for a nutritional boost.
- Easy to Grow: They require minimal space and equipment, making them ideal for both novice and seasoned gardeners.
Requirements for Growing Broccoli Microgreens
Supplies Needed
To begin growing broccoli microgreens, you’ll need the following supplies:
- Seeds: Purchase high-quality broccoli microgreen seeds from a reputable source. Look for organic seeds to ensure quality.
- Growing Medium: Options include soil, coconut coir, or seed-starting mixes. Each has its advantages, but we’ll focus on soil for its accessibility.
- Containers: Shallow trays or seedling flats with drainage holes work best.
- Water: Use filtered or distilled water for the best results.
- Light Source: Natural sunlight is ideal, but grow lights can also be used.
Choosing the Right Location
Broccoli microgreens require a warm, well-lit location. The ideal temperature is between 65°F and 75°F (18°C to 24°C). If using natural light, place your trays near a south-facing window. If this isn’t feasible, consider purchasing grow lights to ensure your microgreens receive adequate light.
The Cultivation Process
Step 1: Preparing the Growing Medium
Start by filling your containers with your chosen growing medium. If using soil, ensure that it is moist and crumbly, not compacted. Level the surface of the medium, but don’t pack it down. A depth of about 1 to 1.5 inches is recommended for optimal root development.
Step 2: Sowing the Seeds
- Seed Quantity: Use about 1 to 2 tablespoons of seeds for every 10×20-inch tray. If you want denser growth, increase the quantity slightly.
- Sowing Technique: Distribute the seeds evenly across the surface of the moist growing medium. Avoid clumping, as crowded seeds can lead to mold.
- Covering Seeds: Lightly mist the seeds with water and then cover them with a thin layer of additional growing medium or vermiculite. This helps to retain moisture and protect the seeds.
Step 3: Watering
Immediately after sowing, mist the surface gently to ensure adequate moisture. Continue to mist daily, keeping the growing medium moist but not soggy.
Step 4: Providing Optimal Conditions
- Light: After seeds germinate, usually within 3 to 5 days, make sure they receive 12 to 16 hours of light daily. If using grow lights, keep them about 2 to 4 inches above the seedlings.
- Temperature: Maintain the ideal temperature range. If your environment is too cool or too hot, it can affect growth.
Step 5: Air Circulation
To prevent mold and ensure healthy growth, provide good air circulation. Placing a small fan in the vicinity can be beneficial, but avoid positioning it directly on the microgreens.
Step 6: Harvesting
Your broccoli microgreens should be ready to harvest in 7 to 14 days, depending on the growing conditions. Look for seedlings that are about 2 to 3 inches tall with well-developed leaves.
- Cutting: Use clean, sharp scissors to snip the microgreens just above the soil line.
- Rinsing: Rinse them gently under cold water to remove any debris or soil.
- Storing: Store your harvested microgreens in a sealed container in the refrigerator, where they can stay fresh for up to a week.
Troubleshooting Common Issues
1. Mold Growth
Mold can be a common issue in microgreen cultivation, especially if the medium is too wet. To prevent this:
- Ensure adequate spacing between seeds.
- Provide enough air circulation.
- Avoid overwatering.
2. Weak Growth
If your microgreens appear leggy or weak, it could be due to insufficient light. Move them closer to a light source or increase the duration of light exposure.
3. Pests
While less common with microgreens, pests can still invade. Keep an eye on your crop and address any issues promptly with organic pest control methods.
Nutritional Profile
Broccoli microgreens are known for their exceptional nutritional profile. They contain:
- Vitamins: High levels of vitamins A, C, E, and K.
- Minerals: Calcium, iron, magnesium, and phosphorus.
- Antioxidants: Beneficial compounds that may help in reducing inflammation and protecting against diseases.
Cooking Suggestions and Uses
Broccoli microgreens are versatile and can be used in various dishes:
- Salads: Toss them into salads for added texture and flavor.
- Wraps and Sandwiches: Use them as a nutritious filling.
- Smoothies: Blend them into smoothies for a health boost.
- Garnishing: Use as a garnish on soups or grilled dishes.
Conclusion
Growing broccoli microgreens offers a rewarding experience filled with nutritional benefits and culinary versatility. With the right supplies, optimal conditions, and a few essential steps, anyone can successfully cultivate these greens at home. Whether you’re incorporating them into your meals for enhanced flavor or health benefits, broccoli microgreens are a fantastic addition to any kitchen garden.
By following the methods outlined in this guide, you’ll not only enjoy the satisfaction of nurturing your plants but also the delight of harvesting your fresh, nutritious greens. Happy gardening!