Croton plants, known for their stunningly vibrant foliage, are a favorite among houseplant enthusiasts. Their diverse colors range from greens to yellows, reds, and purples, making them an eye-catching addition to any home. If you’re looking to expand your collection or share these beauties with friends, mastering the art of Croton plant multiplication is essential. In this article, we will explore various techniques for propagating Croton plants at home, ensuring you can enjoy these vibrant plants in abundance.
Understanding Croton Plants
Before diving into propagation methods, it’s essential to understand the characteristics of Croton plants. These tropical plants, native to Southeast Asia and the Pacific Islands, thrive in warm temperatures and bright, indirect sunlight. They prefer well-drained soil and a humid environment, making them ideal for indoor settings.
Identifying the Right Croton Varieties
There are several popular Croton varieties, each with unique leaf shapes and colors. Some notable types include:
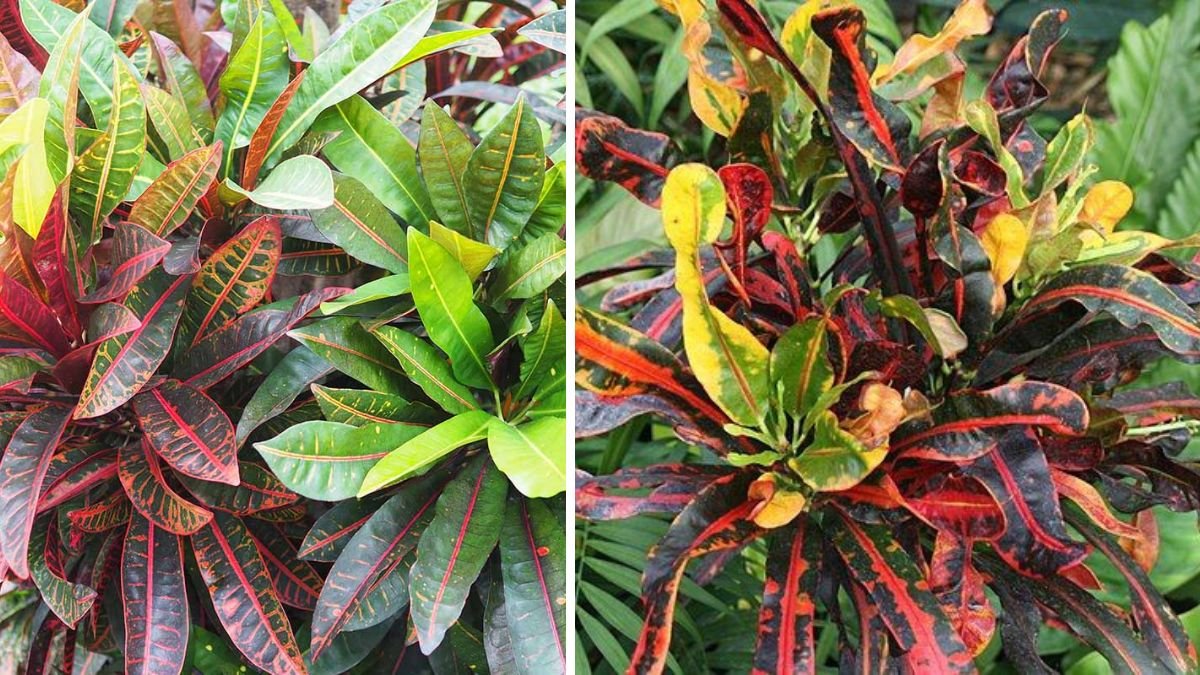
- Petra: Famous for its large, ovate leaves and fiery mix of colors.
- Gold Dust: Recognized for its small leaves speckled with golden-yellow spots.
- Mammy: Appreciated for its compact growth and dark green leaves with bright veins.
- Codiaeum variegatum: The commonly known Croton, which comes in various shapes and sizes.
Choosing the right variety for propagation will depend on your personal preference and the growing conditions you can provide.
Techniques for Croton Plant Multiplication
Croton plants can be propagated through several methods, including cuttings, air layering, and seeds. Let’s explore these techniques in detail.
1. Stem Cuttings
Stem cuttings are the most common method for propagating Croton plants. This technique is simple and effective, allowing for the production of new plants from existing ones.
Steps for Propagating through Stem Cuttings:
-
Select a Healthy Parent Plant: Choose a vibrant Croton plant with healthy leaves and stems.
-
Take Cuttings: Using clean, sharp scissors or pruning shears, take a cutting of about 4-6 inches long. Select a stem that has several leaves and is free of any disease.
-
Prepare the Cuttings: Remove the lower leaves, leaving a couple of leaves at the top. This helps reduce moisture loss while encouraging root development.
-
Use Rooting Hormone (Optional): To increase the chances of successful rooting, you can dip the cut end of the stem into rooting hormone.
-
Plant the Cuttings: Place the cuttings in a pot filled with a well-draining potting mix. Ensure that the cut ends are buried about an inch into the soil.
-
Water Thoroughly: After planting, water the cuttings so that the soil is moist but not soggy. Overwatering can lead to rot.
-
Provide Humidity: Cover the pot with a plastic bag or a plastic dome to maintain humidity while the cuttings root. Ensure it’s not too tight, as they still need airflow.
-
Place in Indirect Light: Position the pot in a location that receives bright, indirect sunlight. Too much direct sunlight can stress the cuttings.
-
Monitor and Wait: Check the cuttings regularly for signs of growth (usually within 4-6 weeks). You can gently tug on them to feel resistance, indicating that roots are developing.
-
Transplant: Once the cuttings have established a good root system, transplant them into individual pots.
2. Air Layering
Air layering is another effective technique for Croton propagation. This method encourages roots to develop while the cutting is still attached to the parent plant.
Steps for Air Layering:
-
Select a Healthy Branch: Choose a healthy, flexible branch on your Croton plant.
-
Make a Cut: Make a 1-inch-long diagonal cut in the branch about one-third of the way through. This will stimulate root growth.
-
Wrap with Moist Sphagnum Moss: Take some moist sphagnum moss and wrap it around the cut area. Ensure it is large enough to cover the cut entirely.
-
Secure with Plastic Wrap: Wrap plastic wrap around the moss, securing it in place. This will help maintain moisture.
-
Wait for Roots to Develop: In a few weeks, you should begin to see roots forming inside the moss. Keep the moss moist during this period.
-
Cut and Plant: Once sufficient roots have developed (usually around 2-3 inches), cut the branch below the rooted area and transplant it into a pot filled with potting mix.
3. From Seeds
While seed propagation is less common due to the time it takes for Crotons to grow from seeds, it is still a viable method.
Steps for Seed Propagation:
-
Collect Seeds: If you have flowering Croton plants, collect seeds from the mature seed pods.
-
Prepare the Soil: Fill a seed tray or small pots with seed-starting mix.
-
Sow the Seeds: Scatter the seeds over the soil and cover them lightly with a thin layer of soil.
-
Water Gently: Mist the soil with water to ensure it is moist but not waterlogged.
-
Provide Humidity: Cover the tray or pots with plastic wrap or a humidity dome to retain moisture.
-
Place in Indirect Light: Position them in a bright, indirect light location and keep the soil consistently moist.
-
Thin the Seedlings: Once seedlings appear, thin them out, allowing only the strongest to grow.
-
Transplant: When seedlings are big enough to handle, transplant them into individual pots.
Caring for Your New Croton Plants
After propagation, it’s crucial to provide the right care to foster healthy growth.
-
Watering: Ensure your Croton plants are watered adequately. The soil should be kept moist but not soggy. Crotons enjoy humidity, so misting the leaves can be beneficial.
-
Lighting: Provide plenty of bright, indirect sunlight. Avoid evenings of direct sunlight, as this can scorch the leaves.
-
Fertilizing: Use a balanced liquid fertilizer during the growing season (spring and summer) every 4-6 weeks to encourage healthy growth.
-
Pruning: Regularly prune your Croton plants to encourage bushiness and remove dead or yellowing leaves.
-
Repotting: Every couple of years, or when you notice the roots outgrowing the pot, it’s time to repot into a larger container.
Common Problems and Solutions
1. Yellow Leaves
Causes: Overwatering, underwatering, or insufficient light.
Solutions: Check the moisture level of the soil and adjust your watering routine. Ensure the plant is receiving adequate light.
2. Leaf Drop
Causes: Sudden temperature changes, overwatering, or stress.
Solutions: Maintain a consistent temperature and avoid moving the plant too frequently.
3. Pests
Common Pests: Aphids, mealybugs, spider mites.
Solutions: Regularly inspect your plants, and if pests are found, treat with neem oil or insecticidal soap.
FAQs
Q1: How long does it take for Croton cuttings to root?
A1: Generally, Croton cuttings take about 4-6 weeks to root, depending on the environmental conditions.
Q2: Can I propagate Croton plants in water?
A2: While it’s possible, it’s not the most successful method for Crotons. They root better in soil due to their preference for well-draining conditions.
Q3: What type of soil is best for Croton plants?
A3: Crotons prefer well-draining potting mix rich in organic matter. A mix designed for tropical plants usually works well.
Q4: How can I ensure my Croton plant grows vibrant colors?
A4: Provide adequate light and humidity. Fertilizing regularly during the growing season can also enhance leaf color.
Q5: Can I propagate Croton plants year-round?
A5: While Crotons can be propagated year-round, the best time is during the spring and summer when temperatures are warmer and the plant is actively growing.
Conclusion
Mastering the art of Croton plant multiplication allows you to expand your collection and share these stunning plants with others. Whether you choose to propagate through stem cuttings, air layering, or seeds, understanding and implementing proper techniques will lead to successful results. With the right care, your new Croton plants will thrive, adding vibrant foliage to your home for years to come. Happy propagating!