Taro is one of the most versatile and productive plants grown across Asia, Africa, and tropical regions. Known for its starchy roots and nutrient-rich leaves, taro is a household favorite for both farmers and home gardeners. But what if there was a surprisingly simple method to increase taro yield significantly, strengthen plant growth, and ensure faster production—all without needing expensive fertilizers?
That method is Easy Taro Grafting—a beginner-friendly technique that helps taro plants grow stronger, resist disease, and produce more large, healthy corms. In this article, you will learn how taro grafting works, why it boosts production, and the exact step-by-step method you can use at home to grow taro with exceptional results.
Let’s dive into this powerful trick that many gardeners swear by!
🌱 Why Grafting Taro Works So Well
Taro is usually grown from corms or suckers, but grafting offers incredible benefits:
✔ Stronger and healthier plants
By combining a vigorous rootstock with a productive top section, the plant gains extra strength and faster growth.
✔ Increased resistance to pests and diseases
A strong root system can withstand soil-borne problems more effectively.
✔ Faster plant establishment
Grafted taro grows quicker and matures earlier compared to regular planting.
✔ Higher yield with larger corms
Grafting helps the plant channel more nutrients into the root zone, resulting in bigger and more abundant corms.
✔ Works in small spaces
You don’t need a large farm—grafted taro performs wonderfully even in pots and grow bags.
🌿 What You Need for Easy Taro Grafting
This method does not require fancy equipment. Here’s what you’ll need:
- Healthy taro sucker or small plant (rootstock)
- Another taro plant or top section (scion)
- Clean, sharp knife or blade
- Plastic wrap or grafting tape
- Small pot or grow bag (if growing in containers)
- Rich, moist soil with good drainage
- Watering can
Optional but helpful:
- Natural antifungal powder (cinnamon)
- Organic compost or cow manure
- Mulching material
🍠 Step-by-Step Guide: Easy Taro Grafting for Huge Yields
Follow this grafting method closely, and you’ll notice your taro plants grow faster and produce larger corms than ever before.
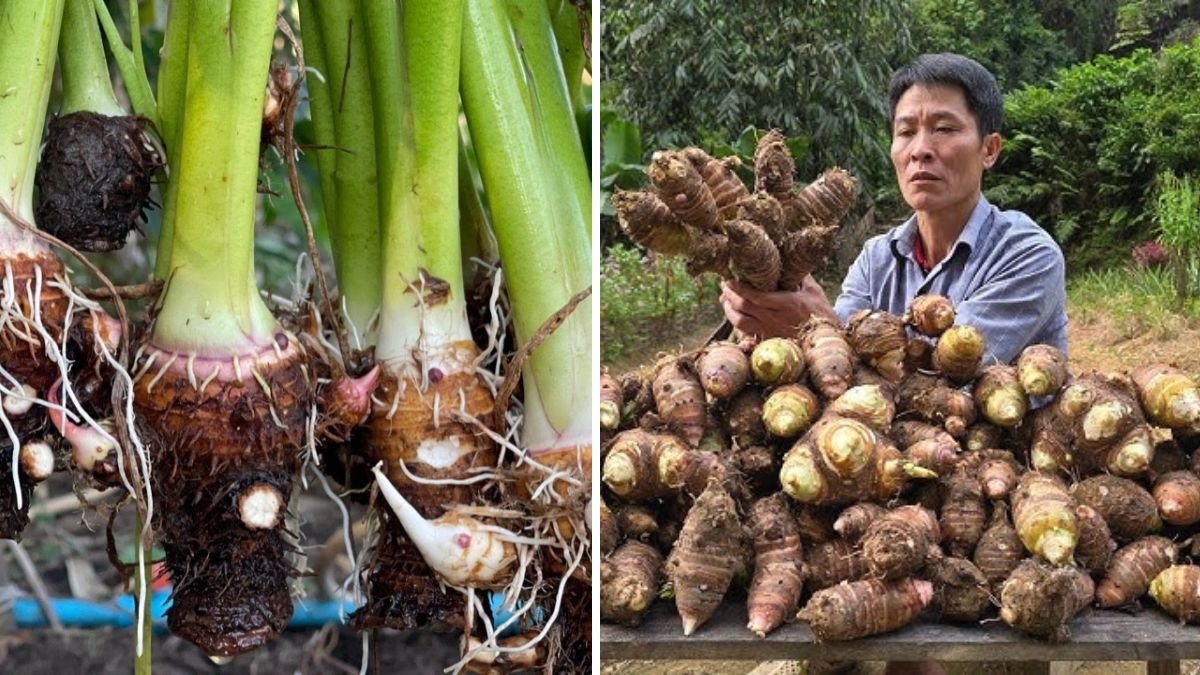
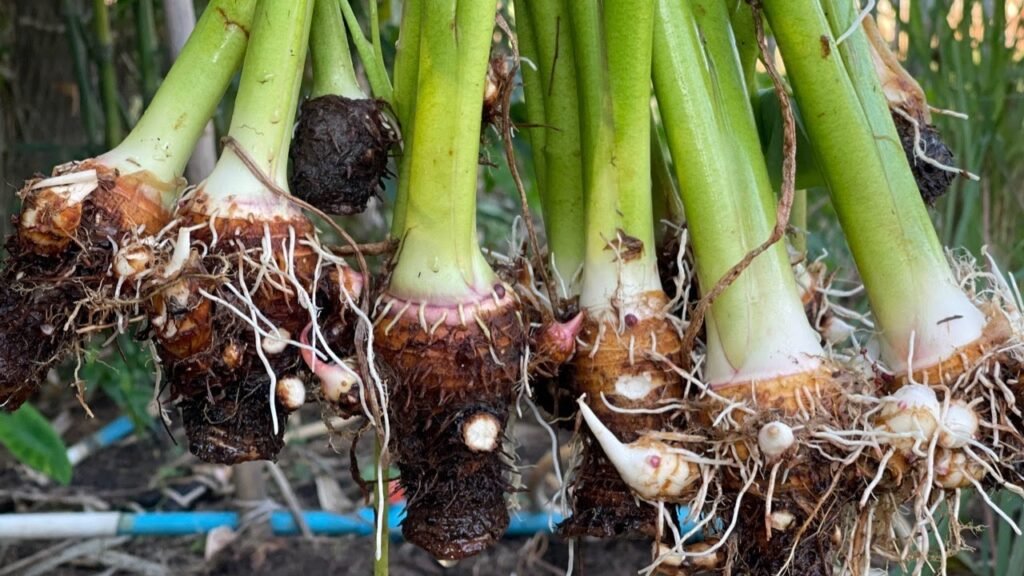
⭐ Step 1: Select a Strong Rootstock
Choose a healthy taro plant with:
- Thick and firm base
- Strong roots
- Disease-free leaves
- Good growth vigor
The rootstock determines how well the grafted plant will absorb nutrients from the soil.
⭐ Step 2: Prepare the Scion
The scion is the upper part of another taro plant that has good leaf development and strong genetics.
Choose a variety known for:
- High yield
- Smooth texture
- Disease resistance
- Fast maturity
Cut the top portion of the scion (3–4 inches above the corm), making sure the growing point is intact.
⭐ Step 3: Make the Grafting Cut
Using a clean, sharp knife:
- Cut the rootstock horizontally to remove the top.
- Create a small “V” shape or straight slit at the center.
- On the scion, cut the bottom into a matching wedge shape.
Make the cuts smooth so they fit snugly.
⭐ Step 4: Join the Pieces
Insert the scion into the rootstock carefully. Make sure:
- The cut surfaces touch perfectly
- The scion stands firmly without wobbling
- The growth points align properly
Once the scion is fitted, wrap the joint tightly with:
- Plastic tape
- Grafting tape
- Banana fiber (traditional method)
The wrap keeps the joint secure and prevents moisture loss.
⭐ Step 5: Plant in Soil
Prepare a pot or ground bed with:
- Soft, loamy soil
- Decayed manure
- Coconut husk or sand for drainage
Plant the grafted taro and water gently. The soil should be moist, not soggy.
⭐ Step 6: Keep in Shade for 7–10 Days
The graft needs time to heal. Place the plant in:
- Partial shade
- A cool spot
- Low wind areas
Do not expose it to direct sunlight during this period.
By day 10–14, new growth will appear—this means the graft has successfully fused.
🍃 How Grafted Taro Produces More Food
If you’re wondering why this grafting trick results in large, abundant taro corms, here’s how:
🌟 1. Larger Leaf Growth
Grafted taro shoots develop bigger leaves, allowing them to produce more food via photosynthesis.
🌟 2. Stronger Root System
A powerful rootstock absorbs more water and minerals, sending extra nutrition to the corms.
🌟 3. Better Stress Tolerance
The grafted plant is more resistant to heat, water stress, and poor soil.
🌟 4. Faster Maturity
While normal taro may take 8–10 months, grafted taro often matures in 6–7 months.
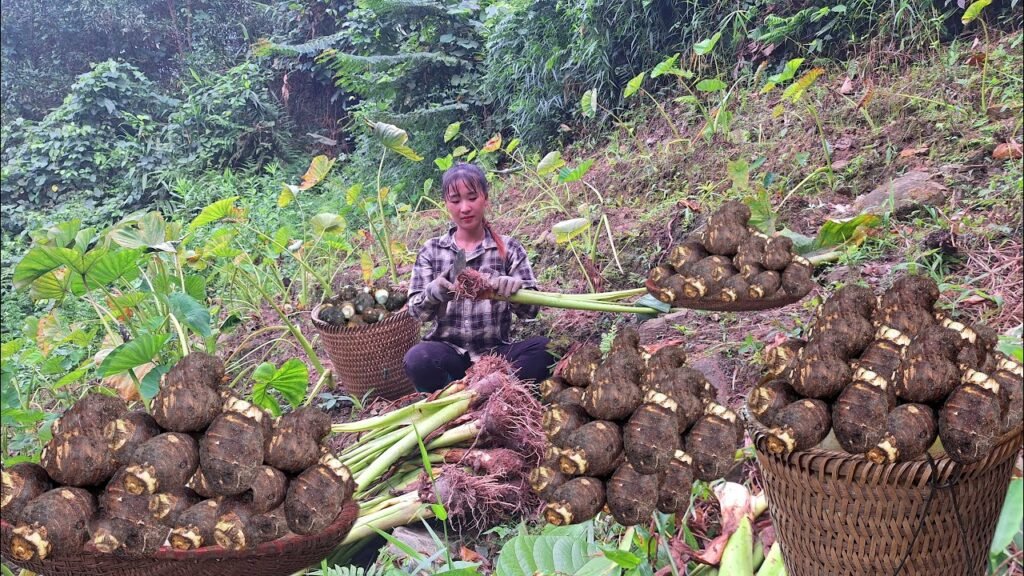
🌟 5. More Cormels per Plant
With better nutrition, the plant produces more side corms around the main tuber.
🌿 Tips to Boost Taro Yield After Grafting
To achieve maximum harvest, follow these pro tips:
✔ Keep Soil Moist at All Times
Taro is a water-loving plant. Consistent moisture produces larger corms.
✔ Mulch the Soil
Use banana leaves, straw, or coconut fibers to keep soil cool and moist.
✔ Add Compost Every Month
Organic compost helps taro grow thicker stems and bigger roots.
✔ Remove Weak Suckers
Only allow 2–3 strong suckers to grow for best yield.
✔ Use Liquid Fertilizers
Compost tea, fermented plant juice, or cow dung water improve growth dramatically.
✔ Protect From Pests
Snails, leafhoppers, and mealy bugs love taro. Keep the area clean and monitor the leaves.
🍠 Common Mistakes to Avoid
Even though taro grafting is simple, avoid these errors to ensure success:
❌ Cutting the rootstock too deeply
This weakens the base and may kill the plant.
❌ Leaving gaps between cuts
Poor contact means poor grafting success.
❌ Overwatering during early healing
This causes rot around the joint.
❌ Planting in very hot sunlight immediately
Young grafts burn easily.
❌ Using diseased or weak scions
Weak scions will not produce big yields even if the graft takes.
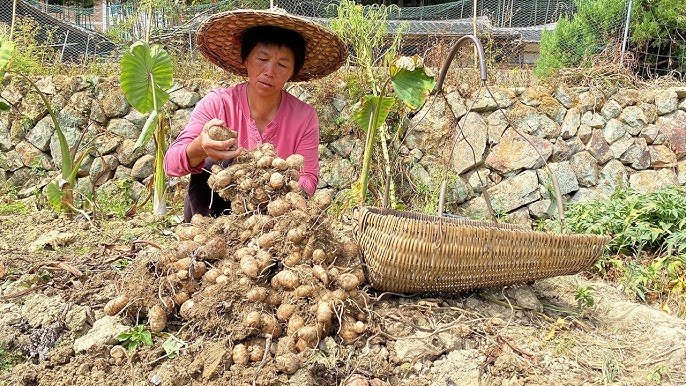
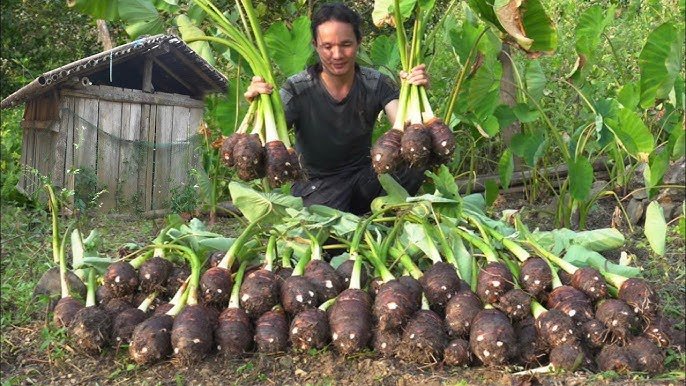
🌱 When to Harvest Grafted Taro
Grafted taro grows faster, so you can begin harvesting:
✔ 6–7 months after grafting for early varieties
✔ 7–8 months for larger corm types
You’ll notice:
- Leaves turning slightly yellow
- Petioles leaning outward
- Soil cracking near the corm
These are signs your taro is ready to harvest.
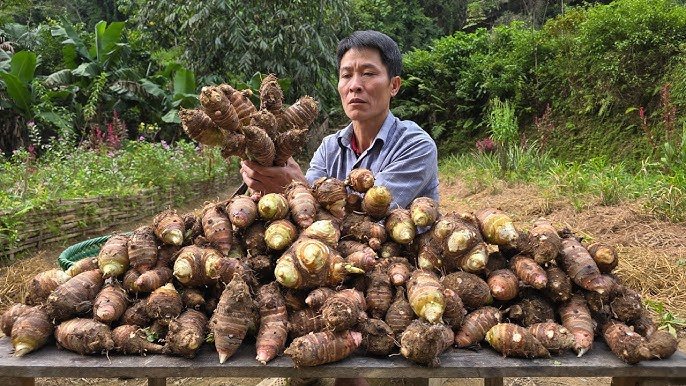
Expect:
🌟 Larger corms
🌟 More side shoots
🌟 Higher weight per plant
🌟 Better overall taste and texture
🌾 Why Gardeners Love This Method
Gardeners who use grafting for taro report:
✔ Double the usual yield
✔ Better performance in small spaces
✔ Strong plants even in poor soil
✔ Reduced chances of root rot
✔ Faster growth than traditional planting
It’s one of the simplest yet most effective ways to grow taro with massive results.
🎉 Final Thoughts: A Simple Grafting Trick for Heavy Taro Harvests
Easy taro grafting is a powerful technique that any home gardener can try. It requires minimal tools, very little experience, and offers outstanding benefits:
- Faster growth
- Stronger plants
- Bigger corms
- Higher productivity
- Greater resistance to stress
Whether you have a small balcony garden, a backyard, or a farm, grafting taro can help you enjoy a massive harvest with less effort.
If you want more articles like this—or need YouTube script, thumbnail text, or SEO keywords for this topic—just tell me!