Growing fingerling potatoes at home can be a rewarding and enjoyable experience for both novice and experienced gardeners. These unique, small, and flavorful potatoes are not only delicious but also offer a fun twist on traditional gardening methods. In this guide, we will explore everything you need to know about growing fingerling potatoes, from selecting seed potatoes to harvesting your bounty. We’ll also provide tips, tricks, and a frequently asked questions (FAQs) section to help you along the way.
Choosing the Right Seed Potatoes
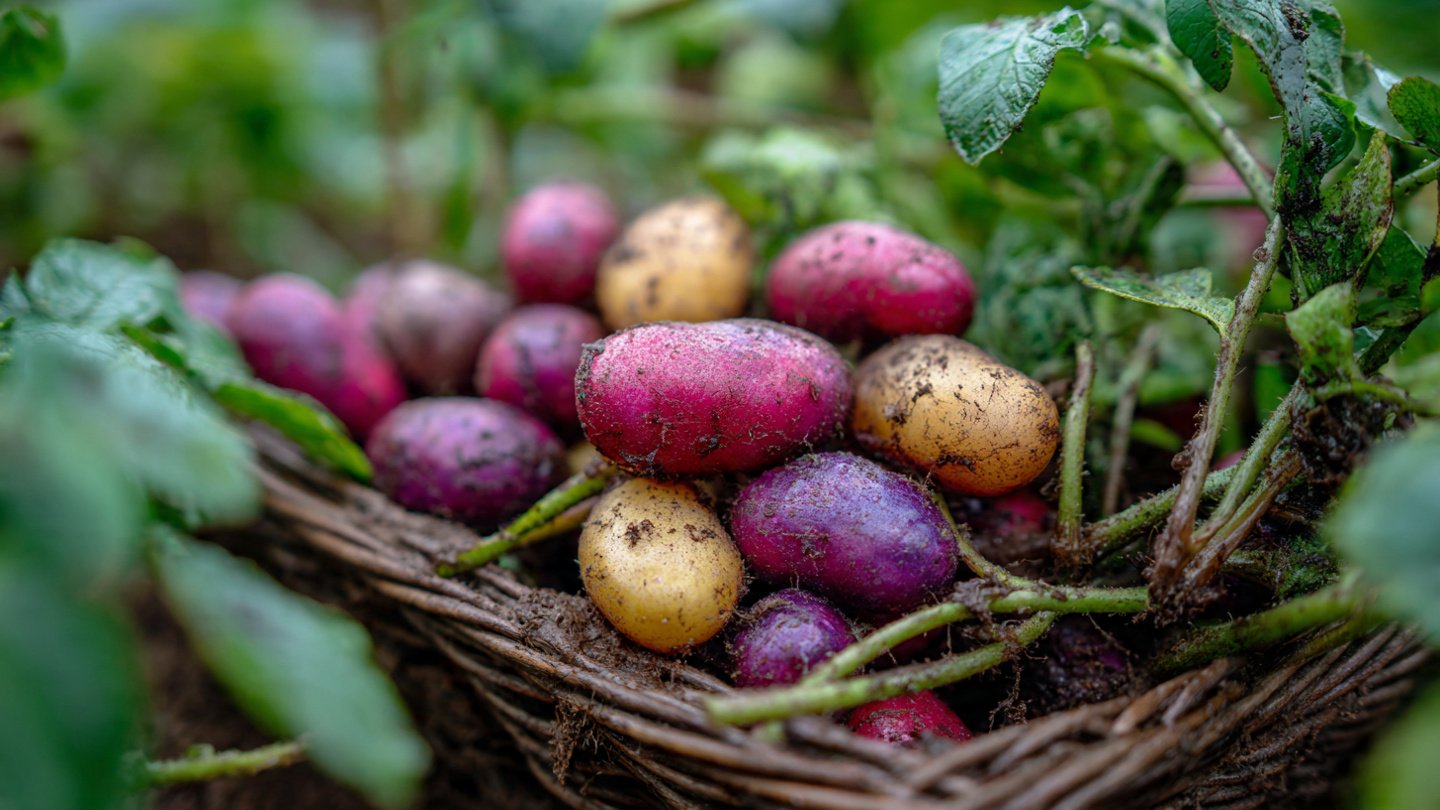
What are Fingerling Potatoes?
Fingerling potatoes are small, elongated potatoes that come in various colors, including yellow, red, and purple. Their firm texture and earthy flavor make them ideal for roasting, boiling, and salads. They are typically harvested earlier than standard potatoes and have a shorter growing season.
Selecting Seed Potatoes
When choosing seed potatoes, look for certified disease-free varieties. Some popular fingerling potato varieties include:
- Russian Banana: Yellow skin and flesh, with a slightly nutty flavor.
- French Fingerling: Reddish-brown skin with yellow flesh, known for its creamy texture.
- Purple Peruvian: Deep purple skin and flesh, with a slightly sweet taste.
You can typically find seed potatoes at local garden centers, farmers’ markets, or online retailers.
Preparing the Soil
Soil Composition
Fingerling potatoes thrive in well-draining, fertile soil with a pH level between 5.8 and 6.5. Here’s how to prepare your soil:
- Test the Soil: Use a soil testing kit to determine pH and nutrient levels.
- Amend the Soil: Incorporate organic matter, such as compost or well-rotted manure, to improve soil fertility and drainage.
- Tilling: Loosen the soil to a depth of at least 12 inches to ensure ample space for root development.
Location
Choose a sunny location with at least 6-8 hours of sunlight each day. Avoid areas prone to waterlogging, as excessive moisture can lead to rot.
Planting Fingerling Potatoes
When to Plant
In most regions, you should plant fingerling potatoes in the spring when the soil temperature reaches approximately 45°F (7°C). This is usually a few weeks before the last frost date in your area.
Preparing Seed Potatoes
- Cutting: If your seed potatoes are larger than a golf ball, cut them into pieces, ensuring each piece has at least one “eye.” Let these pieces cure for a few days in a cool, dry place to form a protective layer.
- Whole Seed Potatoes: If using smaller potatoes, you can plant them whole.
Planting Technique
- Spacing: Plant fingerling potatoes about 12 inches apart in rows spaced 2-3 feet apart. This spacing allows for good air circulation and ease of harvesting.
- Depth: Plant them 3-5 inches deep, with the eyes facing upward.
- Covering: Gently cover with soil, ensuring not to compact it too tightly.
Caring for Fingerling Potatoes
Watering
Fingerling potatoes require consistent moisture, especially during the germination and tuber development stages. Aim for about 1-2 inches of water per week, but avoid overwatering to prevent rot.
Mulching
Applying a layer of organic mulch can help retain moisture, suppress weeds, and regulate soil temperature. Straw, wood chips, or shredded leaves work well.
Fertilizing
After planting, use a balanced fertilizer to promote healthy growth. A fertilizer high in potassium is particularly beneficial for tuber development. Apply a second round of fertilizer about 4-6 weeks after planting.
Hilling
As the plants grow, mound soil around the base of the plants (a technique known as “hilling”). This helps support growth, protects emerging tubers from sunlight, and increases yield. Hill the soil around the plants when they are about 6-8 inches tall.
Pest and Disease Management
Common Pests
- Colorado Potato Beetle: These pests can defoliate plants quickly. Hand-picking or using insecticidal soap can help control them.
- Aphids: Regularly check for colonies; use insecticidal soap or neem oil as necessary.
Common Diseases
- Late Blight: Monitor your plants for signs of wilting and grayish spots. If detected, remove infected plants immediately and avoid overhead watering.
- Root Rot: Prevent this by ensuring proper drainage and avoiding overwatering.
Harvesting Fingerling Potatoes
When to Harvest
Fingerling potatoes are typically ready to harvest in 70-90 days from planting. Signs that they are ready include yellowing foliage and the plant starting to die back.
Harvesting Technique
- Timing: Choose a dry day for harvesting to reduce the risk of rot.
- Digging: Use a garden fork or spade to gently lift the tubers from the ground. Be cautious not to damage them—start a few inches from the base of the plant.
- Curing: Allow the harvested potatoes to cure in a cool, dark place for about a week to help them develop flavor and allow their skins to toughen.
Storing Fingerling Potatoes
To store your fingerling potatoes:
- Location: Keep them in a cool, dark, and well-ventilated place (ideally at 45-50°F).
- Containers: Use paper bags, cardboard boxes, or breathable bins to prevent moisture buildup. Avoid plastic bags, as they can trap moisture and cause rot.
FAQs
1. Can I grow fingerling potatoes in containers?
Yes! Fingerling potatoes can thrive in containers. Choose a pot that is at least 12-14 inches deep and wide. Ensure it has drainage holes and fill it with a good potting mix.
2. Do potatoes need sunlight to grow?
Yes, potatoes need sunlight to grow. Aim for at least 6-8 hours of direct sunlight per day for optimal growth.
3. How do I know when to water my fingerling potatoes?
Monitor the soil moisture. If the top inch of soil feels dry, it’s time to water. Stick your finger into the soil; if it feels dry, apply water.
4. Can I save my own seed potatoes for next year?
Yes, you can save your own seed potatoes! Choose blemish-free, healthy tubers for planting and store them cool and dark until spring.
5. What should I do if my fingerling potatoes sprout before I plant them?
If your seed potatoes sprout before planting, it’s generally fine. Just ensure you plant them with the sprouts (or “eyes”) facing up, and they should grow normally.
6. Are fingerling potatoes resistant to diseases?
While no potato variety is entirely disease-resistant, fingerling potatoes can exhibit some resistance to certain diseases. However, keeping plants healthy through proper care and maintenance is crucial.
7. Can I grow fingerling potatoes year-round?
Fingerling potatoes typically grow best in spring and fall. In warmer climates, they may be grown year-round if temperatures remain suitable.
Conclusion
Growing fingerling potatoes at home from seed to harvest is not only feasible but also exciting. With a bit of planning, the right conditions, and attentive care, you can enjoy a bountiful harvest of these delectable tubers in your own backyard. Whether you’re incorporating them into meals or sharing with friends and family, freshly harvested fingerling potatoes can add a gourmet touch to any dish. Happy gardening!