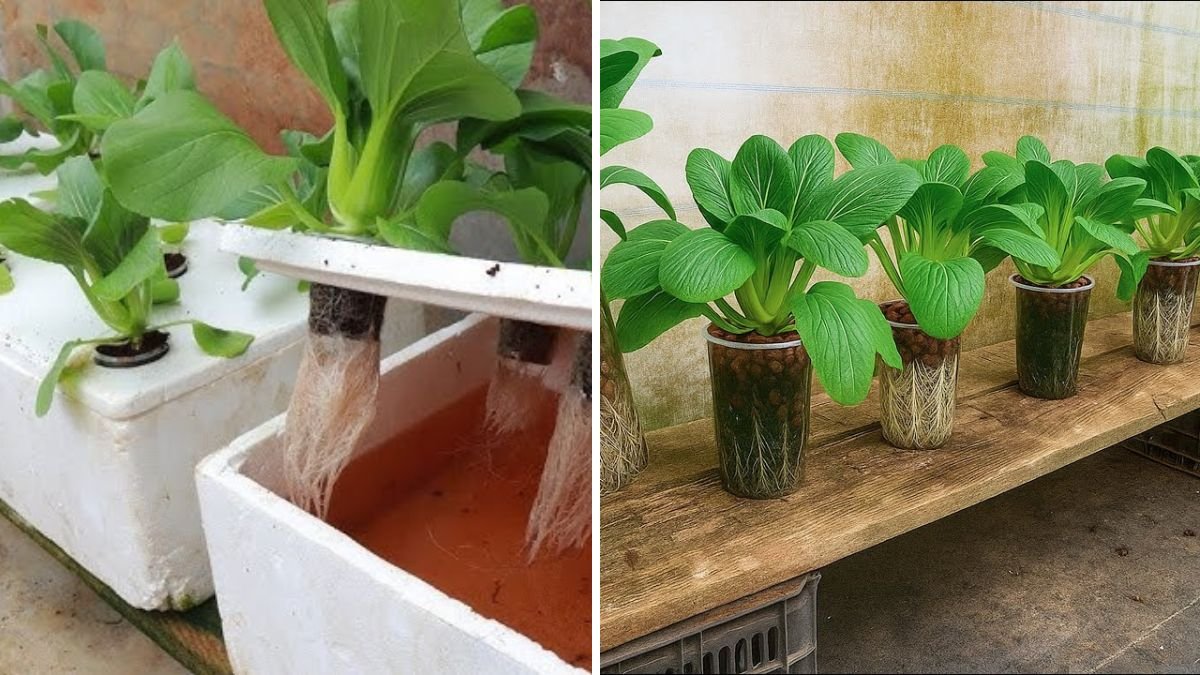
Imagine turning a handful of tiny plastic cups into a thriving vegetable garden. It sounds unbelievable, but with simple techniques, creativity, and a little patience, you can grow a full range of vegetables in small containers—even if you don’t have a backyard or terrace. This method is perfect for urban gardeners, beginners, and anyone with limited space.
In this guide, we’ll explore how to grow a complete vegetable garden using tiny plastic cups, including setup, planting, care, and harvesting tips.
Why Grow Vegetables in Tiny Plastic Cups?
Growing vegetables in small containers has several surprising advantages:
- Space Efficiency: Perfect for balconies, windowsills, or kitchen counters
- Cost-Effective: Uses inexpensive, recyclable plastic cups
- Controlled Environment: Easier to manage soil, water, and sunlight
- Beginner-Friendly: Great for those new to gardening
- Mobility: Move cups around to adjust sunlight or protect plants from pests
Even with limited resources, you can cultivate a variety of vegetables with this method.
Step 1: Choosing the Right Vegetables
Some vegetables adapt better to small container growth:
- Leafy Greens: Lettuce, spinach, kale
- Herbs: Basil, coriander, parsley, mint
- Small Root Vegetables: Radish, carrot, beetroot
- Tomatoes and Peppers: Dwarf or cherry varieties
- Green Onions and Garlic: Ideal for tiny cup setups
Choose varieties that match your space, climate, and culinary needs.
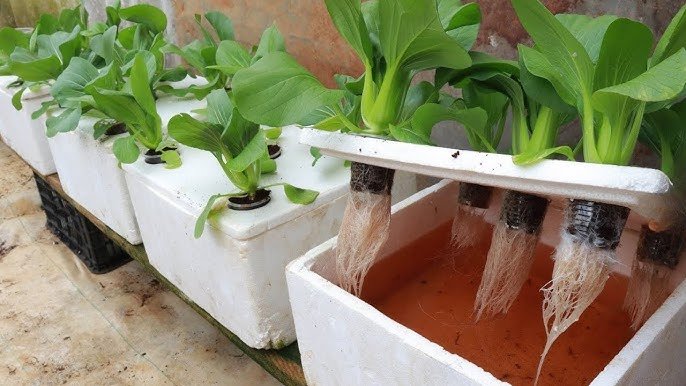
Step 2: Selecting and Preparing Plastic Cups
Tiny plastic cups are inexpensive and easy to handle, but preparation is key.
Preparation Steps
- Clean cups thoroughly to remove residues
- Punch 2–3 small holes at the bottom for drainage
- Optionally, label cups with the vegetable name for organization
Proper drainage ensures healthy roots and prevents waterlogging.
Step 3: Preparing Soil for Tiny Cups

Vegetables need nutrient-rich, well-draining soil for optimal growth.
Soil Mix
- 50% garden soil or topsoil
- 30% compost or vermicompost for nutrients
- 20% sand or cocopeat for aeration and drainage
Tips
- Fill each cup about 3/4 full with soil
- Lightly press soil to remove large air pockets
- Avoid compacting soil too tightly, which restricts root growth
Healthy soil ensures vigorous seedlings and strong plant development.
Step 4: Planting Seeds or Seedlings
Depending on the vegetable, you can start with seeds or small seedlings.
Planting Guidelines
- Seeds: Plant ½ inch deep for small seeds, 1 inch for larger seeds
- Seedlings: Make a small hole, gently place roots, cover lightly with soil
- Water immediately after planting to help soil settle
Planting in tiny cups allows control over spacing and reduces overcrowding.
Step 5: Watering and Moisture Management
Tiny cups dry out faster than large containers, so consistent moisture is crucial.
Watering Tips
- Water gently to avoid washing away soil or seeds
- Keep soil moist but not soggy
- Mist daily for leafy greens or seedlings
- Reduce watering as plants mature to prevent root rot
Maintaining proper moisture ensures healthy growth and nutrient absorption.
Step 6: Sunlight and Location
Vegetables need sufficient light to thrive:
- Place cups in sunny spots with 4–6 hours of sunlight daily
- For indoor setups, use a south-facing window or grow lights
- Rotate cups occasionally for even sunlight distribution
Adequate light promotes photosynthesis, faster growth, and vibrant leaves.
Step 7: Fertilization and Plant Nutrition
Even small cup gardens need supplemental nutrients for strong growth:
- Use liquid fertilizers like compost tea or diluted organic fertilizer every 2–3 weeks
- Apply slow-release organic pellets for longer nutrient supply
- Avoid over-fertilizing, which can burn roots in small cups
Proper nutrition ensures large, healthy vegetables and continuous production.
Step 8: Managing Pests and Diseases
Container gardens are not immune to pests:
- Common issues: aphids, whiteflies, fungal infections
- Solutions: organic sprays (neem oil, garlic spray) or manual removal
- Maintain airflow between cups to prevent mold and mildew
Small cups make early detection of problems easier, allowing for quick intervention.
Step 9: Transplanting to Larger Containers or Beds (Optional)
While many vegetables thrive in tiny cups, some may need more space to mature:
- Leafy greens and herbs can remain in cups
- Tomatoes, peppers, and root vegetables may need transplanting
- Gently lift seedlings with soil intact and plant in larger pots or garden beds
- Water immediately after transplanting to reduce stress
Transplanting ensures larger fruits, bigger roots, and higher yields.
Step 10: Harvesting Vegetables from Tiny Cups
One of the joys of cup gardening is harvesting fresh vegetables regularly.
Tips
- Leafy greens: Harvest outer leaves first; plants continue growing
- Herbs: Snip leaves as needed, encouraging bushy growth
- Root vegetables: Harvest when roots reach edible size
- Tomatoes/peppers: Pick ripe fruits regularly for continuous production
Even with tiny cups, you can enjoy a steady supply of fresh, flavorful vegetables.
Creative Ideas to Maximize Your Tiny Cup Garden
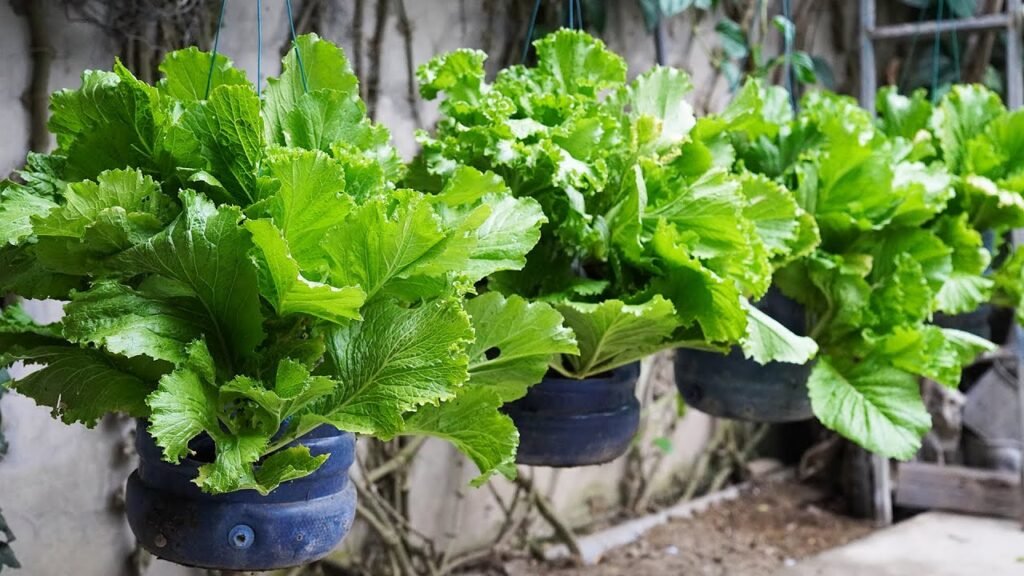
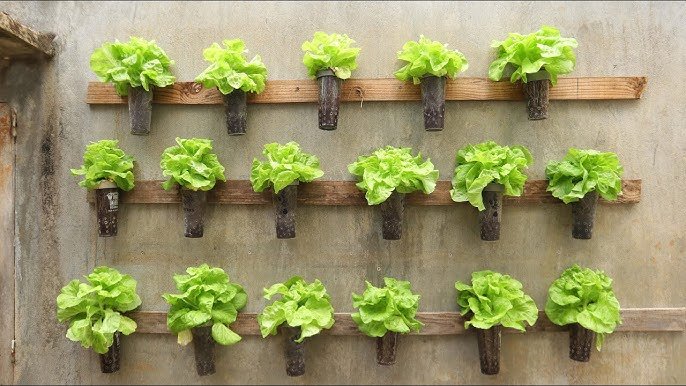
- Vertical Cup Garden: Stack or hang cups to save space
- Recycled Cups: Use yogurt, milk, or juice cups to reduce waste
- Windowsill Garden: Perfect for herbs and leafy greens indoors
- Companion Planting: Grow complementary plants together for better growth
With creativity, a few plastic cups can yield an entire mini vegetable garden.
Benefits of Growing Vegetables in Tiny Plastic Cups
- Space-saving: Perfect for apartments or small terraces
- Cost-effective: Reuse plastic cups and soil amendments
- Beginner-friendly: Easy to monitor and care for
- Quick results: Seeds germinate faster in small, controlled environments
- Eco-friendly: Reduces plastic waste and encourages recycling
This method proves that anyone, anywhere, can grow fresh vegetables at home.
Final Thoughts: A Whole Garden from Tiny Cups
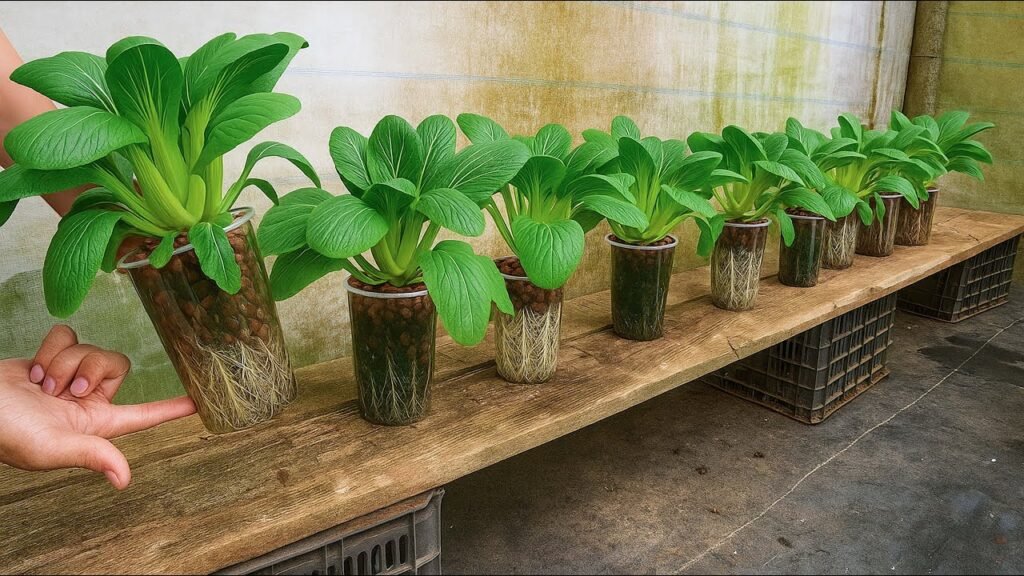
It may sound unbelievable, but with tiny plastic cups, nutrient-rich soil, and proper care, you can create a full, productive vegetable garden right at home. This approach is ideal for urban gardening, beginner gardeners, and anyone looking to grow fresh, organic vegetables with minimal space and investment.
From leafy greens to herbs, tomatoes, and peppers, your tiny cup garden can produce a variety of vegetables, ensuring you enjoy fresh, homegrown produce year-round. With this method, gardening becomes accessible, fun, and rewarding for everyone—even in the smallest spaces.