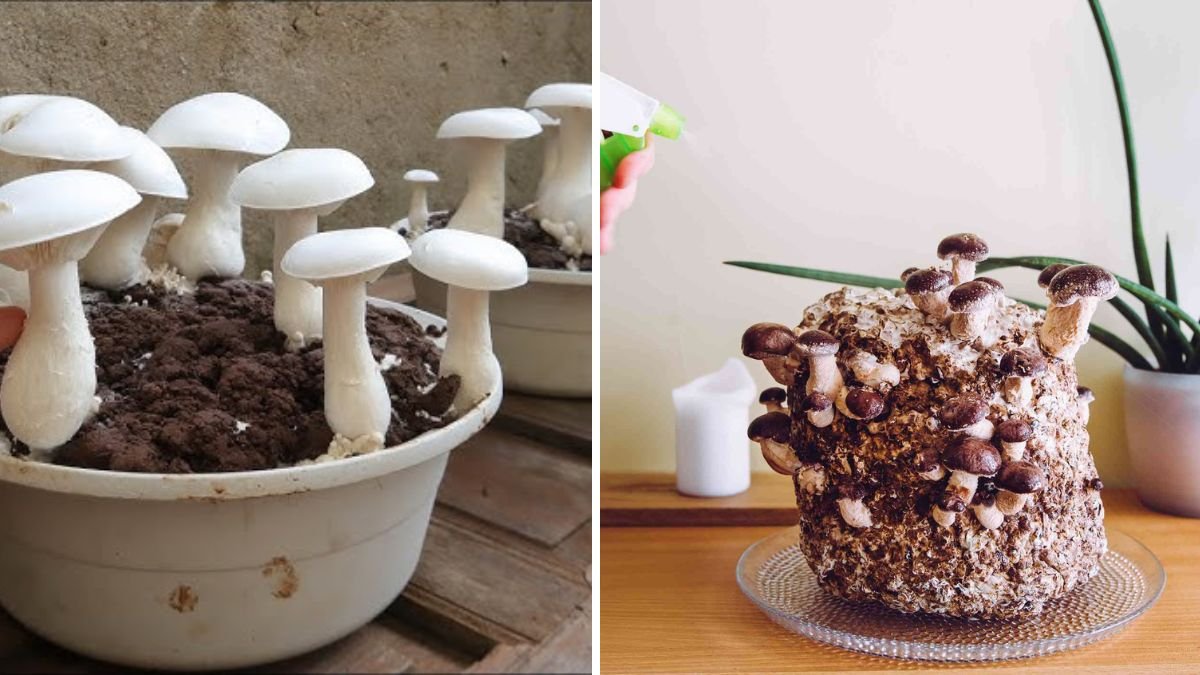
Mushrooms are one of the most nutritious foods you can add to your diet. Packed with vitamins, minerals, antioxidants, and protein, they boost immunity, improve digestion, and enhance overall health. While many believe mushroom cultivation requires large farms or specialized equipment, the truth is you can grow fresh mushrooms at home, in a simple bowl, with minimal effort.
Yes, you read that right! With just a few materials and the right technique, anyone—even beginners—can grow a small, productive batch of mushrooms at home. This article will guide you step by step, providing tips, secrets, and best practices to achieve a high-yield harvest right from your kitchen.
🌿 Why Grow Mushrooms at Home?
Homegrown mushrooms offer multiple benefits:
- Freshness: Pick mushrooms when needed for maximum flavor.
- Chemical-free: Avoid pesticides or preservatives.
- Cost-effective: Growing at home reduces regular grocery expenses.
- Compact cultivation: Perfect for apartments, kitchens, and small spaces.
- Fun and educational: Great for children and adults alike to learn about food cultivation.
With the right approach, growing mushrooms in a bowl can be both simple and surprisingly productive.
🍄 Step 1: Choosing the Right Mushrooms
Not all mushrooms are suitable for home cultivation in a bowl. Popular, easy-to-grow varieties include:
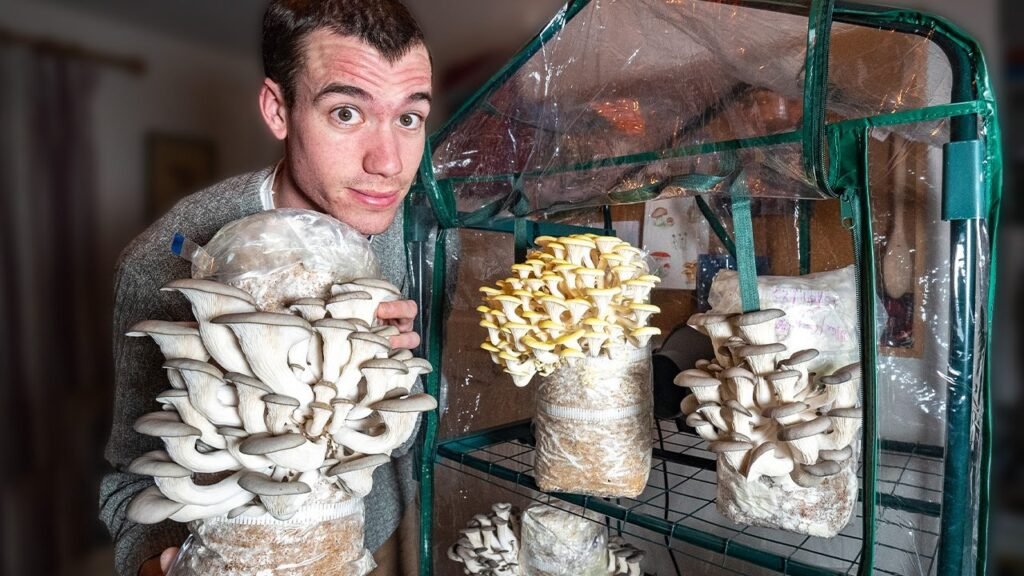
- Oyster mushrooms: Fast-growing, forgiving, and highly nutritious.
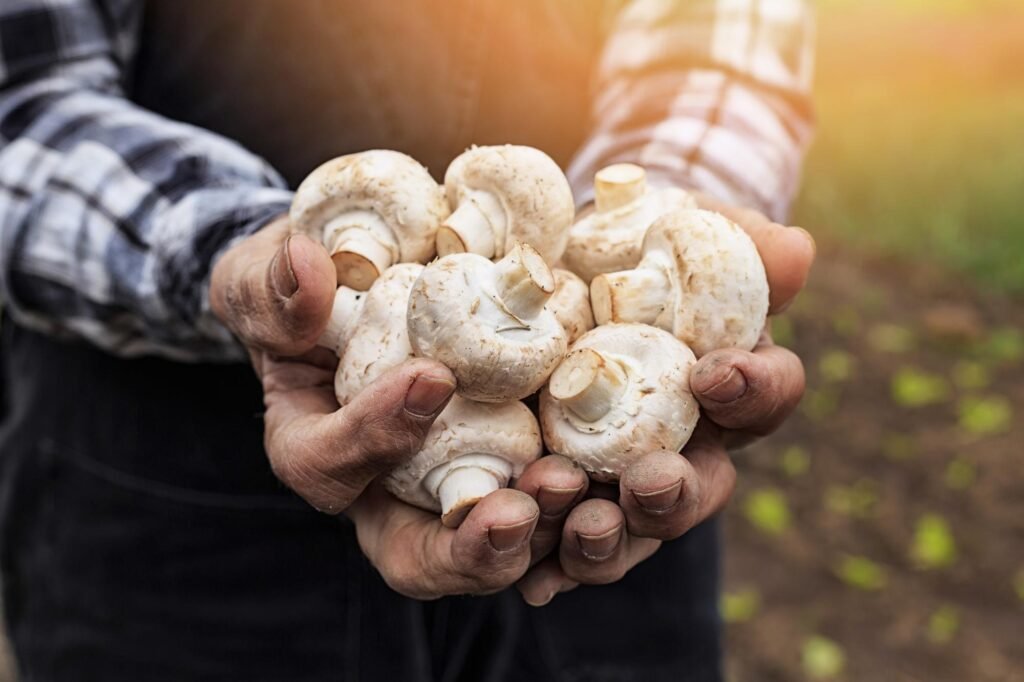
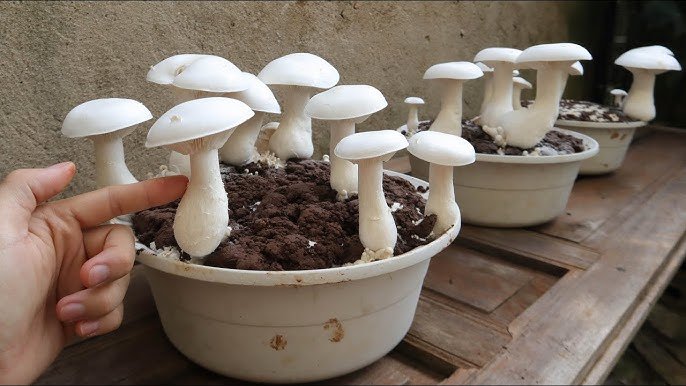
- Button mushrooms (Agaricus bisporus): Mild flavor, good for beginners.
- Shiitake mushrooms: Rich in flavor but require slightly longer growth periods.
Choose mushroom varieties that are adaptable, high-yield, and easy to manage indoors.
🪴 Step 2: Preparing Materials and Equipment
For bowl cultivation, you need minimal supplies:
- A clean bowl or container (plastic, glass, or ceramic).
- Mushroom spawn or seeds, available at gardening stores or online.
- Substrate (growing medium) such as:
- Straw (oyster mushrooms)
- Coffee grounds (button mushrooms)
- Sawdust (shiitake mushrooms)
- Spray bottle for watering.
- Plastic wrap or perforated cover to maintain humidity.
Using readily available items keeps the process affordable and convenient.
🌱 Step 3: Preparing the Substrate
The substrate provides the nutrients mushrooms need to grow:
- Sterilize or pasteurize the substrate to kill unwanted bacteria.
- For straw, soak in hot water for 30–60 minutes.
- For coffee grounds, ensure they are fresh and moist.
- For sawdust, use boiled water to remove pathogens.
- Allow the substrate to cool to room temperature before adding spawn.
Proper substrate preparation ensures healthy mushroom growth and reduces contamination risk.
🍄 Step 4: Inoculating the Substrate
Inoculation is the process of adding mushroom spawn to the substrate:
- Fill your bowl with the prepared substrate.
- Sprinkle mushroom spawn evenly throughout the substrate.
- Mix gently with clean hands or utensils to distribute spawn.
- Cover the bowl with plastic wrap or a lid with small holes to maintain humidity.
Even distribution of spawn ensures uniform mycelium growth and a higher yield.
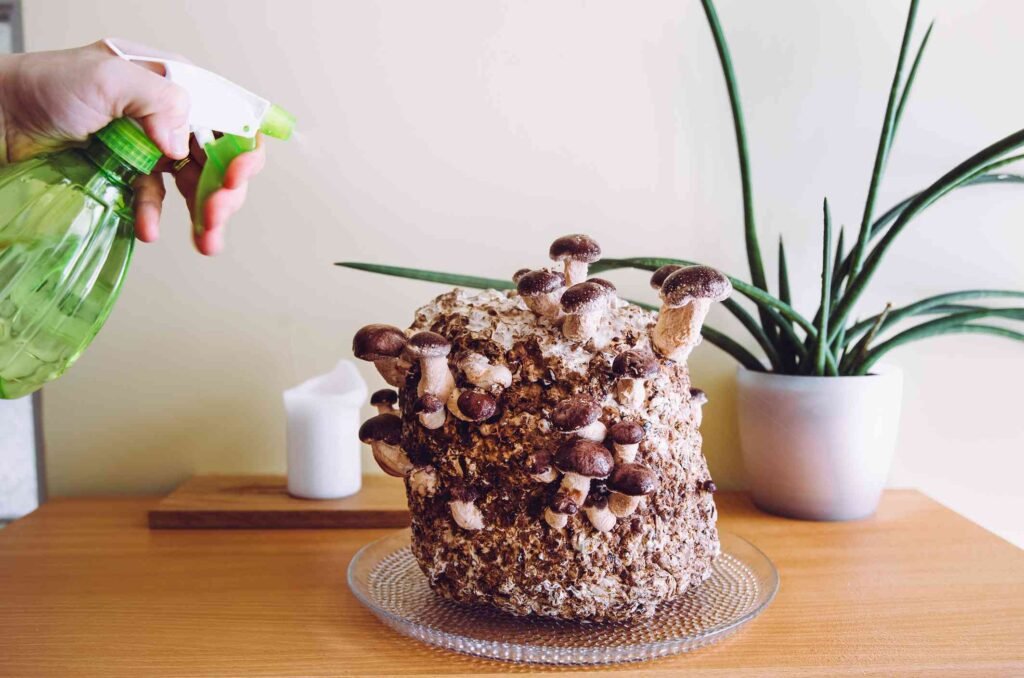
💧 Step 5: Watering and Humidity
Mushrooms require moist, humid conditions:
- Mist the substrate 2–3 times a day with a spray bottle.
- Keep the substrate moist but not soggy.
- Maintain high humidity by covering with plastic wrap or using a small humidifier nearby.
Consistent moisture promotes rapid mycelium development and robust mushroom growth.
🌞 Step 6: Temperature and Light Requirements
Mushrooms grow best under controlled temperature and indirect light:
- Temperature: Most mushrooms grow between 18–25°C (65–77°F).
- Light: Place the bowl in a bright, indirect light location. Avoid direct sunlight, which can dry out the substrate.
- Air circulation: Provide gentle airflow to prevent mold, but avoid strong drafts.
Proper conditions ensure healthy growth and faster fruiting.
🌿 Step 7: Monitoring Mycelium Growth
After inoculation, the white fungal network (mycelium) starts spreading through the substrate:
- Expect mycelium to develop within 7–14 days.
- Ensure the substrate remains moist and clean.
- Avoid disturbing the bowl unnecessarily to prevent damage.
Vigorous mycelium is a sign of a healthy, productive mushroom crop.
🍄 Step 8: Fruiting Stage
Once mycelium fully colonizes the substrate, mushrooms begin forming:
- Remove any cover that blocks airflow.
- Maintain high humidity by misting the developing mushrooms.
- Watch small mushroom pins appear and grow into full-sized mushrooms.
- Ensure the mushrooms are protected from pests or contamination during this stage.
The fruiting stage produces visible mushrooms ready for harvest in days.
✂️ Step 9: Harvesting Mushrooms
Harvesting at the right time ensures maximum flavor and texture:
- For button mushrooms, pick when caps are fully rounded but unopened.
- For oyster mushrooms, harvest before the edges of caps curl upward.
- Twist or cut mushrooms carefully to avoid damaging the substrate.
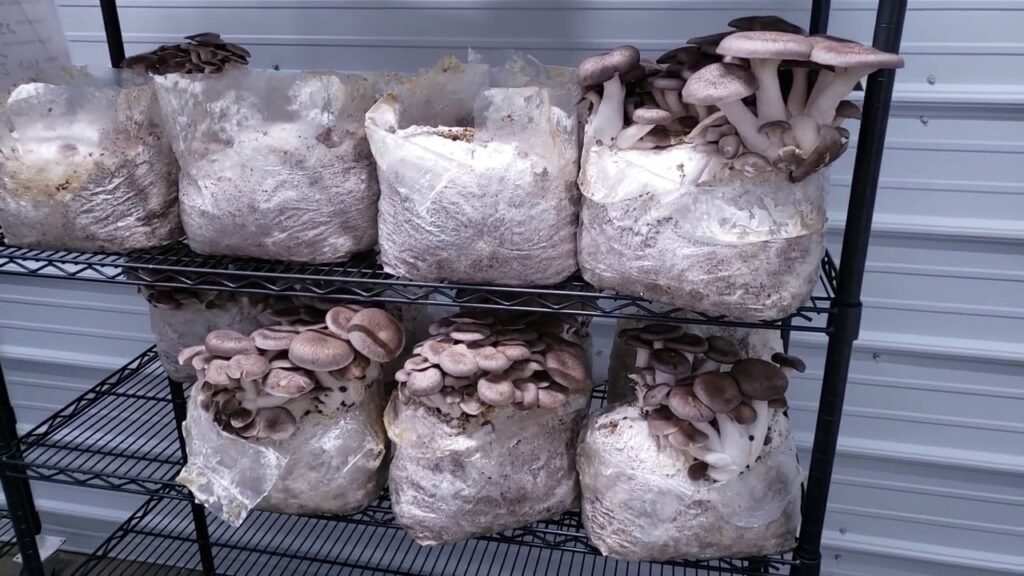
- The same substrate can produce multiple flushes, often 2–4 harvests over several weeks.
Timely harvesting ensures continuous supply and high-quality mushrooms.
🌟 Step 10: Tips for Maximum Yield
- Choose fresh, quality mushroom spawn.
- Keep the substrate moist, clean, and well-ventilated.
- Maintain optimal temperature and indirect light.
- Harvest at the right size for best flavor and texture.
- Use organic or household substrates like straw or coffee grounds for sustainability.
Following these tips guarantees a bountiful, flavorful mushroom harvest in a simple bowl.
🏡 Benefits of Growing Mushrooms in a Bowl at Home
- Space-saving: Perfect for apartments, kitchens, or terraces.
- Low cost: Minimal materials and reusable containers.
- Fresh and nutritious: Chemical-free mushrooms at your fingertips.
- Fun and educational: Teaches children and beginners about fungi.
- Multiple harvests: Substrate can yield several flushes over time.
Growing mushrooms in a bowl is both practical and rewarding, even for urban dwellers.
🍄 Step 11: Variations and Creative Ideas
- Coffee ground mushrooms: Great for small containers in kitchens.
- Vertical bowl stacking: Stack multiple bowls for more production in limited space.
- DIY mushroom kits: Pre-packaged kits make it even easier for beginners.
- Mixed substrate experiments: Combine straw, sawdust, or kitchen waste for different flavors and textures.
Creative approaches make mushroom cultivation fun, flexible, and highly productive.
🍀 Step 12: Conclusion – Your Home Mushroom Harvest
Growing mushrooms in a bowl at home is unbelievably simple, fast, and rewarding. With minimal materials, proper care, and patience, anyone can enjoy fresh, chemical-free mushrooms from the comfort of their home.
From preparing the substrate and inoculating with spawn to maintaining humidity, sunlight, and harvesting at the right time, this easy home-growing method ensures multiple flushes of delicious mushrooms.
Start today, follow these steps, and turn your kitchen into a mini mushroom farm. You’ll be amazed at how productive and tasty your homegrown mushrooms can be—even in a small bowl!