Introduction
Elderberries have been used for centuries as a natural remedy for colds and flu, primarily because of their antiviral and antioxidant properties. Growing your own elderberries not only provides you with fresh ingredients for syrups, jams, and sauces, but it also allows you to ensure the quality of your product. With a little effort and care, you can have a thriving elderberry bush that will yield fruit for many seasons to come.
Understanding Elderberries
Elderberry plants belong to the Sambucus genus, which includes several species, the most common being Sambucus nigra. This shrub is native to Europe and North America and can grow up to 12 feet tall. It thrives in a variety of climates, making it a versatile addition to your garden.
Choosing the Right Variety
When it comes to elderberries, selecting the right variety is crucial. Here are a few popular options:
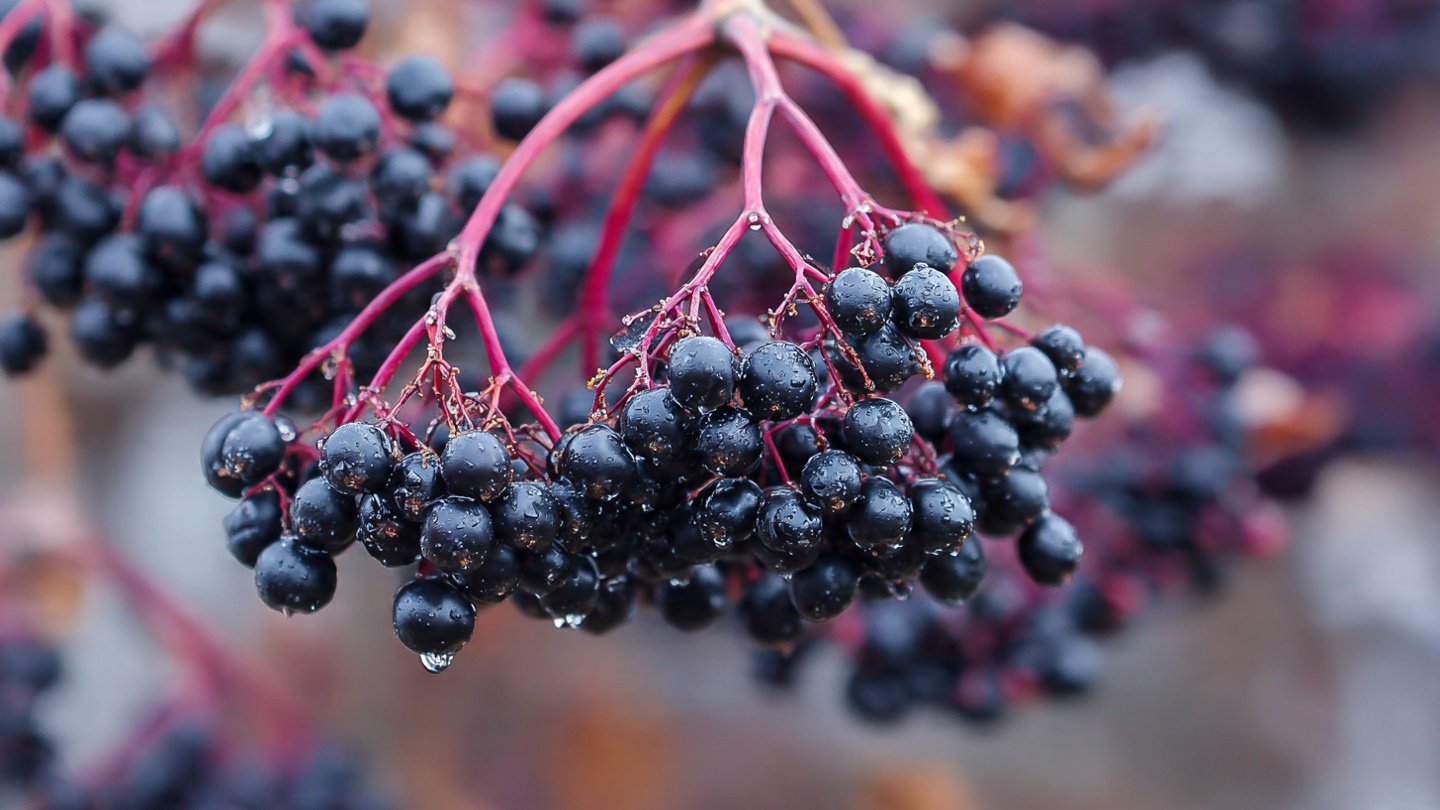
- Sambucus nigra: Known for its large black berries, this variety is widely used for medicinal purposes.
- Sambucus canadensis: This is the North American elderberry, which bears edible fruits and is often favored for its hardiness.
- Sambucus racemosa: This species produces red berries and is typically less sweet than the black varieties.
For syrup-making, Sambucus nigra is often preferred because of its higher sugar content and better flavor.
Optimal Growing Conditions
Elderberries grow best in certain conditions, so it’s essential to know what they need:
- Sunlight: Elderberries thrive in full sun to partial shade. An area that receives at least 6 hours of sunlight daily is ideal.
- Soil: These plants prefer moist, well-drained soil rich in organic matter. A pH level between 5.5 and 7.0 is optimal.
- Water: Keeping the soil consistently moist, especially in dry spells, is crucial for healthy fruit production.
- Space: Plant elderberries at least 6-10 feet apart to allow for adequate airflow and growth.
Planting Elderberries
When planting elderberries, consider the following steps:
- Choose a location based on the optimal growing conditions outlined above.
- Prepare the soil by enriching it with compost or well-rotted manure.
- Create holes that are about two feet apart and deep enough to accommodate the root system.
- Place the seedlings in the holes and backfill with soil, making sure the roots are covered but the crown of the plant is exposed.
- Water thoroughly after planting.
Care and Maintenance
To keep your elderberries healthy and productive, ongoing care is required. Here are key areas to focus on:
- Watering: Monitor moisture levels, especially in the first year. Mulching can help retain moisture and suppress weeds.
- Fertilizing: Fertilize in early spring with a balanced, slow-release fertilizer to promote healthy growth.
- Pruning: Prune annually to remove dead or diseased wood and promote better air circulation. This encourages more vigorous growth and fruit production.
- Pest and Disease Management: Keep an eye out for pests such as aphids and spider mites, and diseases like powdery mildew. Organic insecticides or natural remedies can be effective.
Harvesting Elderberries
Elderberries are usually ready for harvest in late summer or early fall when they turn a deep purple or black color. Here’s how to harvest them:
- Check for ripeness: The berries should be fully developed and easy to detach from their stems.
- Use scissors or pruning shears to cut the clusters from the plant.
- Be cautious, as elderberries contain small amounts of cyanogenic glycoside, which can cause nausea if consumed raw. Always cook them before consumption or make them into syrup.
Making Elderberry Syrup
Creating elderberry syrup is a simple process:
- Start with 1 cup of dried or fresh elderberries. If using dried elderberries, soak them in water for a few hours to rehydrate.
- Combine the elderberries with 4 cups of water in a pot. Bring to a boil and then reduce to a simmer for about 30 minutes.
- Strain the mixture using a fine mesh strainer and discard the solids.
- Add 1-2 cups of honey (to taste) while the mixture is still warm to dissolve it completely.
- Allow the syrup to cool and transfer it to a sterilized glass bottle for storage.
Your elderberry syrup can be stored in the refrigerator for several weeks or frozen for extended use. It’s a wonderful natural remedy for boosting immunity during the winter months.
Conclusion
Growing your own elderberries is a rewarding and beneficial endeavor. Not only do you reap the health benefits associated with elderberries, but you also have the satisfaction of knowing exactly how and where your syrup was made. With the right conditions, ongoing care, and proper techniques, you can cultivate a successful elderberry bush that yields delicious fruit year after year, ensuring you have a robust supply for your winter syrups and beyond.
FAQs
1. Can I grow elderberries in containers?
Yes, elderberries can be grown in large containers as long as they have sufficient soil and water, though they may grow better in the ground.
2. Are elderberries safe to eat raw?
No, raw elderberries can be toxic if consumed in large quantities. Always cook them or use them in syrups or jams.
3. How often should I prune my elderberry plants?
Pruning should take place annually, ideally in late winter or early spring before new growth begins.
4. What are some signs of elderberry plant diseases?
Look for discoloration on leaves, stunted growth, or black spots, which may indicate fungal infections or pest issues.
5. Can I use dried elderberries for syrup?
Yes, dried elderberries are an excellent alternative when fresh berries are not available, and they’re easy to store and use year-round.