Chili peppers are among the most versatile and popular plants for home gardeners. Known for their fiery flavor and impressive health benefits, including high levels of vitamin C, antioxidants, and metabolism-boosting compounds, chilies are a kitchen staple around the world. While many gardeners purchase seedlings from nurseries, there’s a simpler, more satisfying method: growing chili peppers directly from chili fruits.
Propagating chili peppers from ripe fruits is not only cost-effective but also allows you to preserve the characteristics of your favorite chili variety. In this guide, we’ll explore step-by-step techniques for growing chili peppers from fruit, including seed extraction, planting, and nurturing your plants for a bountiful harvest.
1. Understanding Chili Peppers and Their Growing Conditions
Before starting propagation, it’s essential to understand the plant’s requirements for healthy growth:
- Climate: Chili peppers thrive in tropical, subtropical, and warm temperate climates. They prefer temperatures between 20°C and 30°C (68°F–86°F).
- Soil: Well-drained, fertile soil rich in organic matter is ideal. Loamy soils with a slightly acidic to neutral pH (6–7) work best.
- Sunlight: Chili peppers need full sun exposure for at least 6–8 hours a day to grow strong and produce fruit.
- Watering: Regular, consistent watering is essential, but avoid waterlogging, which can cause root rot.
- Space: Adequate spacing (30–45 cm between plants) ensures proper airflow and reduces disease risk.
By providing these conditions, your chili plants will grow vigorous and productive.
2. Propagating Chili Peppers from Chili Fruit Seeds
Growing chili peppers from fruit seeds is an easy and effective method. Here’s a detailed guide:
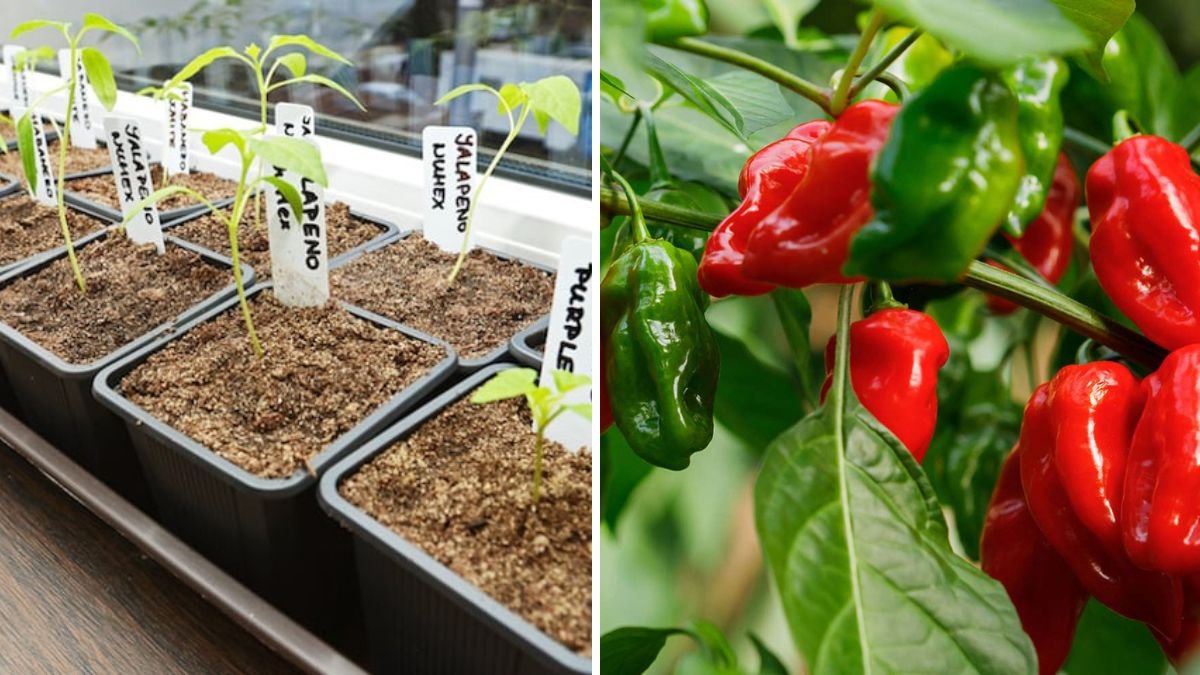
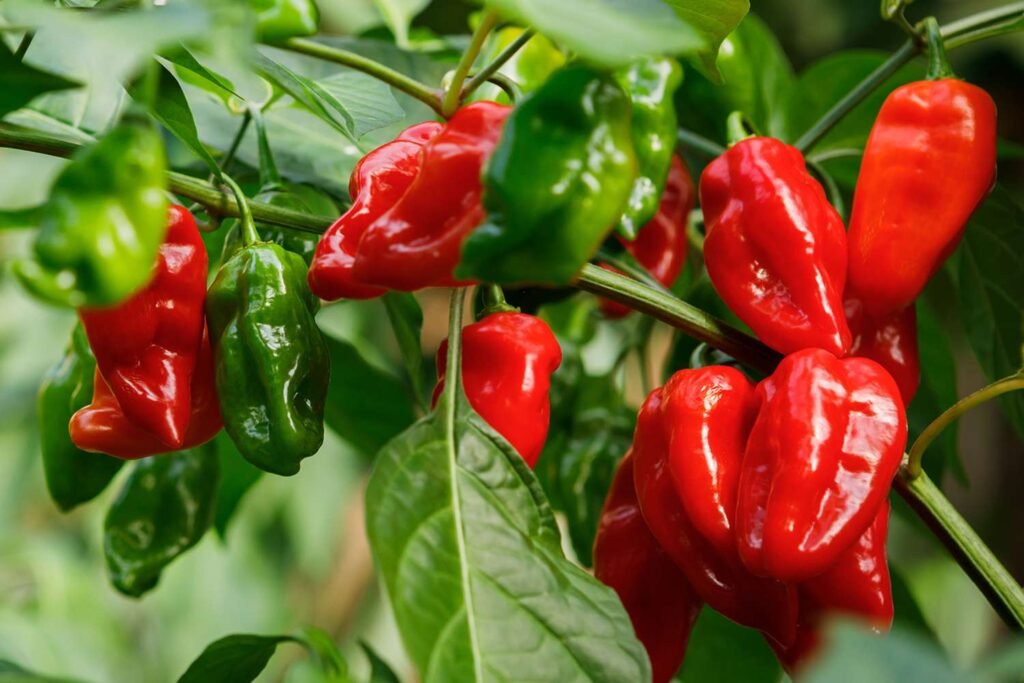
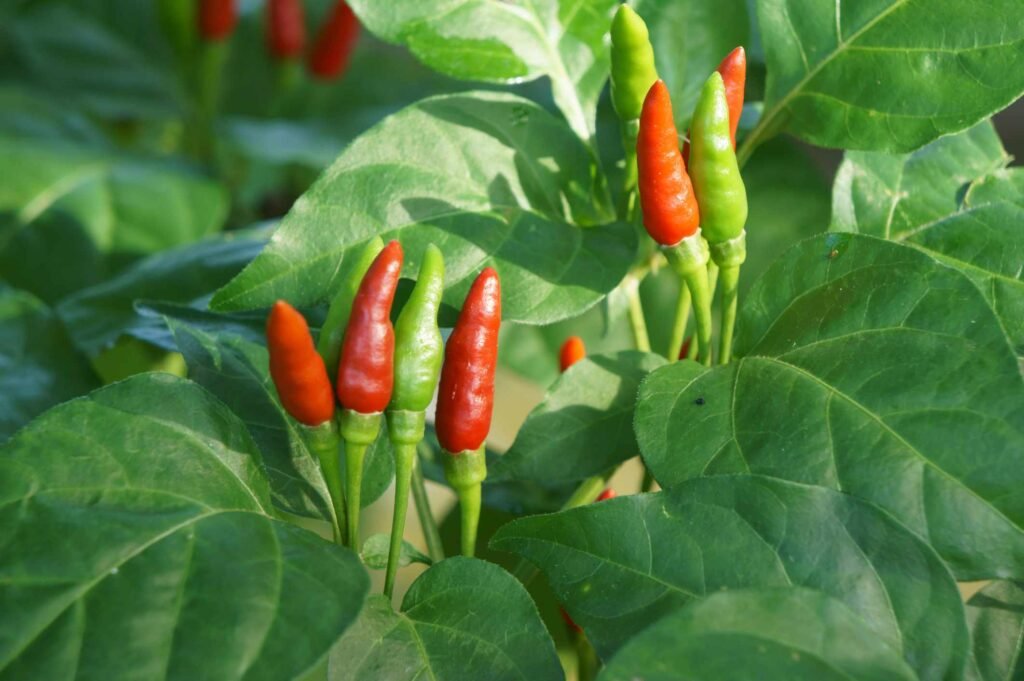
Step 1: Select Ripe Chili Fruits
- Choose fully ripe chili peppers, preferably red, as they contain mature seeds.
- Avoid fruits that are damaged or diseased, as this can affect seed viability.
Step 2: Extract and Clean the Seeds
- Cut the chili fruit open carefully and remove the seeds.
- Wash the seeds under running water to remove any residual pulp. Clean seeds reduce the risk of fungal infections during germination.
- Allow the seeds to air dry for a few hours on a paper towel, but avoid prolonged exposure to sunlight, which can damage them.
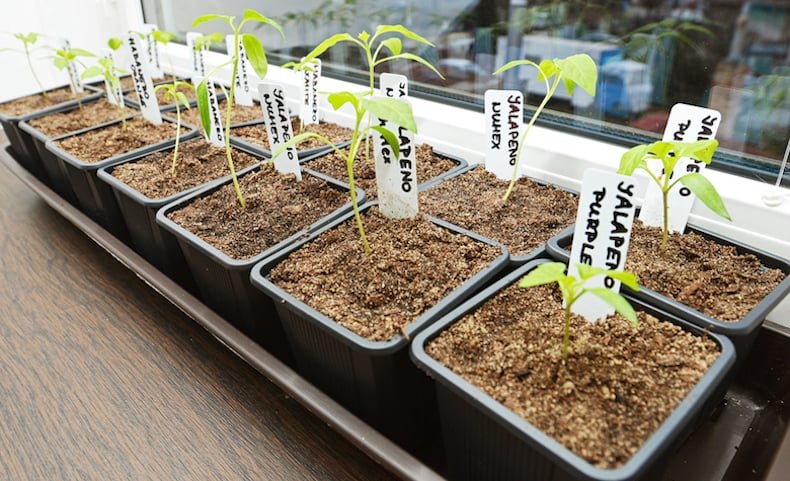
Step 3: Prepare the Planting Medium
- Use small pots or seed trays filled with a mixture of compost, garden soil, and sand or cocopeat.
- Ensure the soil is light, well-draining, and nutrient-rich.
Step 4: Sow the Seeds
- Plant the seeds about 0.5–1 cm deep in the soil.
- Space multiple seeds 2–3 cm apart in trays to prevent overcrowding.
- Lightly cover the seeds with soil and gently water to keep it moist.
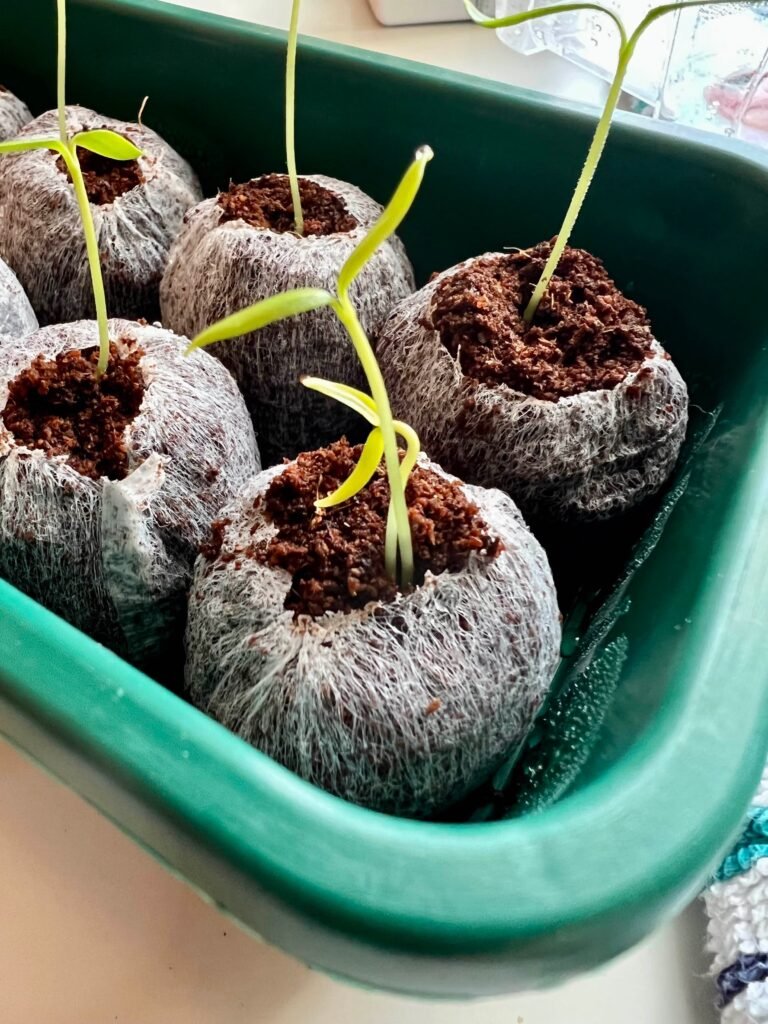
Step 5: Germination and Care
- Place the pots in a warm, shaded location. Chili seeds usually germinate in 7–14 days.
- Maintain consistent moisture but avoid waterlogging.
- Once seedlings develop 2–3 true leaves, they can be transplanted to larger pots or directly into your garden.
Advantages of Seed Propagation:
- Simple and cost-effective.
- Produces multiple plants from a single fruit.
- Preserves the characteristics of the parent plant.
Disadvantages:
- Seedlings take several weeks to mature before producing fruit.
- Requires careful attention to temperature and moisture during germination.
3. Propagating Chili Peppers Through Cuttings
For gardeners who want faster fruiting and guaranteed plant traits, propagation through cuttings is an excellent option:
Step 1: Select Healthy Stems
- Choose a mature, healthy chili plant with strong stems.
- Cut a 10–15 cm section of the stem containing at least 2–3 nodes.
Step 2: Prepare the Cutting
- Remove the leaves from the lower half of the cutting to reduce water loss.
- Dip the cut end in rooting hormone powder or gel to encourage root development.
Step 3: Plant the Cutting
- Insert the cutting into a pot filled with a mixture of compost, sand, and garden soil.
- Water gently and cover the cutting with a transparent plastic bag or mini greenhouse to maintain humidity.
Step 4: Root Development and Care
- Roots typically develop within 3–4 weeks.
- Once new growth appears, gradually remove the covering and acclimate the plant to outdoor conditions.
- Transplant the rooted cutting to a permanent location when it establishes strong roots.
Advantages of Cuttings:
- Faster fruiting compared to seeds.
- Preserves parent plant characteristics.
- Ideal for gardeners with limited space.
Disadvantages:
- Requires careful monitoring of humidity and moisture.
- Not all cuttings successfully root.
4. Caring for Young Chili Plants
Proper care is essential to ensure your chili plants grow strong and produce abundant fruit:
- Watering: Keep the soil consistently moist, particularly during the flowering and fruiting stages. Avoid overwatering.
- Fertilization: Use balanced fertilizers (NPK 10:10:10) or organic compost every 3–4 weeks. Additional potassium encourages flowering and fruiting.
- Sunlight: Ensure the plants receive at least 6 hours of direct sunlight daily.
- Pest and Disease Control: Monitor for aphids, spider mites, and fungal infections. Use organic or chemical controls as necessary.
- Pruning: Remove weak or yellow leaves and pinch back growing tips to encourage bushier growth and more fruit.
5. Tips for Maximizing Chili Pepper Production
- Spacing: Maintain at least 30–45 cm between plants to allow proper airflow and reduce disease risk.
- Mulching: Apply mulch around the base to conserve moisture, regulate soil temperature, and suppress weeds.
- Support: Use stakes or small trellises for taller chili varieties to prevent stems from bending or breaking under fruit weight.
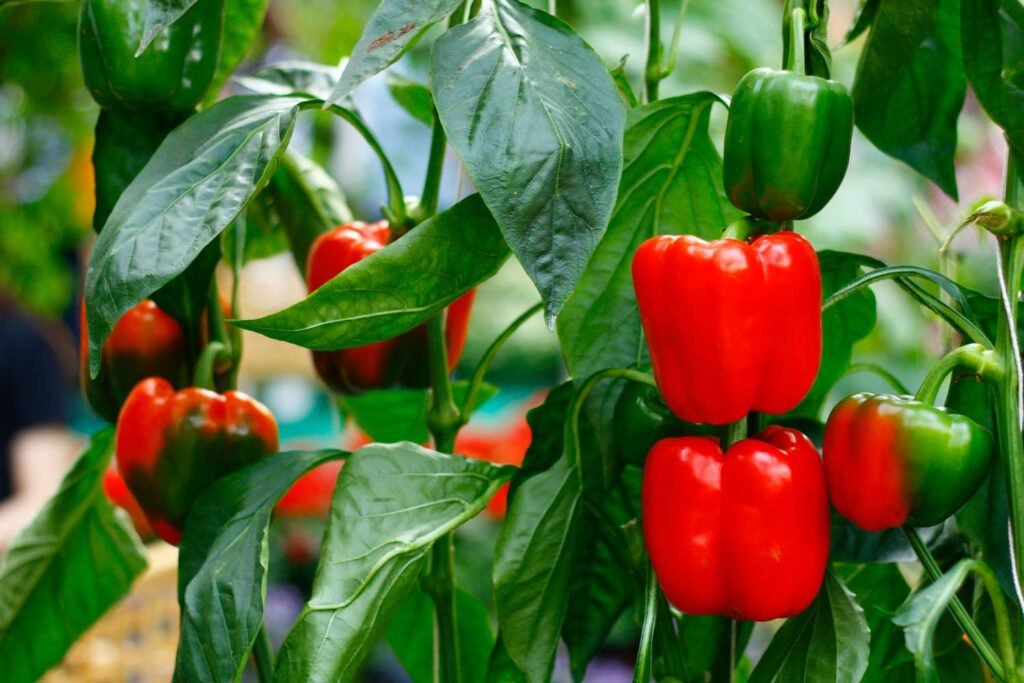
- Harvesting: Harvest chilies when they reach the desired color (green, yellow, or red depending on the variety). Frequent harvesting encourages continuous flowering and fruiting.
- Rotation and Crop Care: Rotate planting areas or use fresh soil for new seedlings to reduce soil-borne diseases.
6. Benefits of Growing Chili Peppers at Home
- Fresh, Organic Produce: Enjoy pesticide-free chilies right from your garden.
- Cost Savings: Reduce the need to buy chilies from the market.
- Continuous Supply: With proper care, chili plants produce fruit for several months.
- Health Benefits: Home-grown chilies retain maximum nutrients and antioxidants.
- Gardening Satisfaction: Growing chilies from fruit or cuttings is rewarding and educational.
7. Conclusion
Growing chili peppers from chili fruit is an easy, fun, and cost-effective way to expand your garden and enjoy a steady supply of fresh, fiery chilies. Seed propagation is simple and produces multiple plants, while cuttings allow for faster fruiting and consistent plant traits. By following the step-by-step techniques outlined in this guide and providing proper care, you can cultivate healthy chili plants that produce abundant, flavorful fruits.
Whether you’re a beginner gardener or an experienced horticulturist, propagating chilies from fruit is a fulfilling way to spice up your garden—and your meals. With patience, dedication, and the right techniques, your home-grown chili plants can flourish into a thriving mini-orchard, bringing color, flavor, and nutrition to your kitchen all year round.