Gooseberries are a delightful addition to any garden, offering tangy fruits that can be enjoyed fresh, in desserts, or preserved into jams. Growing gooseberries from cuttings is not only an economical way to propagate these plants but also a straightforward method that even beginners can follow. In this article, we’ll explore the step-by-step process to grow fresh gooseberries from cuttings, ensuring anyone can successfully cultivate these tasty berries.
Understanding Gooseberries
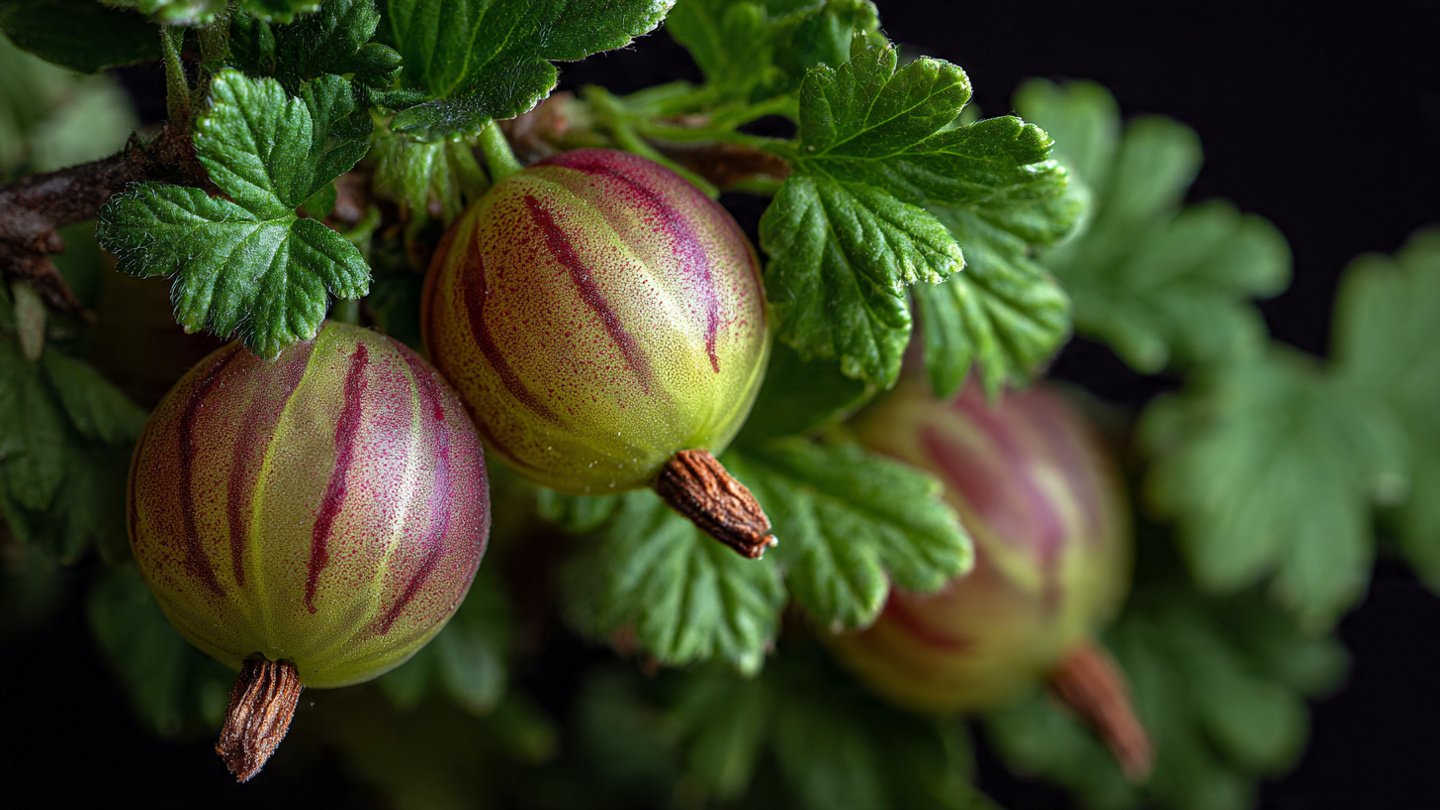
Gooseberries (Ribes uva-crispa) are deciduous shrubs that are hardy and can thrive in various climates. Their growth habit consists of thorny stems with clusters of small, round berries that can range in color from green to yellow, red, and purple. Besides their delicious flavor, gooseberries are rich in vitamins and nutrients, making them a healthy choice for your diet.
Why Propagate from Cuttings?
Propagating gooseberries from cuttings is advantageous for several reasons:
- Cost-Effective: Instead of purchasing new plants, you can grow them from existing ones.
- Genetic Uniformity: Cuttings will maintain the characteristics of the parent plant, ensuring consistent fruit quality.
- Faster Growth: Growing from cuttings can yield fruit sooner than starting from seeds, which can take much longer to mature.
Steps to Grow Gooseberries from Cuttings
Step 1: Choose the Right Time
The best time to take cuttings is during late spring to early summer (around May to June), when the new growth is still soft and pliable. This is known as taking “softwood” cuttings, which are more likely to root successfully compared to older wood.
Step 2: Select the Cuttings
- Healthy Parent Plant: Choose a vigorous, healthy gooseberry bush to take your cuttings from. Look for stems that are one year old and have plenty of leaves.
- Cutting Length: Cuttings should be about 4-6 inches long. Each cutting should have at least 2-3 leaf nodes (the bumps on the stem where leaves arise).
Step 3: Prepare the Cuttings
-
Make the Cut: Using a sharp, sterile knife or pruning shears, cut just below a leaf node at a 45-degree angle to increase the surface area for rooting.
-
Remove Lower Leaves: Trim off any leaves from the lower half of the cutting, leaving just a couple of leaves at the top. This helps the cutting direct its energy toward root development rather than sustaining leaves.
-
Optional – Rooting Hormone: While not necessary, dipping the cut end of the cutting in rooting hormone can enhance rooting success. This hormone contains auxins, which promote root growth.
Step 4: Planting the Cuttings
-
Choose the Right Medium: You can use a mixture of potting soil and sand, or a commercial seed starting mix. Ensure the medium is well-draining to prevent rot.
-
Prepare Containers: Use small pots or trays with drainage holes. Fill them with the chosen medium, then moisten the soil.
-
Insert the Cuttings: Make a hole in the soil with a pencil or your finger and insert the cutting deeply enough so that at least one node is buried. Firm the soil around the cutting to eliminate air pockets.
Step 5: Provide Optimal Conditions
-
Humidity: To maintain humidity, cover the pots with a plastic dome or use a clear plastic bag. This creates a greenhouse effect that helps retain moisture.
-
Light: Place the pots in a bright location but avoid direct sunlight, which can scorch the cuttings. A north-facing window or a shady spot outdoors is ideal.
-
Temperature: Maintain a temperature of around 65-75°F (18-24°C) for optimal root development.
Step 6: Watering and Maintenance
-
Monitor Moisture Levels: Keep the soil consistently moist, but not soggy. Overwatering can lead to rot, while underwatering can hinder root development.
-
Mist the Cuttings: Occasionally mist the cuttings to increase humidity levels, especially during hot weather.
Step 7: Transplanting the Cuttings
After 4-8 weeks, you can check for root development by gently tugging at the cuttings. If you feel resistance, roots have formed. Here’s how to transplant them:
-
Choose the Right Time: Transplant cuttings in early autumn or spring, once they have developed enough roots.
-
Harden Off: Before planting them outdoors, gradually acclimatize the cuttings to outdoor conditions over several days.
-
Select the Planting Location: Pick a sunny spot with well-drained soil for your gooseberries.
-
Spacing: Ensure there’s enough space between plants (about 3-4 feet apart) to promote good air circulation.
-
Planting: Dig a hole deep enough for the roots and gently place the rooted cutting. Firm the soil around the base and water thoroughly.
Step 8: Ongoing Care
-
Water Regularly: Newly planted cuttings need consistent moisture. Water them regularly, especially during dry spells.
-
Mulching: Add a layer of organic mulch around the base to retain moisture and suppress weeds.
-
Fertilization: Once established (after a year or so), apply a balanced fertilizer in early spring to encourage healthy growth.
-
Pruning: Regularly prune your gooseberry bushes to maintain their shape and remove any dead or diseased wood.
-
Pest Control: Keep an eye out for common pests like aphids, and treat them as necessary using organic pesticides or natural remedies.
FAQs
1. Can I grow gooseberries from seed?
While it is possible to grow gooseberries from seed, it is a much longer and more challenging process compared to taking cuttings. Plants grown from seeds may not have the same characteristics as the parent plant.
2. When can I expect to see fruit from my new gooseberry plants?
If rooted cuttings are properly cared for, you can expect to see fruit in 1-2 years after transplanting, depending on the variety and growing conditions.
3. How often should I water my cuttings?
Keep the soil consistently moist but not soggy. Water whenever the surface feels dry, and increase frequency during hot, dry weather.
4. What pests or diseases should I look out for?
Common pests include gooseberry sawflies and aphids. Diseases such as powdery mildew can also affect your plants. Regular inspection and timely intervention can help prevent infestations.
5. How can I improve the success rate of my cuttings?
Using a rooting hormone, ensuring optimal humidity, and selecting healthy parent plants are key factors in increasing your success rate with cuttings.
6. Can I grow gooseberries in containers?
Yes, you can grow gooseberries in large pots or containers. Just ensure the container has good drainage and is large enough to accommodate the roots.
Conclusion
Growing gooseberries from cuttings is a rewarding and simple process. With a little patience and care, you can propagate these tangy fruits and enjoy their taste in your home garden. Whether you’re looking to save money or expand your garden variety, following the steps outlined in this guide will help you successfully cultivate gooseberries. Happy gardening!