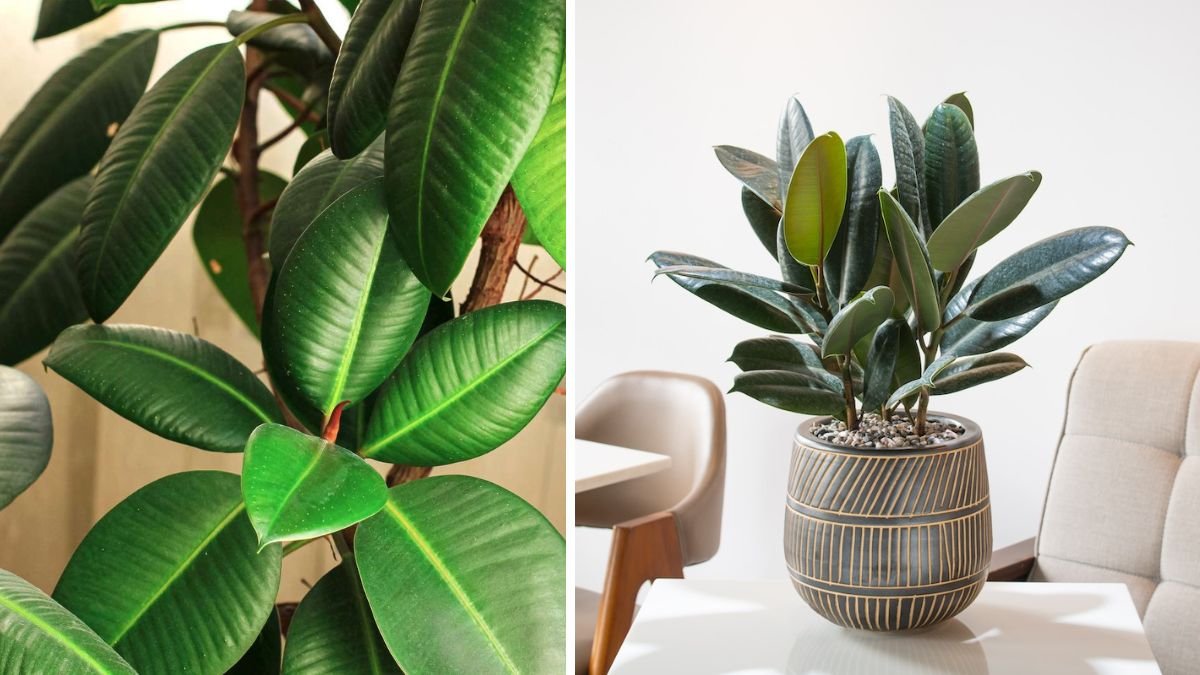
Rubber plants (Ficus elastica) have gained immense popularity as houseplants due to their stunning foliage and ease of care. One of the most exciting aspects of rubber plants is their capacity for propagation, especially through nodes. This guide will explore everything you need to know about node propagation to ensure your rubber plants thrive and multiply.
What is a Node?
A node is a part of a plant stem that serves as a site for leaf attachment and can develop into new growth, including branches or roots. In propagation, nodes are critical because they contain the necessary cells to develop into new shoots, ensuring the plant can regenerate and expand. When propagating a rubber plant, it’s essential to include at least one node in your cutting to increase the chances of successful growth.
Tools You’ll Need
Before diving into propagation, gather the following tools:
- Sharp Shears or Scissors: Clean, sharp tools minimize damage to the plant and reduce the risk of infection.
- Water or Soil: Depending on your propagation method, you can choose between water and potting soil.
- Containers: If propagating in water, any clear container (like a glass jar) is suitable. For soil propagation, small pots or seed trays are ideal.
- Rooting Hormone (Optional): This can stimulate root growth and increase the likelihood of success.
- Plastic Bag or Humidity Dome (Optional): To maintain humidity during the rooting phase.
Step-by-Step Guide to Node Propagation
Step 1: Choose the Right Plant
Your parent rubber plant should be healthy and mature, showing signs of vigorous growth. Look for a plant with robust leaves and no signs of pests or disease. Ensure the plant is well-hydrated before taking cuttings, as this promotes better root growth.
Step 2: Identify and Cut a Node
- Select the Stem: Look for a stem with at least one node. Nodes are often noticeable as raised bumps on the stem.
- Make the Cut: Using sharp, sterilized shears, cut a section of the stem that is at least 4-6 inches long. Make the cut just below a node for optimal results. If possible, include a few healthy leaves to help feed the cutting while it establishes roots.
Step 3: Prepare the Cutting
- Remove Excess Leaves: Trim away any leaves that might be submerged in water or are damaged. Leaving two to three leaves on the cutting is recommended to allow photosynthesis while roots develop.
- Optional: Apply Rooting Hormone: Dip the cut end of the stem in rooting hormone to help stimulate root growth.
Step 4: Propagation Method
You can choose between two popular methods for propagating rubber plant nodes: water propagation and soil propagation.
Water Propagation
- Place in Water: Submerge the cut end of the stem in a container of water, ensuring at least one node is submerged.
- Location: Put the container in a warm, bright location with indirect sunlight. Direct sunlight can scorch the cutting.
- Change Water Regularly: Every few days, replace the water to keep it clean and oxygenated.
Soil Propagation
- Plant in Soil: Fill a small pot with well-draining potting mix. Create a hole for the cutting and insert it cut-side down, ensuring the node is buried in soil.
- Watering: Water the cutting lightly to moisten the soil but avoid overwatering. The soil should remain consistently damp but never soggy.
- Cover: Optionally, place a plastic bag or humidity dome over the pot to maintain humidity levels.
Step 5: Caring for Your Cutting
Whichever propagation method you choose, care for your cutting properly:
- Light: Place the cutting in a location with bright, indirect sunlight. Too much direct light can harm the tender cutting.
- Humidity: Maintain humidity levels, especially for soil propagation. A humidity dome or plastic bag can help.
- Temperature: Rubber plants thrive in temperatures between 65°F and 80°F (18°C to 27°C). Avoid cold drafts and excessive heat.
Step 6: Wait for Roots to Develop
Root development time can vary:
- Water Cuttings: Roots may begin to show in as little as two weeks, but it can take up to a month or longer for significant root growth.
- Soil Cuttings: Roots will develop below the surface, requiring patience. You can gently tug on the cutting after a month to check for resistance, indicating root growth.
Step 7: Transitioning to a Pot
Once the roots are a few inches long, it’s time to transition your rubber plant cutting to a pot:
- Choose a Pot: Select a pot that is slightly larger than the root system but has good drainage holes.
- Potting Mix: Use a high-quality potting mix that allows for good drainage.
- Transplant: Carefully remove the cutting from water or the propagation medium and place it in the new pot. Fill in around the roots with soil and water thoroughly.
Step 8: Ongoing Care
After potting, continue caring for your rubber plant:
- Light: Ensure it gets plenty of bright, indirect sunlight.
- Watering: Allow the top inch or two of soil to dry out between waterings. Rubber plants prefer to be slightly on the dryer side but don’t let them completely dry out.
- Fertilizing: Once established, you can fertilize your rubber plant with a balanced, water-soluble fertilizer during the growing season (spring and summer).
Tips for Successful Propagation
- Be Patient: Propagation can take time. Don’t rush the process; successful root establishment is key to a healthy plant.
- Avoid Excessive Moisture: Overwatering is a common mistake. Ensure the cutting has proper drainage to avoid rot.
- Watch for Pests: Regularly check for pests and signs of disease. Treat promptly to protect your new plant.
- Enjoy the Journey: Each cutting can become a beautiful plant, allowing you to expand your houseplant collection or share with friends.
FAQs
Can I propagate a rubber plant in just soil?
Yes, you can propagate rubber plants directly in soil. Ensure the cutting includes at least one node, and maintain consistent moisture and humidity for successful rooting.
How long does it take for rubber plant nodes to root?
Rooting can take anywhere from two weeks to over a month, depending on the method used and environmental conditions.
Do I need to use rooting hormone for successful propagation?
While rooting hormone can increase the success rate and speed of root development, it’s not strictly necessary. Many cuttings root successfully without it.
How can I tell if my cutting has rooted?
If propagating in water, you’ll see roots developing within the container. For soil propagation, gently tug on the cutting after a month; resistance indicates root growth.
What should I do if my cutting starts to yellow?
If the leaves of your cutting start to yellow, it could indicate overwatering, underwatering, or insufficient light. Adjust your care accordingly.
Can I propagate a rubber plant from a leaf cutting?
Leaf cuttings typically do not root well due to the lack of nodes. For best results, always use stem cuttings that include at least one node.
When is the best time to propagate rubber plants?
The best time for propagation is during the spring or early summer when the plant is actively growing, increasing the chances of successful rooting.
Is it normal for rubber plant leaves to drop after propagation?
Yes, some leaf drop can occur as the plant adjusts to the shock of being propagated. Ensure proper care, and new growth should emerge once the plant settles.
Conclusion
Node propagation of rubber plants offers a rewarding way to expand your houseplant collection and enjoy the beauty of Ficus elastica in various locations. By following these steps and tips, you’ll increase your chances of successful propagation, resulting in vibrant, thriving plants. Remember to be patient and provide the right conditions for your cuttings to flourish, and you’ll soon enjoy the satisfaction of your newfound green companions!