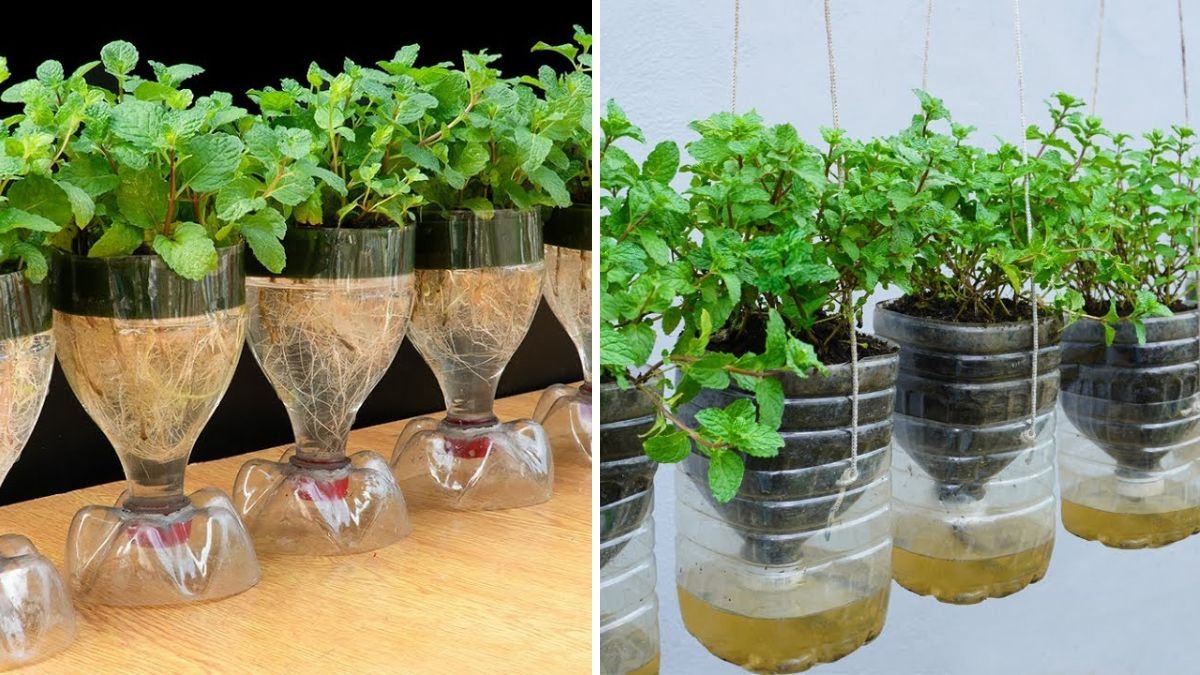
If you love using fresh mint in tea, chutneys, lemonade, salads, biryani, mojitos, or simply want that refreshing aroma in your home garden, then growing mint is one of the best decisions you can make. Mint is one of the easiest, fastest-growing herbs, and the best part is—you don’t even need soil beds, large pots, or a spacious garden.
All you need is a simple plastic bottle, a bit of soil, and a few mint stems or cuttings. With this simple technique, you can grow lush, fragrant, and unlimited mint at home—year-round!
This eco-friendly gardening method is perfect for small spaces, balconies, terraces, and even kitchens. In this article, you’ll learn the complete step-by-step method to grow mint using a plastic bottle, along with tips, maintenance, harvesting, and long-term care.
🌱 Why Grow Mint in a Plastic Bottle?
Using plastic bottles for gardening has many advantages:
✔ Eco-friendly
Instead of throwing plastic bottles into the trash, you’re repurposing them creatively.
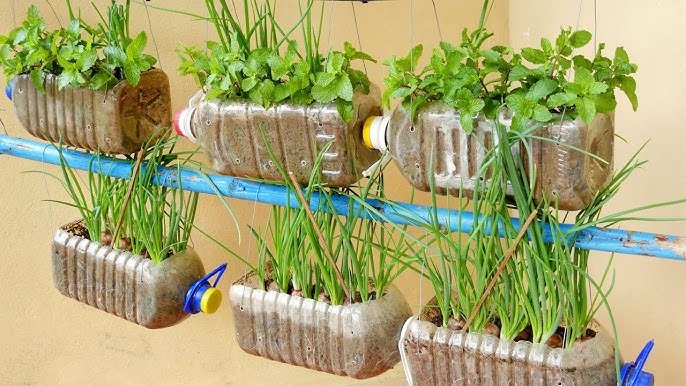
✔ Space-saving
Perfect for small homes—hang them vertically, place them on railings, or set them in your kitchen window.
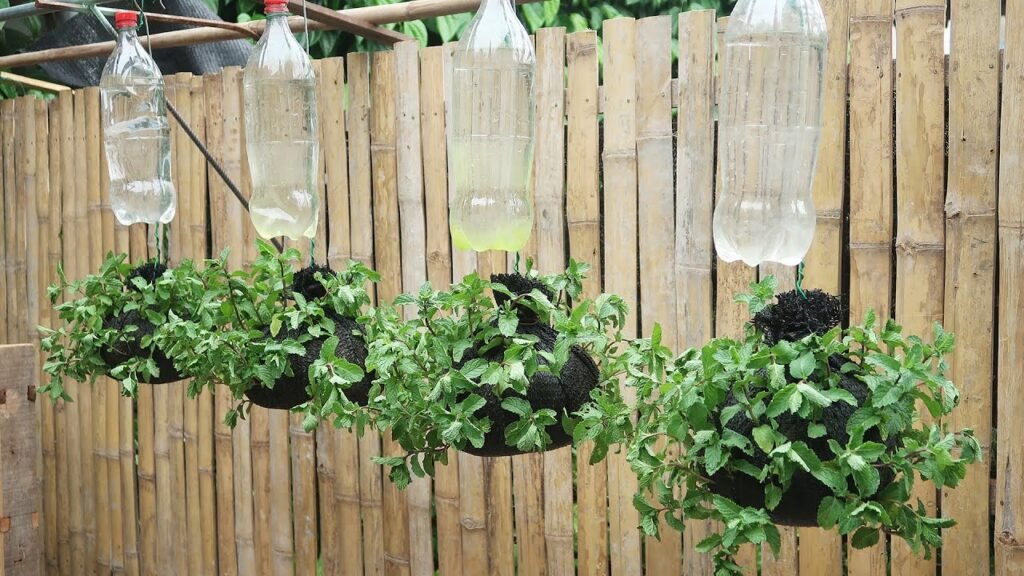
✔ Water-efficient
The bottle acts like a mini greenhouse, keeping moisture inside and reducing evaporation.
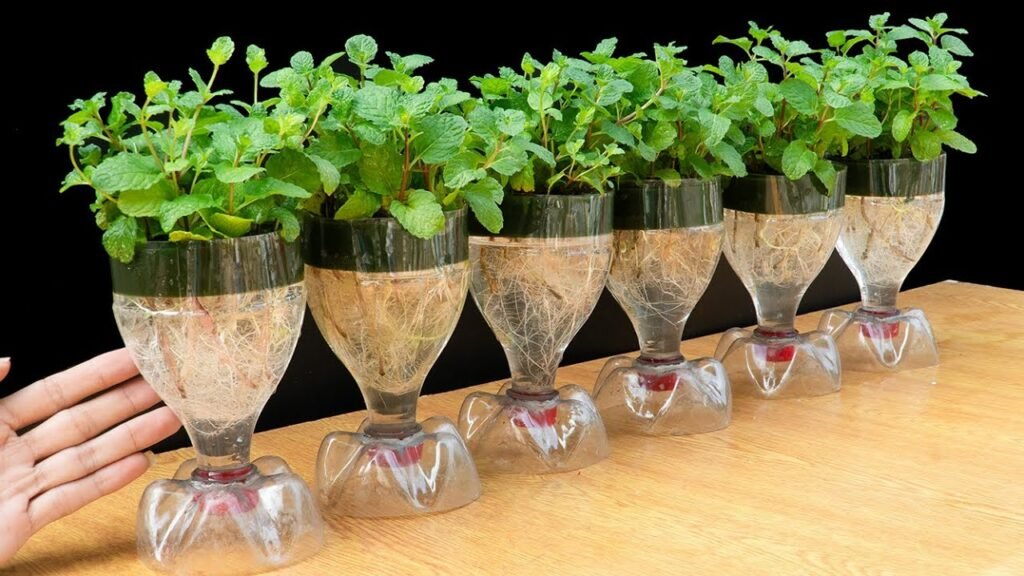
✔ Fast growth
Mint thrives in moist environments—this setup ensures rapid root development.
✔ Cost-effective
No need to buy pots or garden beds. One bottle can produce enough mint for daily use.
With this method, even beginners can enjoy a beautiful green herb garden without any difficulty.
🌿 What You Need
Before starting, gather the following simple materials:
- 1 or 2 plastic bottles (1L or 2L)
- Sharp blade or knife
- A few mint cuttings with thick stems
- Potting soil or garden soil mixed with compost
- Watering can or spray bottle
- A sunny or partially shaded location
That’s it! Everything is easily available at home.
✂️ Preparing Mint Cuttings
You can grow mint from either store-bought stems or cuttings from an existing plant.
How to prepare:
- Choose healthy green stems around 4–6 inches long.
- Remove the lower leaves, keeping only the top 2–3 leaves.
- Place the stems in a glass of water for 2–3 days.
- Once roots appear (white and tiny), they are ready for planting.
Rooted cuttings grow faster and stronger in the plastic bottle system.
🛠️ Preparing the Plastic Bottle
Here’s how to convert a basic bottle into a mint-growing container:
Step 1: Cut the bottle
- Cut a horizontal opening on the side of the bottle (3–4 inches wide).
- Keep the rest of the bottle intact for water retention.
Step 2: Make drainage holes
- Poke 3–5 holes at the bottom of the bottle.
- This prevents waterlogging.
Step 3: Fill with soil
Fill the bottle with:
- 60% garden soil
- 40% compost or cocopeat
Mix well for good drainage and moisture retention.
Step 4: Moisten the soil
Lightly water the soil to make it soft and ready for planting.
Now your bottle planter is ready!
🌱 Planting Mint in the Bottle
Mint grows aggressively, so planting it in a bottle helps control its spread.
How to plant:
- Make small holes in the soil inside the bottle opening.
- Insert the rooted mint cuttings 1–2 inches deep.
- Firmly press the soil around the stems to hold them upright.
- Water gently so the soil becomes moist but not soggy.
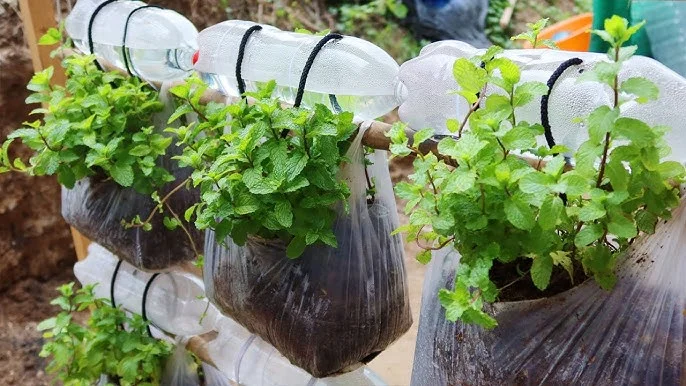
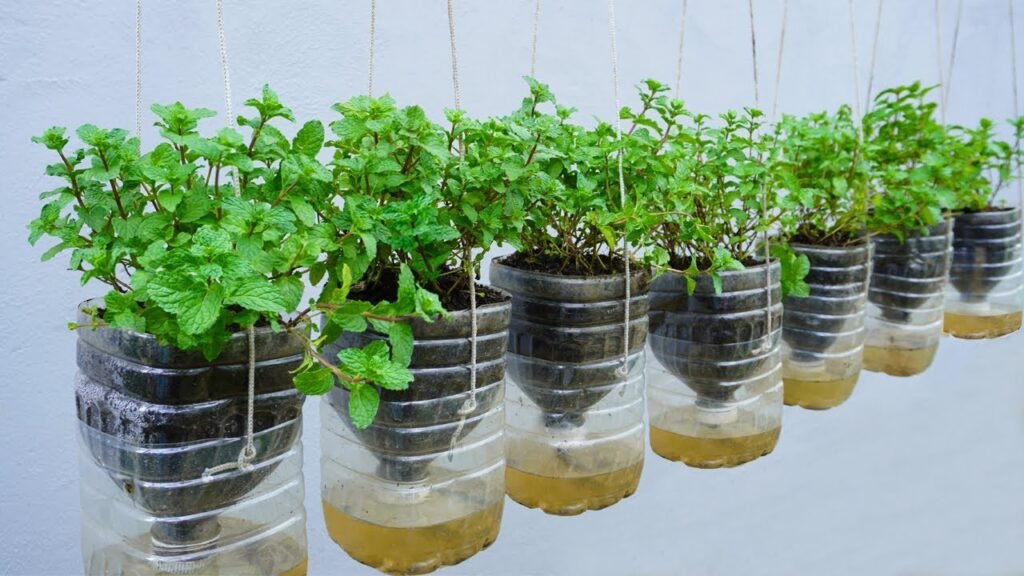
Place the bottle horizontally or hang it vertically with the opening facing upward.
🌞 Choosing the Best Location for Mint Growth
Mint grows well in both sun and partial shade, but here’s what works best:
- Morning sunlight (3–4 hours)
- Partial shade in the afternoon
- A cool, airy location
- Avoid harsh noon sunlight, as it can burn the leaves
Perfect spots include:
- Kitchen windows
- Balcony shelves
- Near the staircase
- Hanging from railings
Mint loves moisture, so avoid overly dry areas.
💧 Watering Requirements
Mint enjoys moist soil, but not standing water.
Watering tips:
- Water every 1–2 days depending on temperature.
- In hot weather, mist the leaves to keep them hydrated.
- Make sure water drains out properly to prevent root rot.
Plastic bottles help retain moisture, so mint rarely dries out.
🌿 Fertilizer Requirements
Mint doesn’t require heavy fertilization.
Feed lightly with:
- Homemade compost
- Diluted cow dung liquid
- Tea waste compost
- Vermicompost
Use fertilizer once every 15–20 days to maintain strong growth.
Avoid chemical fertilizers as mint absorbs chemicals easily.
🐛 Pests & Diseases
Mint is hardy, but sometimes pests may appear:
Common pests:
- Aphids
- Spider mites
- Whiteflies
Natural treatment:
- Spray with neem oil once a week
- Use soapy water spray (1 tsp liquid soap in 1L water)
- Keep plants clean and avoid overcrowding
Mint also gets fungal infection in poor drainage—so ensure good airflow and moderate watering.
🌱 How to Make Mint Bushy
Mint can be made bushier with simple techniques:
- Pinch the top leaves regularly
- Encourages side branching
- Harvest often
- The more you cut, the more it grows
- Don’t let it flower
- Flowering reduces leaf aroma and flavor
- Trim flower buds immediately
- Add compost every month
- Keeps the plant energized
With good care, a single plastic bottle can give you a lush green mint bush.
🥗 Harvesting Mint
Mint grows very fast. You can start harvesting:
- 20–30 days after planting
- Once stems reach 6–8 inches tall
How to harvest:
- Cut stems above a leaf node
- Never remove more than 40% of the plant at once
- Regular harvesting promotes rapid new growth
Mint from home tastes fresher, stronger, and more aromatic than store-bought herbs.
🔁 Regrowing Mint Forever
The plastic bottle setup allows endless mint production:
- After each harvest, new shoots continue growing
- You can replant rooted stems to create more bottles
- Divide plants every 3–4 months to refresh the soil
- Add compost to keep the system productive
This method ensures fresh mint all year round.
🌍 Benefits of Growing Mint in Plastic Bottles
Growing mint in a bottle is not just convenient—it also helps the environment.
✔ Reduces plastic waste
✔ Saves space in small homes
✔ Requires minimal tools
✔ Produces fresh organic herbs
✔ Easy for beginners, kids, and seniors
✔ Low maintenance
✔ Portable—move anywhere easily
This method is perfect for creating a mini herb garden even in urban apartments.
🌟 Pro Tips for Best Results
- Use a 2-liter bottle for bigger growth.
- Mix cocopeat to improve water retention.
- Avoid overwatering—mint hates soggy roots.
- Keep the bottle horizontally for more root space.
- Add a layer of mulch (dry leaves) to prevent moisture loss.
- Rotate the bottle every few days for even sunlight.
These simple tricks help your mint grow thicker, bushier, and more aromatic.
🌿✨ Final Thoughts: Your Plastic Bottle Mint Garden
Growing mint using a plastic bottle is one of the simplest and smartest gardening hacks. It’s eco-friendly, low-cost, and perfect for people with limited space. With just a little care, your mint plant will grow beautifully and provide a constant supply of fresh leaves for your kitchen.
Whether you want to make tea, chutney, refreshing drinks, or simply enjoy the fresh fragrance, your DIY bottle garden will never disappoint you.
So grab a bottle, plant a few cuttings, and enjoy the magic of fresh mint at home—anytime, anywhere!