The ZZ plant, scientifically known as Zamioculcas zamiifolia, has gained considerable popularity among houseplant enthusiasts. Its glossy, dark green leaves and resilience make it a favorite for both beginners and experienced gardeners. One of the best parts of having a ZZ plant is that propagating it is easy and rewarding. This article will guide you through the simple steps to propagate your ZZ plant using leaf cuttings.
Understanding the ZZ Plant
Before diving into propagation methods, it’s essential to know a little about the ZZ plant itself. Native to eastern Africa, the ZZ plant is known for its ability to thrive in low light and tolerate neglect. It can go weeks without water, thanks to its thick, fleshy rhizomes that store moisture. The plant’s unique structure and low maintenance needs make it an attractive addition to any indoor space.
Why Propagate?
- Cost-Effective: Instead of purchasing new plants, you can create them from your existing ones.
- Expansion: Growing more plants allows you to decorate your home or share with friends.
- Health Benefits: Increasing your plant collection can improve indoor air quality and promote well-being.
Tools and Materials Needed
Before starting the propagation process, gather the following tools and materials:
- A healthy ZZ plant
- Sharp, clean scissors or pruning shears
- Well-draining potting mix (cactus or succulent mix works well)
- Small pots or containers
- Plastic bag or humidity dome (optional)
- Water (if soaking cuttings)
Step-by-Step Guide to Propagating ZZ Plants from Leaf Cuttings
Step 1: Choosing the Right Leaf Cuttings
When propagating from leaf cuttings, select healthy, mature leaves. Avoid any leaves that are yellowing, damaged, or diseased. The best leaves to choose are those that are fully developed and positioned towards the middle or top of the plant, as they are more likely to root successfully.
Step 2: Cutting the Leaves
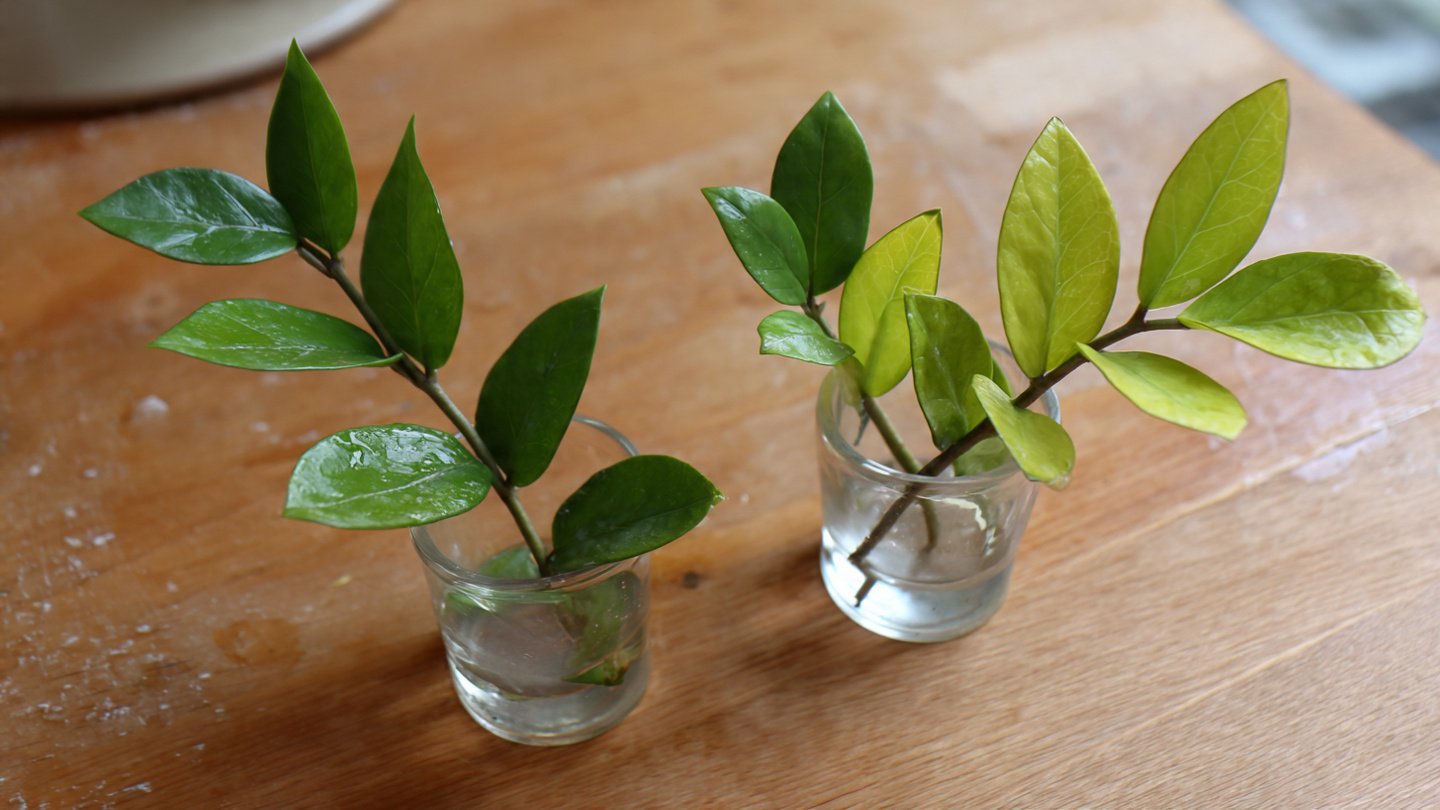
Using your sharp scissors or pruning shears, make a clean cut at the base of the chosen leaf. Depending on your preference, you may choose to cut the entire leaf or just a section of it. A whole leaf is preferable as it has a better chance of rooting.
Make sure to cut at an angle to increase the surface area for rooting and possibly dip the cut end in rooting hormone to promote faster growth.
Step 3: Letting the Cuttings Callous
After making your cuts, it’s crucial to allow the cut ends to callous over. Place the cuttings in a dry, warm area for about 24 to 48 hours. This step helps prevent rot when the cuttings are placed in the soil.
Step 4: Preparing the Potting Mix
Fill small pots with a well-draining potting mix. A cactus or succulent mix works well due to its drainage properties—ZZ plants do not tolerate standing water. You can also add perlite or sand to improve aeration.
Step 5: Planting the Cuttings
Once your cuttings have calloused, it’s time to plant them. Make a hole in the potting mix with your finger or a stick and gently insert the cut end of the leaf into the soil. Ensure it is planted deep enough to provide stability but not so deep that the leaf is completely buried.
Step 6: Watering
After planting, lightly water the soil to help settle it around the cutting. Ensure not to overwater, as excess moisture can cause rot. You should keep the soil slightly moist, but it should never become soggy.
Step 7: Providing Humidity
ZZ plant cuttings appreciate humidity, especially when rooting. If you want to promote faster growth, consider covering the pots with a plastic bag or using a humidity dome. This creates a mini-greenhouse effect, retaining moisture. Make sure to open the bags periodically to allow for air circulation.
Step 8: Light Conditions
Place the pots in a location with indirect sunlight. Direct sunlight can scorch the leaves, while insufficient light can hinder growth. A bright, indirect light area is ideal for propagation.
Waiting for Roots to Develop
Your cuttings will need time to develop roots, which can take several weeks to a few months. During this time, monitor the moisture level of the soil and ensure it remains slightly damp. If you see new growth or leaves beginning to develop, it’s a sign that roots are forming.
Transplanting the New ZZ Plants
Once the cuttings have established roots and new growth is visible, it’s time to transplant them into larger pots. Gently remove them from their propagation pots, being careful not to damage the roots. Plant them in pots that are about 6 to 8 inches in diameter with the same well-draining potting mix.
Caring for Your New ZZ Plants
After transplanting, care for your new ZZ plants just like you would for an established plant:
- Light: Continue providing bright, indirect sunlight.
- Water: Water only when the top inch of soil feels dry to the touch.
- Fertilization: During the growing season (spring and summer), consider applying a balanced houseplant fertilizer every month.
- Repotting: As the plants grow, repot them in larger containers when they become root-bound.
Common Mistakes to Avoid
- Overwatering: This is one of the most common mistakes when propagating ZZ plants. Remember, they prefer to dry out between waterings.
- Lack of Patience: Rooting can take time. Be patient and avoid moving the cuttings too frequently, as this can disrupt the rooting process.
- Insufficient Light: While ZZ plants can tolerate low light, providing some indirect light is crucial for successful rooting.
- Skipping Humidity: Especially in dry environments, maintaining humidity can significantly increase your chances of successful propagation.
Benefits of ZZ Plant Propagation
- Sustainability: By propagating your plants, you contribute to an eco-friendly practice instead of purchasing new ones.
- Customization: You can grow your ZZ plants in different pot colors or arrangements to match your interior decor.
- Learning Experience: Propagating plants is an excellent way for beginners to learn about plant care and propagation techniques.
Conclusion
Propagating your ZZ plant from leaf cuttings is not only simple but also an incredibly rewarding experience. With the right approach and a bit of patience, you’ll have new plants to brighten your space. As your ZZ plant collection grows, remember to share your favorite propagation tips with fellow plant enthusiasts. Enjoy the journey of learning about plant care, and soon enough, you’ll have a thriving indoor jungle!
Incorporating this practice into your gardening repertoire not only nurtures your love for plants but also enhances the aesthetic and atmosphere of your home. Happy propagating!